


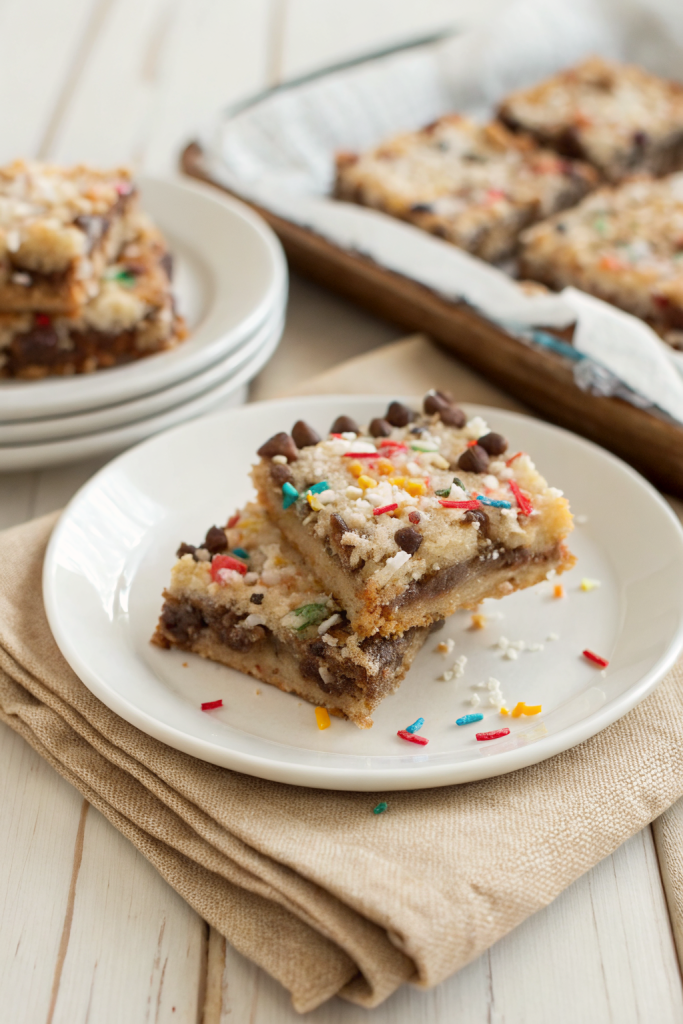
7 Layer Magic Bars: A No-Bake Dessert That’ll Steal the Show
You know those desserts that just *feel* like home? The kind that show up at every potluck, get passed around the table like a secret, and leave everyone asking for the recipe? These 7 Layer Magic Bars are exactly that. I first tasted them at my neighbor’s holiday party years ago—she casually mentioned they were “just a few things layered together,” and I’ve been chasing that magic ever since. They’re rich, chewy, gooey, and somehow both simple and impressive. Plus, you don’t even need to turn on the oven! Whether you’re feeding a crowd or just craving something sweet after dinner, these bars come together in minutes and disappear even faster. Let me walk you through why they’re called “magic”—and how you can make them your new go-to treat.
What Is 7 Layer Magic Bars?
7 Layer Magic Bars are a classic no-bake dessert that lives up to its name—every bite is pure magic! Originating from the beloved Magic Bar recipe popularized in the 1960s, this version stacks seven distinct layers into one irresistible square. You start with a buttery graham cracker crust, then build up with melted chocolate chips, creamy peanut butter, sweetened condensed milk, crunchy nuts, chewy coconut, and a final drizzle of chocolate on top. The magic happens when all those layers fuse together in the fridge, creating a fudgy, nutty, coconut-kissed treat that’s somehow both decadent and comforting. It’s the kind of dessert that feels fancy but takes almost no effort—and that’s why it’s been showing up at bake sales, family reunions, and holiday trays for decades.
Why You’ll Love This Recipe
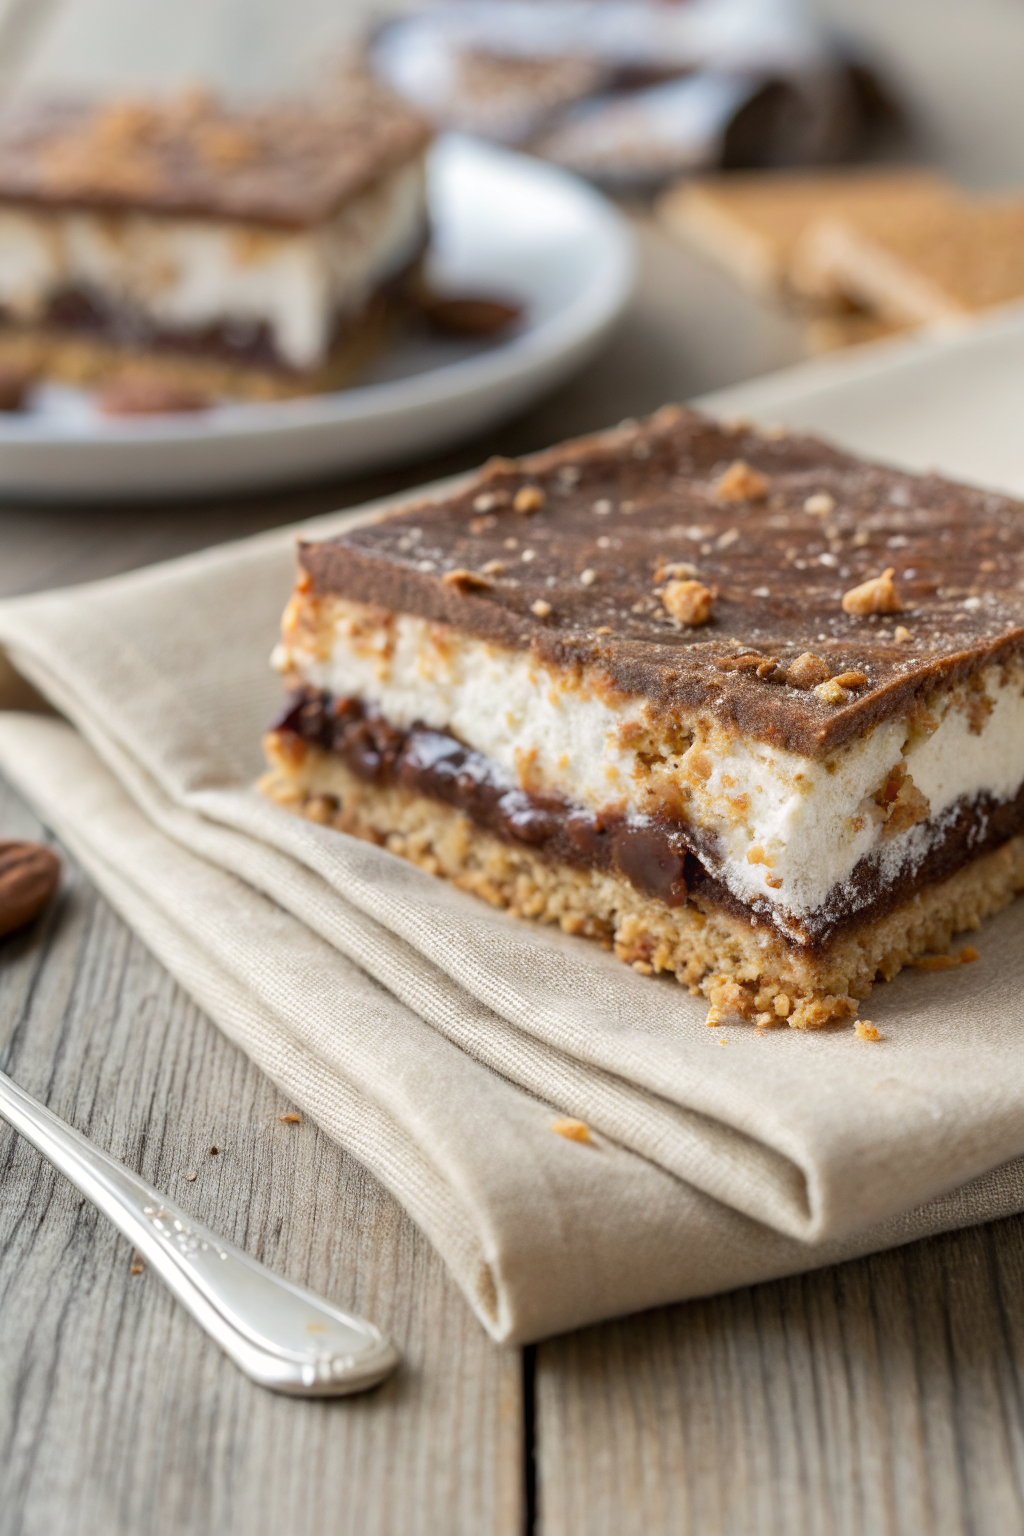
First off, let’s talk about ease: there’s no baking involved, which means no hot kitchen, no waiting for the oven to preheat, and definitely no stress. Just mix, layer, chill, and slice! But beyond convenience, these bars are *crowd-pleasers*. Kids love the sweetness, adults appreciate the texture play (crunchy, chewy, smooth—all in one bite), and everyone raves about how rich yet balanced they taste. The combination of chocolate and peanut butter is always a win, but the coconut and nuts add depth and a little surprise with every mouthful.
Another reason I keep making these? They’re endlessly customizable. Swap walnuts for pecans, use dark chocolate instead of milk chocolate, or add a sprinkle of sea salt on top for that sweet-salty kick. Plus, they store beautifully in the fridge (if they last that long!), making them perfect for meal prep desserts or gifting. Honestly, once you try them, you’ll understand why they’ve earned their “magic” reputation—they’re the kind of dessert that makes people pause mid-bite and say, “Wait… what’s *in* these?” And when you tell them it’s just seven simple ingredients layered together? That’s when the real magic begins.
How to Make 7 Layer Magic Bars
Quick Overview
These bars come together in under 20 minutes of active time—no oven required! You’ll press a graham cracker crust into a pan, then layer chocolate chips, peanut butter, condensed milk, coconut, and nuts. After a chill in the fridge, you’ll top it with a final chocolate drizzle. The result? A dense, fudgy, utterly addictive dessert that sets perfectly and slices cleanly.
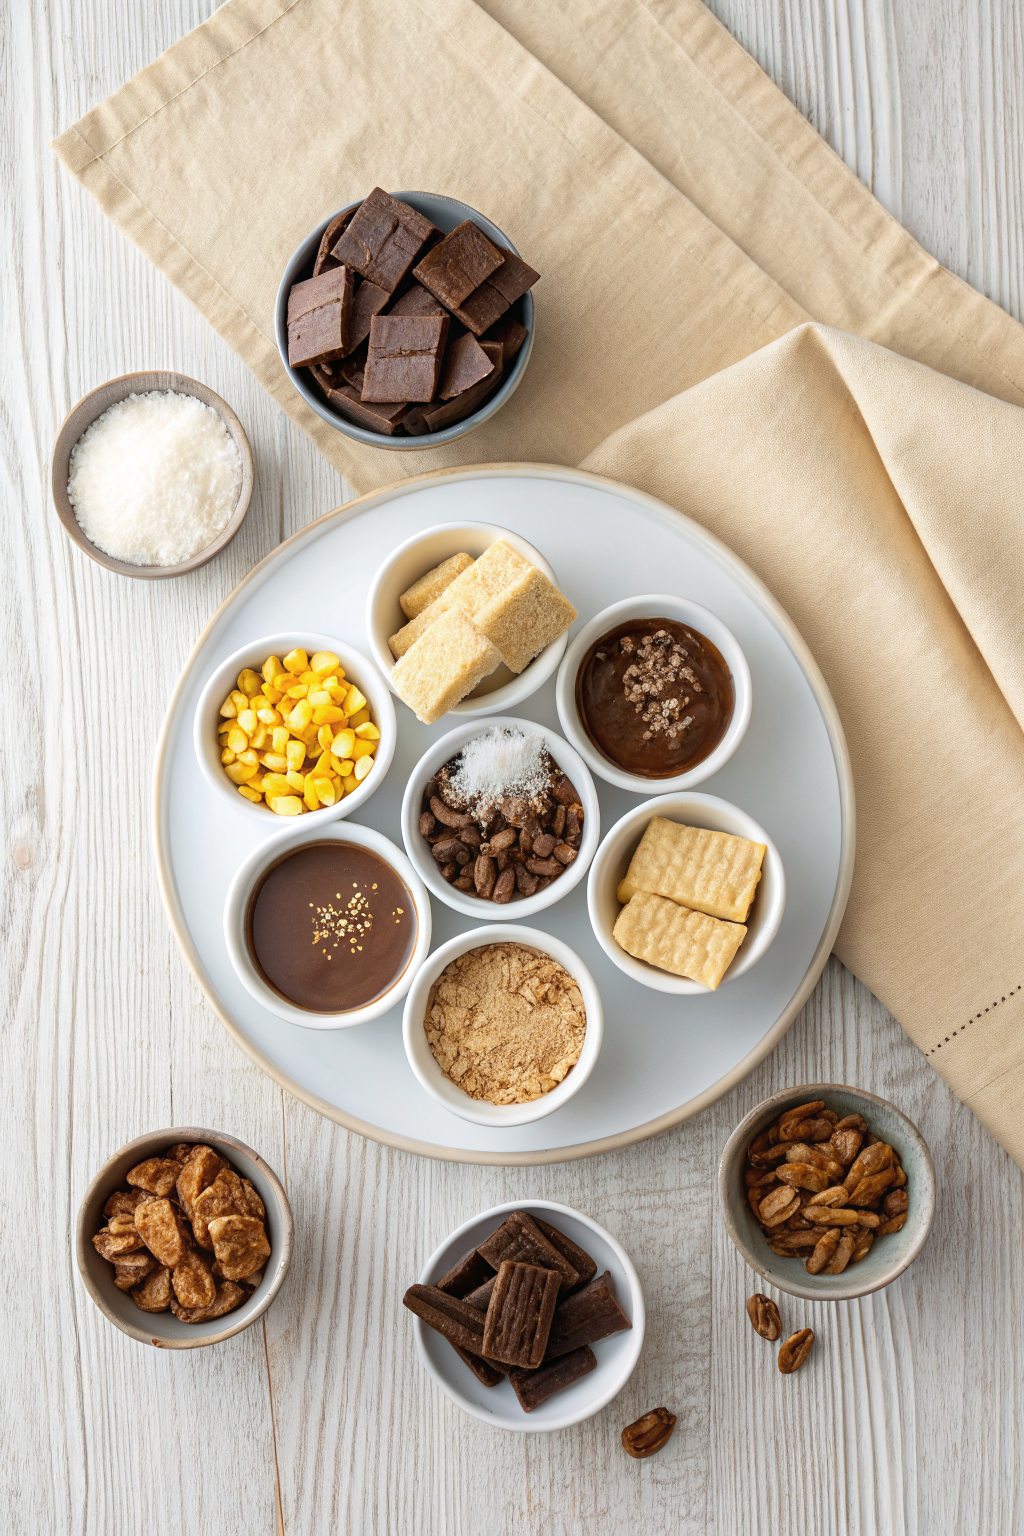
Ingredients
Here’s what you’ll need for a 9×13-inch pan (about 24 bars):
- 1½ cups graham cracker crumbs (about 12 full sheets)
- ½ cup (1 stick) unsalted butter, melted
- 1 cup semi-sweet chocolate chips
- ½ cup creamy peanut butter
- 1 (14 oz) can sweetened condensed milk
- 1½ cups sweetened shredded coconut
- 1 cup chopped walnuts or pecans
- Optional: ¼ cup chocolate chips + 1 tsp coconut oil for topping drizzle
Step-by-Step Instructions
Step 1: Preheat & Prep Pan
Preheat your oven to 350°F (175°C) just to crisp the crust—even though the bars don’t bake later, this step helps set the base. Line a 9×13-inch baking pan with parchment paper, leaving an overhang on the sides for easy removal. In a bowl, mix the graham cracker crumbs with melted butter until it resembles wet sand. Press firmly into the bottom of the pan—this is your foundation, so pack it down well! Bake for 8–10 minutes, then let cool slightly while you prep the layers.
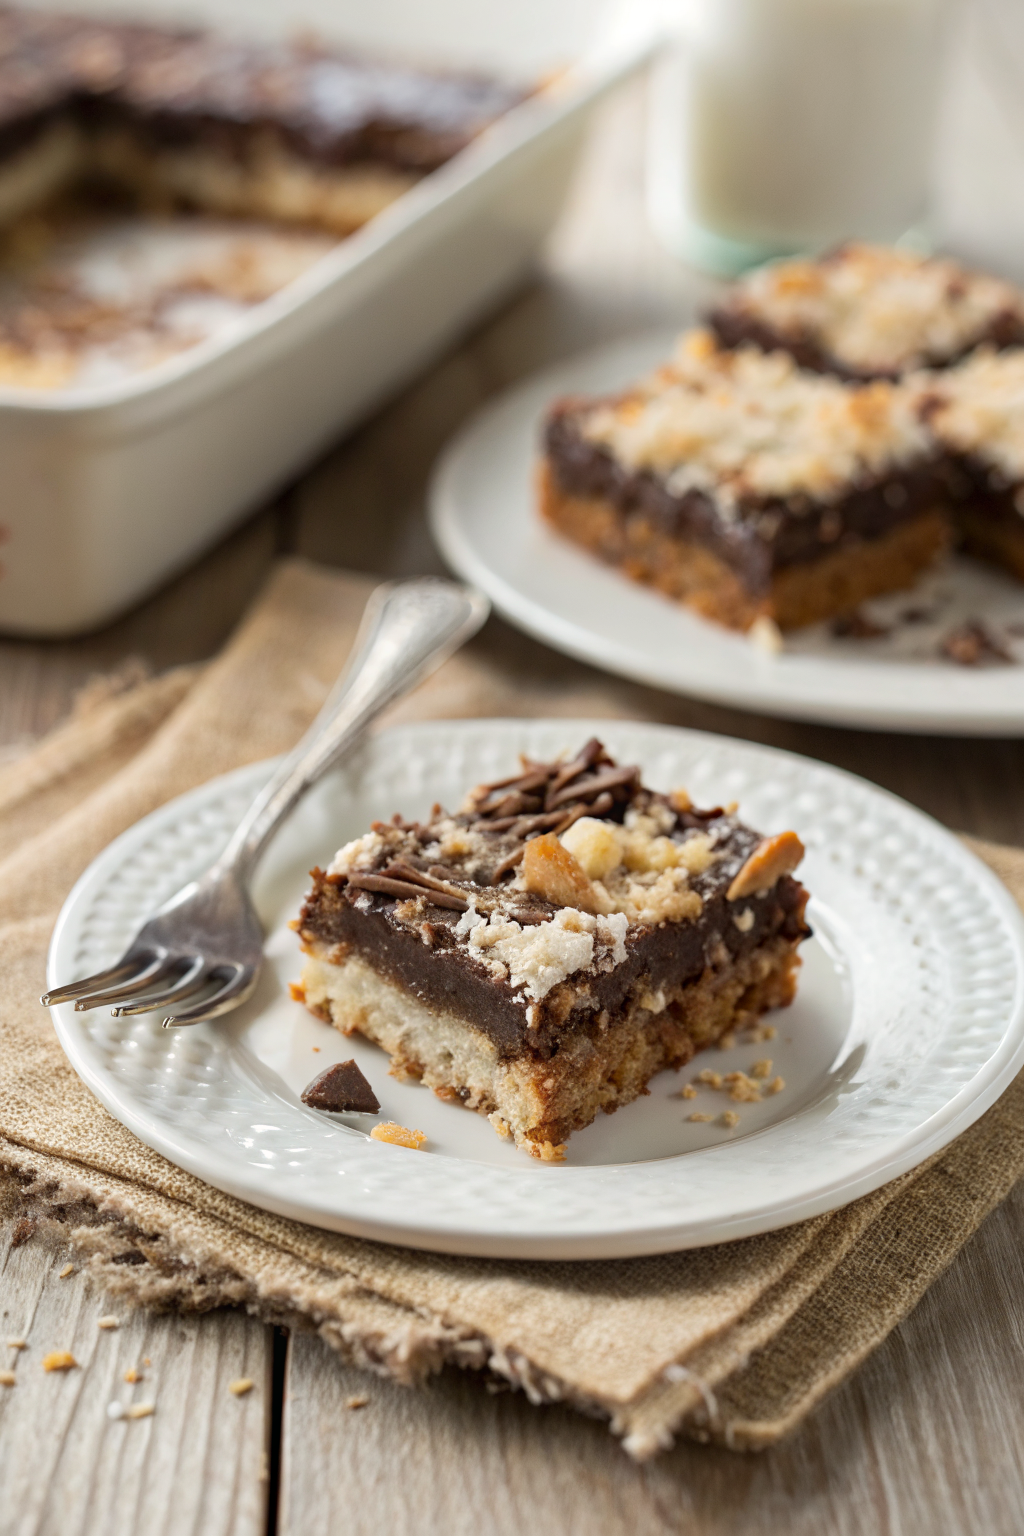
Step 2: Layer the Magic
Sprinkle the chocolate chips evenly over the warm crust—they’ll start to melt just enough to create a gooey base. Next, dollop the peanut butter over the chocolate and gently spread it (it’s okay if it’s not perfect—it’ll blend as it chills). Pour the sweetened condensed milk evenly over the peanut butter—this is your glue that binds everything together. Then sprinkle on the coconut and nuts, pressing them lightly so they stick.
Step 3: Chill & Drizzle
Pop the pan into the fridge for at least 2 hours (or up to overnight) to set completely. Once firm, lift the slab out using the parchment overhang. If you’re adding the optional chocolate drizzle, melt ¼ cup chocolate chips with 1 tsp coconut oil in the microwave in 20-second bursts, stirring until smooth. Drizzle over the top in a zigzag pattern. Slice into squares and watch them disappear!
What to Serve It With
These bars are rich enough to stand alone, but if you’re serving them at a gathering, pair them with a scoop of vanilla ice cream or a dollop of whipped cream for contrast. They’re also fantastic with a cup of coffee or tea—the bitterness balances the sweetness perfectly. For holidays or parties, arrange them on a platter with other bite-sized treats like brownies or shortbread. And honestly? They’re just as good straight from the fridge on a Tuesday night when you need a little pick-me-up.
Top Tips for Perfecting Your 7 Layer Magic Bars
First, don’t skip pressing the crust firmly—it should feel like a solid base, not loose crumbs. Second, let the crust cool slightly before adding the chocolate chips; if it’s too hot, they’ll melt into a puddle, but if it’s too cool, they won’t soften at all. Third, use creamy peanut butter (not natural, which can separate) for the best texture. If you’re not a coconut fan, you can reduce it to 1 cup or swap in crushed pretzels for a salty twist. And finally—patience! Letting the bars chill fully is key to clean slices. Rushing this step leads to messy bars (still delicious, but less pretty!).
Storing and Reheating Tips
Store these bars in an airtight container in the refrigerator for up to 1 week—though I doubt they’ll last that long! You can also freeze them for up to 3 months; just wrap individual slices in plastic wrap and place in a freezer-safe bag. Thaw in the fridge overnight before serving. No reheating needed—these are best enjoyed cold, where the layers stay distinct and the texture is perfectly firm yet chewy.
Frequently Asked Questions
Final Thoughts
There’s something deeply satisfying about a dessert that’s both effortless and extraordinary—and these 7 Layer Magic Bars hit that sweet spot every time. They remind me of childhood potlucks, of my neighbor’s warm kitchen, of the joy that comes from sharing something homemade with people you love. Whether you’re making them for a party, a gift, or just because you deserve a treat, I hope they bring you as much happiness as they’ve brought me. Go ahead, whip up a batch—you’ll see why they’re called magic. And if you do try them, let me know your favorite layer combo in the comments. Happy layering!
7 Layer Magic Bars
Ingredients
Main Ingredients
- 1.5 cup graham cracker crumbs
- 0.5 cup unsalted butter, melted
- 1 cup semi-sweet chocolate chips
- 1 cup butterscotch chips
- 1 cup white chocolate chips
- 1.5 cup sweetened shredded coconut
- 1 cup chopped walnuts or pecans
- 14 oz sweetened condensed milk 1 can
Instructions
Preparation Steps
- Preheat oven to 350°F (175°C). Line a 9x13-inch baking pan with parchment paper, leaving an overhang on the sides for easy removal.
- In a medium bowl, mix graham cracker crumbs with melted butter until well combined. Press mixture firmly into the bottom of the prepared pan to form an even crust.
- Sprinkle chocolate chips evenly over the crust.
- Sprinkle butterscotch chips over the chocolate chips.
- Sprinkle white chocolate chips over the butterscotch chips.
- Sprinkle shredded coconut over the white chocolate chips.
- Sprinkle chopped nuts over the coconut.
- Drizzle sweetened condensed milk evenly over the top layer.
- Bake for 25–30 minutes, or until the top is lightly golden and the edges are bubbling.
- Remove from oven and let cool completely in the pan on a wire rack, about 2 hours.
- Once cooled, refrigerate for at least 1 hour to firm up before cutting into bars.
- Use the parchment overhang to lift the slab out of the pan and cut into 24 squares.


