


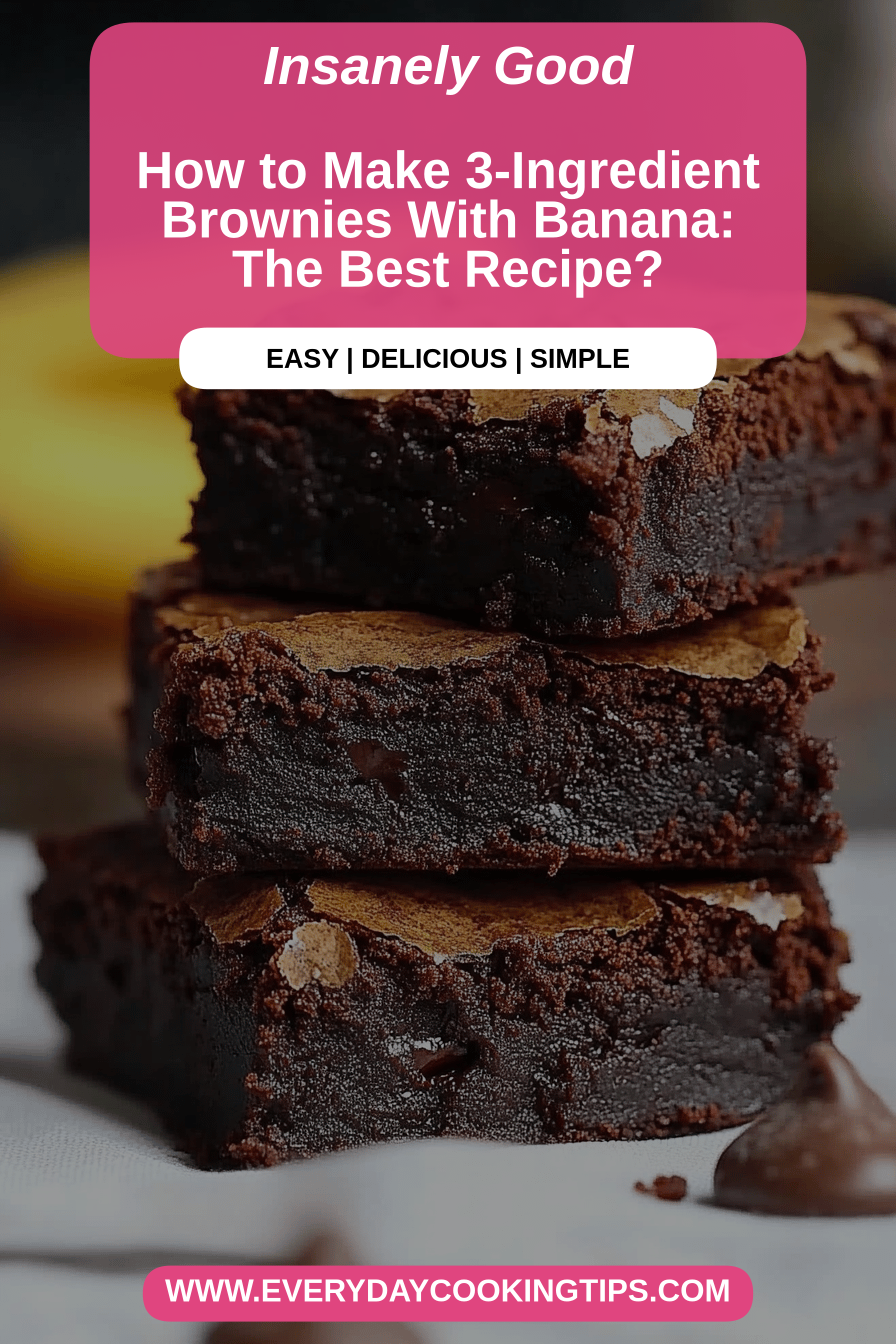
You know those days? The ones where a serious chocolate craving hits, and you’re staring into the pantry, willing something magical to appear? Yeah, I’ve had a lot of those days. And in my culinary adventures, I’ve discovered a secret weapon: these utterly divine 3-ingredient brownies. Seriously, just three things stand between you and pure chocolate bliss. Forget complicated recipes with a mile-long ingredient list and endless steps. This is the kind of magic that feels like it was conjured from thin air. It’s ridiculously simple, but the flavor? Oh, the flavor is anything but. It’s rich, it’s fudgy, and it tastes like you spent hours slaving away in the kitchen. My kids ask for these all the time, and honestly, so do I. They’re the perfect antidote to a long day, a surprise guest, or just a Tuesday that needs a little extra sparkle. If you thought homemade brownies were a challenge, prepare to have your mind blown.
What are 3-ingredient brownies?
So, what exactly are these mystical 3-ingredient brownies? Think of them as the super-minimalist cousin to your classic brownie. We’re talking about taking a few pantry staples and transforming them into something wonderfully decadent. It’s essentially a shortcut to that deep, satisfying chocolate flavor we all crave, without all the fuss. It’s not just about cutting corners; it’s about smart ingredient choices that do all the heavy lifting. Imagine a brownie that’s incredibly moist, has a lovely dense texture, and a really pure chocolate taste. That’s what we’re aiming for here. It’s essentially a simplified Chocolate Cake batter that bakes up into a fudgy delight. This isn’t a cakey brownie; oh no, this is for the serious fudgy brownie lovers out there. It’s the kind of recipe that makes you question why you ever bothered with more complex versions.
Why you’ll love this recipe?
Why are these 3-ingredient brownies a staple in my kitchen?flavor is just astounding for how little effort is involved. You get this deep, intense chocolatey-ness that’s so satisfying. It’s not just sweet; it has a genuine richness that surprises everyone. Then there’s the simplicity. I mean, *three ingredients*. That’s it. It’s a lifesaver on busy nights when you need a quick dessert. I’ve even whipped these up for last-minute bake sales and gotten rave reviews. Plus, they are incredibly cost-effective. These ingredients are usually on hand for most people, making it a budget-friendly indulgence. And talk about the taste.versatility! While they’re amazing on their own, they’re also a fantastic base for add-ins or a delightful base for Ice Cream. What I love most about this recipe is that it proves you don’t need a lot of fancy ingredients or complex techniques to create something truly delicious. It’s the perfect example of simple ingredients shining through, making it a go-to for anyone who loves chocolate but doesn’t have a lot of time or a pantry full of specialty items. They’re just…perfectly fudgy and deeply satisfying.
How to Make 3-Ingredient Brownies
Quick Overview
Get ready for the easiest brownie experience of your life! We’re talking about a simple mix-and-bake process. You’ll combine your three main players, pour them into a prepared pan, and bake until they’re perfectly fudgy. It’s so straightforward that you can practically make them with your eyes closed (though I don’t recommend that!). The magic happens in how these few ingredients come together to create that irresistible texture and flavor. It’s a forgiving recipe, which is always a huge win in my book.
Ingredients
For the Main Batter:
We’re keeping this incredibly streamlined. You’ll need one (1) 15-ounce can of Sweetened Condensed Milk. This is the secret weapon that provides sweetness and moisture, binding everything together beautifully. Make sure it’s sweetened condensed milk, not evaporated milk – they’re different critters! The richness of it is what gives these brownies their fudgy texture. I always opt for a good quality brand, as it really does make a difference in the final flavor.
For the Chocolatey Goodness:
Next up, you’ll need two cups of all-purpose flour. This gives our brownies structure. I usually just use whatever is in my pantry, but if you’re feeling fancy, a good unbleached all-purpose flour works wonders. Measure it carefully – too much and they can be a bit dry, too little and they might be too gooey. Spoon it into your measuring cup and level it off with a straight edge; don’t scoop directly from the bag. This ensures you get the right amount every time. Trust me, I learned that lesson the hard way once!
For the Deep Chocolate Flavor:
And finally, the star of the show: 3/4 cup of unsweetened cocoa powder. This is where all the deep, Dark Chocolate flavor comes from. You want unsweetened so you can control the sweetness level with the condensed milk. Good quality cocoa powder will yield a richer, more intense chocolate taste. I love using a Dutch-processed cocoa powder for an even darker color and smoother flavor, but natural unsweetened works too. Make sure there are no lumps; sifting it can help ensure a smooth batter.

Step-by-Step Instructions
Step 1: Preheat & Prep Pan
First things first, let’s get our oven fired up to 350°F (175°C). This ensures it’s nice and hot when our batter is ready, which helps the brownies bake evenly. While the oven is heating, grab an 8×8 inch baking pan. I always line mine with parchment paper. It makes cleanup an absolute dream and ensures your brownies won’t stick, even with all that fudgy goodness. Just let the parchment hang over the sides a bit like little handles – it makes lifting the brownies out so much easier later.
Step 2: Mix Dry Ingredients
In a medium-sized bowl, go ahead and add your two cups of all-purpose flour and your 3/4 cup of unsweetened cocoa powder. Give them a good whisk together. You want to make sure they are thoroughly combined and that there are no pockets of pure cocoa powder or flour. This step is super important for ensuring an even flavor and texture throughout your brownies. No one wants a bite that’s all flour or all bitter cocoa!
Step 3: Mix Wet Ingredients
Now, grab your can of sweetened condensed milk. Pour the entire can into the bowl with your dry ingredients. That’s literally it for the “wet” ingredients in this super simple recipe. The condensed milk is thick and creamy, and it’s going to be the binder and moistener for our brownies. Just get it all in there – don’t be shy!
Step 4: Combine
This is where the magic starts to happen. Using a spatula or a wooden spoon, begin to gently mix the sweetened condensed milk into the flour and cocoa mixture. Start from the center and work your way outwards. Mix until everything is *just* combined. You don’t want to overmix this batter. Overmixing can develop the gluten in the flour too much, leading to tougher brownies. Stop as soon as you don’t see any dry flour streaks. A few little lumps are totally fine!
Step 5: Prepare Filling
For these basic 3-ingredient brownies, there isn’t a separate filling! The magic is in the simplicity. The batter itself bakes up into that perfect fudgy texture. If you wanted to get a little fancy, you could certainly add some chocolate chips or chopped nuts into the batter at this stage, but for the pure, unadulterated 3-ingredient experience, we’re keeping it as is.
Step 6: Layer & Swirl
Spoon the batter into your prepared 8×8 inch baking pan. It’s going to be pretty thick, so spread it out evenly using your spatula. If you’re adding extras like chocolate chips or nuts, now’s the time to sprinkle them over the top. For a pretty swirl effect, you could add a few dollops of chocolate ganache or even some caramel sauce and gently swirl it through with a toothpick or knife. But honestly, the plain version is fantastic all on its own!
Step 7: Bake
Pop that pan into your preheated oven. Now, bake for about 25-30 minutes. This is where you need to keep an eye on them, as ovens can vary. You’re looking for the edges to be set, and a toothpick inserted into the center should come out with moist crumbs attached, not wet batter. If it comes out completely clean, they might be a little overbaked and leaning towards cakey. A few moist crumbs are exactly what you want for that fudgy texture.
Step 8: Cool & Glaze
This step is crucial for texture! Once they’re done baking, take them out of the oven and let them cool completely in the pan. I know it’s torture waiting when they smell this good, but this is how you get that dense, fudgy brownie texture. Trying to slice them while they’re hot will just result in a gooey mess. Once they’re fully cooled, you can lift them out using the parchment paper handles. If you want to add a glaze (which technically makes it more than 3 ingredients, but it’s optional!), you can whip up a simple chocolate glaze to drizzle over the top once they’re cooled. But honestly, they’re divine on their own!
Step 9: Slice & Serve
Once cooled, slice your brownies into squares using a sharp knife. For clean cuts, you can even run your knife under hot water and wipe it dry between slices. Serve them up! They are perfect at room temperature, slightly chilled, or even warmed up a tad with a scoop of vanilla ice cream. Enjoy that glorious fudgy bite!
What to Serve It With
These 3-ingredient brownies are so versatile, they can seriously fit into any occasion! For breakfast? Don’t knock it till you try it! A small square with a good cup of coffee feels like a decadent start to the day. They’re less sweet than a typical pastry, so a smaller piece is totally satisfying. Pair it with some fresh berries to cut through the richness. For brunch, I love presenting them as a little treat alongside fruit salads or yogurt parfaits. They add that touch of indulgence without being too heavy. A simple dusting of powdered sugar or a few fresh raspberries on top makes them look extra special. As dessert, well, this is their natural habitat! They are incredible on their own, but if you’re feeling it, a scoop of vanilla bean ice cream or a dollop of whipped cream is divine. A drizzle of raspberry coulis adds a lovely tart counterpoint. And for those cozy snacks or movie nights, they’re perfect. Just grab a square and curl up on the couch. My family loves them with a tall glass of cold milk. It’s that classic, comforting combination that just never gets old.
Top Tips for Perfecting Your 3-Ingredient Brownies
I’ve made these brownies more times than I can count, and over the years, I’ve picked up a few tricks that really elevate them. For the cocoa powder, make sure it’s not old and stale! A fresh, good-quality cocoa powder will make a world of difference in the depth of flavor. If you find your cocoa powder has lumps, sifting it with the flour is a must. When it comes to mixing, I can’t stress enough to just mix until *barely* combined. You’re not making a cake; you want a dense, fudgy brownie, and overmixing is the enemy of that texture. I’ve learned that a few little streaks of unmixed flour are better than overdoing it. If you’re feeling adventurous and want to add some flair, for swirl customization, a simple chocolate ganache or even some peanut butter swirled in before baking adds another layer of deliciousness. Just dollop it on top and use a toothpick to create pretty patterns. For ingredient swaps, while this recipe is fantastic as is, I’ve experimented. Using a good quality chocolate protein powder *instead* of some of the flour can work, but it changes the texture significantly, making them a bit chewier. I haven’t found a great substitute for the sweetened condensed milk that maintains the fudgy texture and sweetness. For baking, ovens are funny things. Keep an eye on them starting around the 25-minute mark. A toothpick with moist crumbs is your best friend here for that perfect fudgy center. If you’re looking for glaze variations, a simple mix of powdered sugar and a tiny bit of milk or water is easy. Or, melt some chocolate chips with a touch of butter for a richer glaze. Experiment and have fun with it!
Storing and Reheating Tips
Storing these fudgy delights is thankfully as easy as making them! If you’re planning to eat them within a few days, keeping them at room temperature in an airtight container is perfectly fine. They’ll stay fresh for about 3-4 days this way. Just make sure the container is well-sealed to keep them from drying out. If you find your kitchen is particularly warm, or you want them to last a bit longer, storing them in the refrigerator is a great option. Again, an airtight container is key. They’ll keep well in the fridge for up to a week. Some people actually prefer them chilled because it firms up that fudgy texture even more! And for those times when you want to stock up or have way too many (is that even possible?), these brownies freeze beautifully. Wrap them tightly in plastic wrap, then place them in a freezer-safe bag or container. They can stay frozen for up to 3 months. To thaw, just bring them to room temperature on the counter for a few hours. For glaze timing, if you plan to freeze them, I highly recommend glazing them *after* they’ve thawed. Applying the glaze before freezing can sometimes make it a bit sticky or less appealing after thawing. Enjoy them plain or glazed – they’re always a winner!
Frequently Asked Questions
Final Thoughts
Honestly, these 3-ingredient brownies are a game-changer. They’re proof that you don’t need a pantry overflowing with specialty ingredients or hours of your time to create something truly spectacular and deeply satisfying. They’re consistently fudgy, intensely chocolatey, and ridiculously easy. They’re the kind of recipe that makes you feel like a baking wizard, even if you’re a total beginner. If you loved this recipe, you might also enjoy my No-Bake Chocolate Peanut Butter Bars or my Easy Chocolate Mug Cake for more quick dessert ideas. Give these 3-ingredient brownies a try, and I promise you, they’ll become your new go-to. I can’t wait to hear how yours turn out! Let me know in the comments below if you tried them and what you thought – and if you added any fun mix-ins!
3-Ingredient Brownies
Ingredients
Main Ingredients
- 1 cup Nutella
- 2 large eggs
- 0.5 cup all-purpose flour
Instructions
Preparation Steps
- Preheat your oven to 350°F (175°C). Grease and flour an 8x8 inch baking pan.
- In a medium bowl, whisk together the Nutella and eggs until well combined and smooth.1 cup Nutella
- Add the flour to the wet ingredients and stir until just combined. Do not overmix.1 cup Nutella
- Pour the batter into the prepared baking pan and spread evenly.
- Bake for 20-25 minutes, or until a toothpick inserted into the center comes out with moist crumbs attached.
- Let the brownies cool completely in the pan before cutting into squares.


