


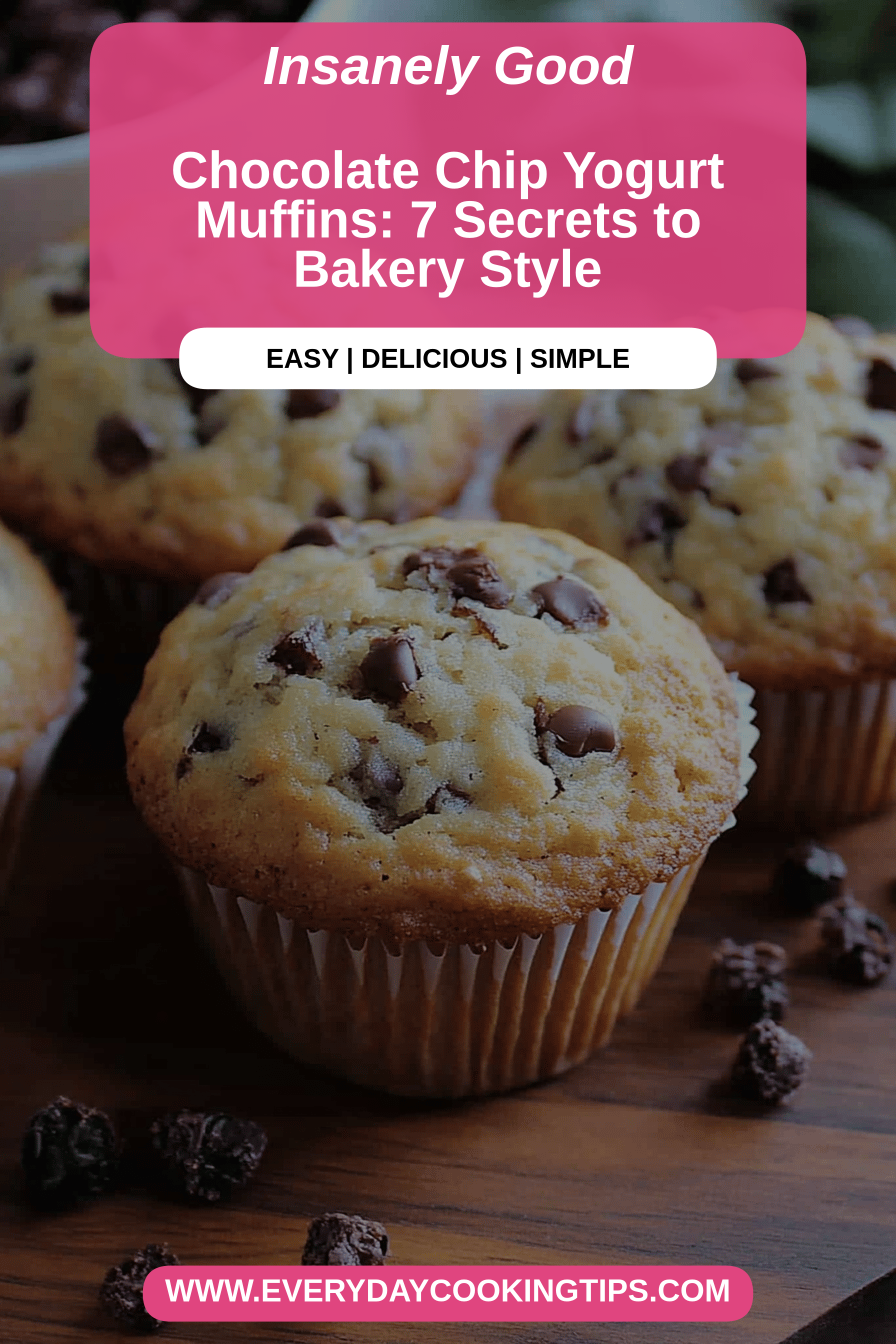
Oh, you guys, you HAVE to try these **yogurt muffins**! Seriously, I’m not even exaggerating when I say they’re a game changer. Growing up, my grandma used to make these, and the smell alone filling the kitchen was enough to make me race downstairs. Forget store-bought pastries; these are a hundred times better. They’re tender, incredibly moist, and just the right amount of sweetness. I remember the first time I made them myself – I was terrified I’d mess them up! But, with a few little tweaks, I got it just right. They’re honestly my go-to recipe now, especially when I’m looking for a quick breakfast or a treat to pack in the kids’ lunches. I even tested this recipe with different types of yogurt and milk, and they always turn out fantastic.
What are Yogurt Muffins?
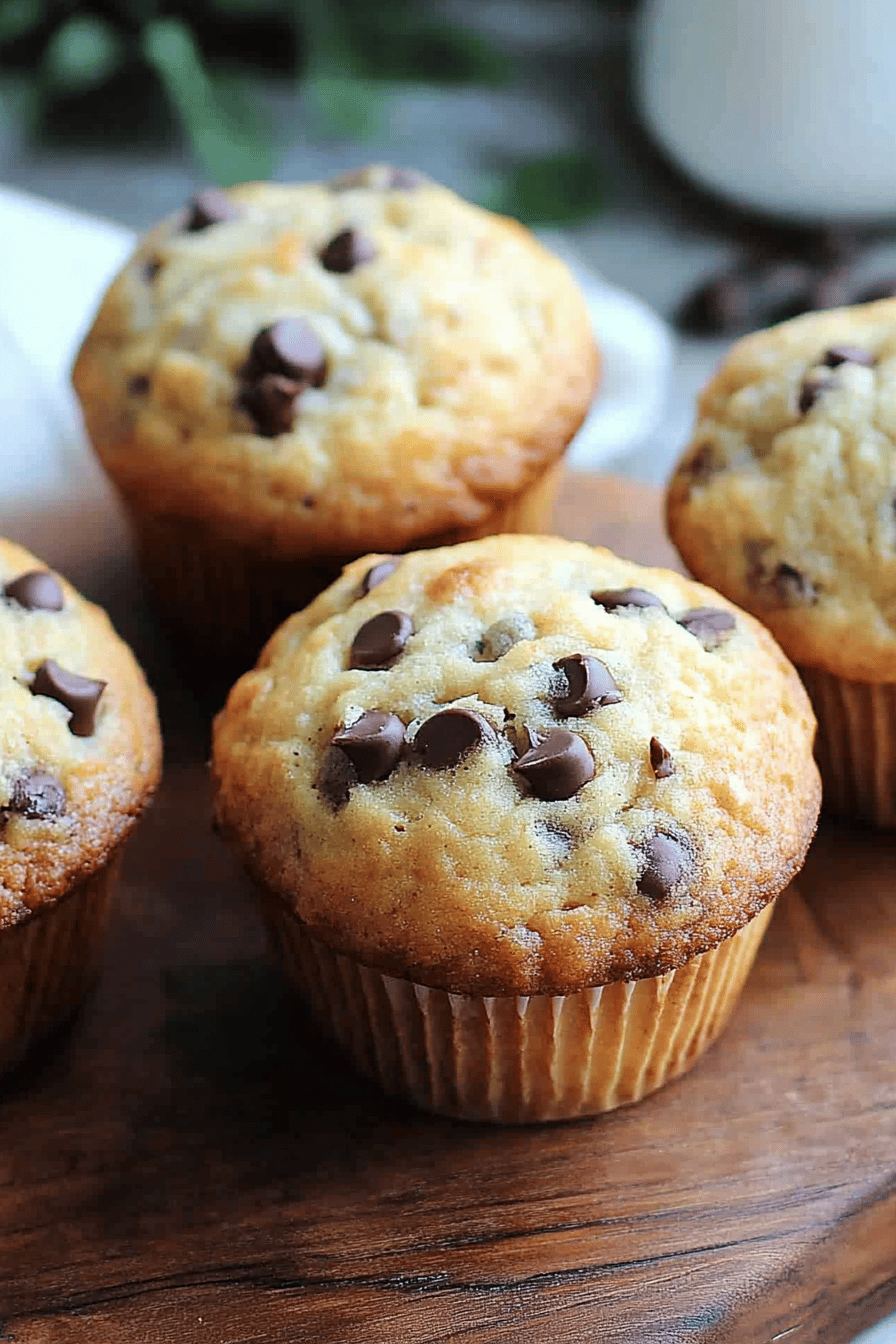
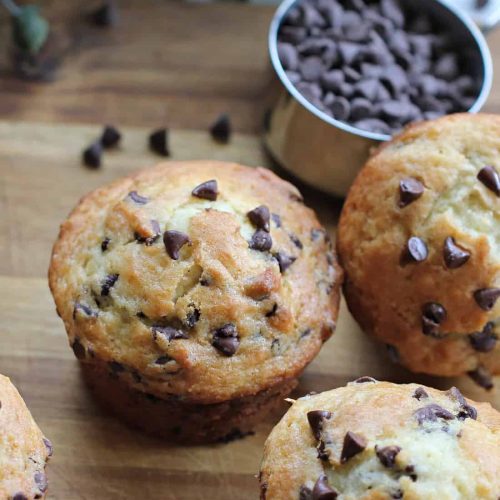
Think of these **yogurt muffins** as the perfect breakfast treat, that straddles the line between healthy and indulgent. They’re essentially little cakes, made with yogurt instead of a lot of butter or oil. This gives them that incredible moisture and a slightly tangy flavor that I absolutely adore. The recipe itself is super simple – it’s all about mixing your wet and dry ingredients, folding them together, and then baking until golden brown. You can add all sorts of things to the mix – blueberries, chocolate chips, even a crumble topping! But even on their own, they’re a total delight. The best part? They are unbelievably easy to make, meaning no complicated techniques or crazy ingredients.
Why You’ll Love This Recipe?
Okay, let me tell you why these **yogurt muffins** are so amazing. First off, the flavor is just incredible. They’re not overly sweet, so you can actually taste the delicious tang of the yogurt. They have a slight vanilla flavor, and whatever additions you choose to make them into the perfect pastry. You can add your favorite fruits, chocolate chips, whatever your heart desires!
What are some of the easiest things to make? Is it possible to whip up a batch of muffins in no time? I mean, we’re talking about one bowl, a whisk, and ten minutes of your time – and you’re set. What are some of the best recipes that I can think of?
Thirdly, it’s budget- You probably already have most of the ingredients in your pantry and fridge, which means no extra ingredients. What are some of the best trips to the store? What is the perfect combination of yogurt, flour, eggs and sugar? What are some good ways to serve them as a dessert? What are the best things to do for a brunch?
What is my favorite recipe for making sure my kids eat a healthy snack? Is breakfast before school compulsory?
What is a good recipe for blueberry muffins?
How to Make Yogurt Muffins
Quick Overview
Making these **yogurt muffins** is a breeze! You start by whisking together your dry ingredients, then separately combining the wet ones. Next, you gently fold the wet into the dry until just combined, being careful not to overmix. Then, you add in any mix-ins you want. Scoop the batter into muffin tins, and bake until golden brown. The key is to use good quality ingredients, fold gently, and not overbake. Trust me, these are foolproof and you’ll become a master in no time!
Ingredients
For the Main Batter: What is the main battery
- 2 cups all-purpose flour – I usually use unbleached, but any kind will work.
- 34 cup granulated sugar – You can adjust the amount slightly depending on your preference.
- 2 teaspoons baking powder – This is what gives the muffins their lift!
- 12 teaspoon baking soda – Works with baking powder for perfect rise.
- 14 teaspoon salt – Just a pinch to balance the flavors.
- I’ve tried Greek yogurt and regular yogurt, both work great. The tangier the yogurt, the more flavorful the muffins!
- 12 cup milk – I always use whole milk for the best texture, but you can substitute with almond milk to get a smoother texture. What is the best way to describe a product?
- 2 large eggs – These help bind everything together.
- 14 cup vegetable oil – Or melted butter for a richer flavor.
- 1 teaspoon vanilla extract – Pure vanilla is best, but imitation works too.
For the Filling:
- 1 cup fresh or frozen blueberries – Or any other fruit you enjoy!
- 12 cup chocolate chips – Semi-sweet or Dark Chocolate are my favorite.
- Zest of 1 lemon – Adds a nice citrusy zing!
For the Glaze:
- 1 cup powdered sugar – Make sure it’s sifted to avoid lumps.
- 2-3 tablespoons milk – Add a little more or less depending on the consistency.
- 12 teaspoon vanilla extract – Adds a subtle vanilla flavor.
What are the steps to
Step 1: Preheat & Prep Pan
What should I do first, preheat my oven to 375°F (190°C). I always start this step first so the oven is ready when the batter is. While the oven is heating up, line a 12-cup muffin tin with paper liners or grease it with cooking spray. I like liners because they make cleanup so easy, but if you don’t have them, greasing the tin is a good idea. What is the best way to use it Is it important to do it well?
Step 2: Mix Dry Ingredients
In a large bowl, whisk together the flour, sugar, baking powder, and salt. Set aside. Make sure you whisk these ingredients really well to break up any clumps and ensure that everything is completely smooth. is evenly distributed. You want a nice, even mix so that the muffins rise properly. What is the best way to get a good texture? I also like to add a pinch of cinnamon here for extra warmth, especially in the fall. What is my secret ingredient?
Step 3: Mix Wet Ingredients
In a separate bowl, whisk together the yogurt, milk, eggs, oil, and vanilla extract. Set aside. Whisk until everything is well combined and smooth. Be careful not to overmix. If you’re using a stand mixer, use the whisk attachment and mix on medium speed for about 30 seconds. The goal is to get a smooth, consistent mixture with no lumps.
Step 4: Combine
How do you mix wet and dry ingredients? Gently fold everything together with a spatula just until combined. Do not overmix muffins. This will result in a tough muffin. If there is still flour in the batter, it should be fine. If you’re adding any mix-ins like blueberries or chocolate chips, gently fold them in now. Where does magic happen?
Step 5: Prepare Filling
Where do I get creative? If you’re using blueberries, you can leave them whole or gently toss them in a little bit of flour. To prevent them from sinking to the bottom. If you’re using chocolate chips, just make sure they are of good quality. If you’re doing a streusel topping, mix together the ingredients in tastiness bowl.
Step 6: Layer & Swirl
Fill muffin cups about 34 full. If you’re using a filling, add it to the center of the muffin batter. I also love to swirl a little extra yogurt on top of them to give them an amazing finish. How do I make a yogurt muffin? Drop 1 teaspoon of yogurt on top of each muffin and gently swirl it. I learned this trick from my mom, who always made the prettiest cakes and pastries!
Step 7: Bake
Is it safe to bake in the preheated oven for 18-20 minutes? I usually start checking at 18 minutes to make sure they don’t overbake. How do you keep an eye on oven temperatures? If the tops of muffins start to brown too quickly, you can loosely tent them with foil. If you’re using a convection oven, reduce the baking time by 5 minutes.
Step 8: Cool & Glaze
Let the muffins cool in the tin for a few minutes before transferring them to clingfilm. Cool completely. When they’re cooling, you can make the glaze. In a small bowl, whisk together the powdered sugar, milk, and vanilla extract until smooth. Set aside. If the glaze is too thick, add a little more milk, one teaspoon at .50, until it reaches your taste. What is the desired consistency Once the muffins are completely cool, drizzle the glaze over the tops. I find that the glaze tastes best when it’s slightly runny.
Step 9: Slice & Serve
Once the glaze has set, your muffins are ready to serve! I usually eat them right after they cool down. I don’t like them. Serve with fresh fruit, whipped cream, or a side of fresh strawberries. What are some of the best muffins you’ve ever had? Is there a formula that melts in your mouth?
What is the best way to serve it?
What are some of the best yogurt muffin recipes? For a delicious breakfast, pair them with roasted coffee and fresh fruit. I also love serving these with whipped cream and a sprinkle of cinnamon.
For brunch, arrange them on a platter with some fresh berries and a selection of cheeses. Serve with mimosas or a refreshing fruit punch. It’s the perfect way to make your brunch look extra special!
As dessert, these muffins are absolutely delicious with a scoop of vanilla Ice Cream and a drizzle of chocolate sauce. You can even warm them up in the microwave for a few seconds to make them extra gooey and delicious.
And let’s not forget about the perfect cozy snack! They are also perfect as an afternoon snack with a warm cup of tea. You can also make them into mini muffins for an even easier snack option. I’ve even been known to sneak one (or two!) for a midnight treat. My family has always loved them served alongside a hot cup of chocolate. It’s our go-to on a chilly evening!
Top Tips for Perfecting Your Yogurt Muffins
Over the years, I’ve made these **yogurt muffins** so many times that I’ve learned a few tricks to ensure they turn out perfectly every single time. Here are some of my top tips, just for you!
First, always make sure you prep your zucchini properly. I always recommend grating the zucchini on a box grater, and then squeezing out any excess moisture with a paper towel. This will prevent your muffins from becoming soggy.
Next, the mixing is key. Don’t overmix the batter! Overmixing develops the gluten in the flour, which can lead to tough muffins. Mix just until the wet and dry ingredients are combined. A few lumps are okay. Trust me on this one – it makes a huge difference!
When it comes to swirling, get creative! You can use a toothpick to swirl the batter, or even create different patterns. Experiment with different colors or flavors of jam to create beautiful effects.
Don’t be afraid to swap out ingredients! You can try using different types of flour, such as whole wheat or gluten-free blends, for a slightly different texture. You can also experiment with different types of yogurt, like coconut or almond, for a different flavor profile.
For baking, I always recommend checking the muffins a few minutes before the recommended baking time. Oven temperatures can vary, so it’s always best to check for doneness using a toothpick.
Finally, glaze variations. You can try adding different flavors to your glaze, such as lemon zest, orange extract, or even a little bit of espresso powder. You can also experiment with different toppings, such as sprinkles, chopped nuts, or shredded coconut.
I’ve also learned that letting them cool in the tin for a few minutes before transferring them to a wire rack helps them hold their shape. These are my favorite tips, and I always follow them, every single time.
Storing and Reheating Tips
These **yogurt muffins** are great because they stay fresh for a few days! Here’s how I store them.
At room temperature, you can keep them in an airtight container for up to 2-3 days. Make sure they’re completely cooled before you store them, and keep them out of direct sunlight to maintain freshness.
For longer storage, store them in the refrigerator, also in an airtight container, for up to a week. This is great if you want to make a big batch and have muffins on hand all week long!
You can also freeze these muffins! Wrap each muffin individually in plastic wrap, then place them in a freezer bag. They can last for up to 2-3 months in the freezer. When you’re ready to eat them, you can thaw them at room temperature or in the refrigerator overnight.
When it comes to the glaze, I usually add it right before serving, but if you’ve already glazed them, they can still be stored in the refrigerator or freezer. If frozen, let the muffins thaw completely before enjoying! I find that the glaze actually holds up pretty well. I think the glaze tastes the best when its fresh, though!
I have tried all of these methods, and they all work great! My favorite way to reheat them is in the microwave for a few seconds, but you can also warm them up in the oven or toaster oven. They taste almost as good as the day I baked them.
Frequently Asked Questions
Final Thoughts

So, there you have it! My absolute favorite **yogurt muffins**. I sincerely hope you love these as much as my family and I do. They’re perfect for a quick breakfast, a snack, or even a simple dessert. The amazing thing about them is they never get old! They are also so easy to customize. Experiment with different fruits, flavors, and toppings to make them your own!
If you enjoyed this recipe, I think you’ll absolutely love my other muffin recipes!
Let me know in the comments below if you give this recipe a try, and what you thought! I can’t wait to hear all about your creations! Happy baking, friends!
yogurt muffins
Ingredients
Main Ingredients
- 2.5 cups all-purpose flour
- 0.5 cup granulated sugar
- 2 tsp baking powder
- 0.5 tsp baking soda
- 0.5 tsp salt
- 1 cup plain yogurt
- 0.5 cup vegetable oil
- 2 large eggs
- 1 tsp vanilla extract
Instructions
Preparation Steps
- Preheat oven to 375°F (190°C). Line a 12-cup muffin tin with paper liners.
- In a large bowl, whisk together flour, sugar, baking powder, baking soda, and salt.
- In a separate bowl, whisk together yogurt, oil, eggs, and vanilla extract.
- Add the wet ingredients to the dry ingredients and stir until just combined. Do not overmix.
- Fill muffin liners about 2/3 full.
- Bake for 18-20 minutes, or until a toothpick inserted into the center comes out clean.
- Let cool in the muffin tin for a few minutes before transferring to a wire rack to cool completely.


