


I still remember the first time I tasted homemade Lemon Curd at my grandmother’s house. It was a sunny Saturday morning, and she had just taken it out of the oven. The aroma was incredible – a perfect balance of sweet and tangy that immediately drew me in. I was hooked from the very first bite. Years later, I’ve perfected my own recipe, and it’s become a staple in our household. My kids ask for it all the time, and I’m more than happy to oblige.
What is lemon curd?
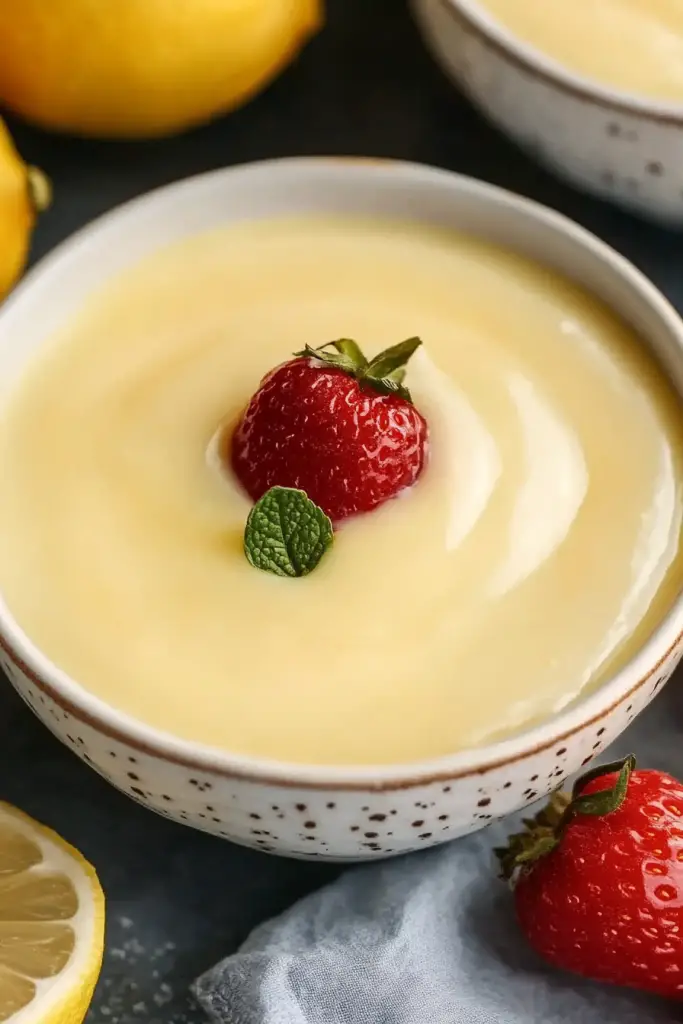
Think of homemade lemon curd as a tangy, sweet, and creamy spread that’s essentially a British dessert staple. It’s made with just a few simple ingredients, including lemons, sugar, eggs, and butter. The result is a rich, velvety texture that’s perfect for topping toast, scones, or even using as a cake filling. It’s incredibly easy to make and is a great way to use up fresh lemons from your garden or market.
Why you’ll love this recipe?
This homemade lemon curd recipe is a game-changer for several reasons. Firstly, it’s incredibly easy to make, requiring just a few simple ingredients and minimal cooking time. Secondly, it’s incredibly versatile – you can use it as a topping for toast, scones, or cakes, or even as a filling for cakes and pastries. And finally, it’s a great way to use up fresh lemons, which are packed with vitamin C and other nutrients. What I love most about this recipe is the way the lemon flavor is balanced by the sweetness of the sugar and the richness of the butter. It’s truly a taste sensation!
How do I make homemade lemon curd?
Quick Overview
Here’s a quick rundown of how to make homemade lemon curd: simply combine lemon juice, sugar, eggs, and butter in a saucepan and cook over medium heat, stirring constantly, until the mixture thickens. That’s it! This recipe is incredibly easy to make and requires minimal cooking time, making it perfect for busy home cooks.
Ingredients
For the Curd:* 1 cup freshly squeezed lemon juice * 1 cup granulated sugar * 3 large egg yolks * 1/2 cup (1 stick) unsalted
For the Glaze:
* 1 cup powdered sugar
* 2 tablespoons freshly squeezed lemon juice
Step-by-Step Instructions
Step 1: Prepare the Lemon Juice
Start by preparing the lemon juice. You can use a manual or electric juicer to extract the juice from the lemons. Be sure to strain the juice to remove any seeds or pulp.
Step 2: Combine the Lemon Juice, Sugar, and Eggs
In a medium saucepan, combine the lemon juice, sugar, and egg yolks. Whisk until the mixture is smooth and the sugar has dissolved.
Step 3: Add the Butter
Add the butter to the saucepan and whisk until it’s fully incorporated into the mixture.
Step 4: Cook the Mixture
Cook the mixture over medium heat, stirring constantly, until it thickens and coats the back of a spoon. This should take about 10-15 minutes.
Step 5: Strain the Curd
Strain the curd into a clean bowl to remove any egg solids or butter particles.
Step 6: Prepare the Glaze
In a small bowl, whisk together the powdered sugar and lemon juice until smooth.
Step 7: Assemble the Lemon Curd
Spoon the lemon curd into a serving bowl or jar and top with the glaze.
What to Serve It With
This homemade lemon curd is incredibly versatile and can be served with a variety of sweet and savory items. Here are a few ideas to get you started:
* Serve it on toast or scones for a delicious breakfast or snack
* Use it as a filling for cakes and pastries
* Top it on yogurt or oatmeal for a sweet and tangy dessert
* Use it as a dip for fresh fruit or cookies
Top Tips for Perfecting Your Homemade Lemon Curd
Here are a few tips to help you perfect your homemade lemon curd:
* Use fresh lemons for the best flavor
* Don’t overcook the mixture, as it can become too thick and sticky
* Strain the curd to remove any egg solids or butter particles
* Use a high-quality butter for the best flavor
* Experiment with different flavor combinations, such as adding a hint of vanilla or citrus zest
Storing and Reheating Tips
Here are a few tips for storing and reheating your homemade lemon curd:
* Store it in an airtight container in the refrigerator for up to 2 weeks
* Reheat it gently over low heat, whisking constantly, until smooth and creamy
* Use it as a topping for toast or scones, or as a filling for cakes and pastries
Frequently Asked Questions
Final Thoughts & Conclusion
I hope you’ve enjoyed this recipe for homemade lemon curd as much as I have. It’s a delicious and versatile dessert that’s perfect for topping toast, scones, or cakes. The best part is that it’s incredibly easy to make and requires minimal cooking time, making it perfect for busy home cooks. So go ahead and give it a try – I promise you won’t be disappointed!


