


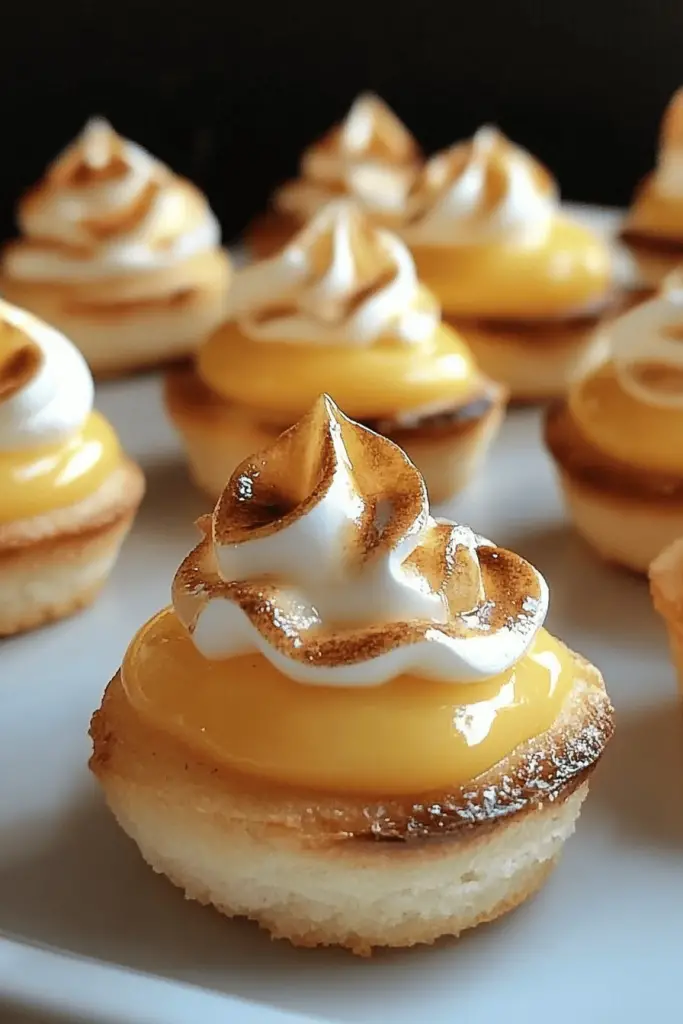
You know those moments when guests are about to arrive, and you suddenly realize your appetizer game is weaker than a deflated soufflé? Yeah, I’ve been there more times than I care to admit! But then, there are those magical recipes, the ones that are so ridiculously easy and so incredibly delicious, they become your go-to saviors. This is one of those recipes for me. It’s my secret weapon for any gathering, big or small. Whenever I whip up these “Sunshine Bites,” it’s like a little burst of happiness on a plate. They’re vibrant, flavorful, and honestly, they disappear faster than free samples at the grocery store. They’re not quite a quiche, not quite a muffin, but something wonderfully unique in between, perfect for anyone looking for some fantastic What are some good appetizers for a party?What are some of the best ways to relax that won’t stress you out?
What are Sunshine Bites?
So, what exactly *are* these “Sunshine Bites”? The name itself, I think, captures their essence perfectly – they’re little golden nuggets of pure joy! Essentially, they’re a delightful cross between a savory muffin and a mini frittata, baked in bite-sized portions. I started calling them Sunshine Bites because the first time I made them, the sun was streaming through my kitchen window, illuminating their beautiful golden hue, and they just *felt* like sunshine. They’re incredibly forgiving, meaning you can really play around with the fillings. Think of them as a blank canvas for whatever deliciousness you have on hand! They’re designed to be incredibly easy to make, which is a huge plus when you’re hosting. It’s all about creating these little flavor bombs that are perfect for nibbling.
Why you’ll love this recipe?
Oh, where do I even begin with why this recipe is a game-changer? First off, the flavor is just incredible. You get this lovely savory base, often with a hint of herb or cheese, and then whatever delicious filling you choose really shines through. It’s a symphony of textures and tastes in every single bite. And the simplicity? Seriously, it’s almost embarrassing how easy these are. You can practically make them with your eyes closed, which is a lifesaver on busy days or when you’re juggling a million things before guests arrive. Plus, they’re surprisingly cost-efficient. You can use up odds and ends from your fridge, making it a fantastic way to avoid food waste and save some money. What I love most, though, is their sheer versatility. I’ve made these for everything from casual brunches to fancy cocktail parties, and they always get rave reviews. They’re much more satisfying than a plain cracker and cheese, and feel a lot more special than your average store-bought dip. If you love my Mini Sausage Rolls, you’ll adore these because they offer that same comforting, bite-sized appeal with a whole different flavor profile.
How to Make Sunshine Bites
Quick Overview
The process for making these Sunshine Bites is wonderfully straightforward. You’ll mix a simple batter, fold in your chosen fillings, spoon them into a muffin tin, and bake until they’re golden brown and puffed up. It’s a no-fuss method that guarantees delicious results every time. The magic really happens in the simple combination of ingredients that come together to create something truly special. You’re essentially creating mini flavor hubs that are perfect for parties.
Ingredients
For the Main Batter:
This forms the delicious, slightly savory base of our bites. I always opt for all-purpose flour because it’s readily available and works like a charm. For the leavening, baking powder is key to getting that lovely puffiness. A pinch of salt enhances all the flavors, and a touch of pepper adds a subtle warmth. When it comes to the eggs, fresh is best – they act as the binder and give the bites their structure. For the liquid, I usually use milk, but I’ve found that unsweetened almond milk or even a dairy-free milk works wonderfully and can make them even creamier, which is a fun little trick. Butter, melted, adds that rich, comforting flavor that everyone loves.
For the Filling:
This is where you get to be creative! My absolute favorite combination is finely diced ham or cooked bacon, a sprinkle of sharp cheddar cheese, and some finely chopped chives for a fresh, oniony bite. But honestly, the sky’s the limit! Cooked spinach and feta? Delicious. Sun-dried tomatoes and mozzarella? Divine. Roasted red peppers and goat cheese? Yes, please! Just make sure whatever you’re adding is already cooked and chopped into small, manageable pieces so they distribute evenly. I tend to keep it simple with just two or three ingredients to let the main flavors really shine through without getting lost.
For the Glaze:
Okay, confession time: I don’t always glaze these, but when I do, it takes them to a whole new level. A simple glaze made with a little melted butter and a touch of honey or maple syrup brushed on *just* as they come out of the oven gives them a beautiful sheen and a hint of sweetness that perfectly complements the savory filling. It’s entirely optional, but it really does add that extra something special, making them even more irresistible as party appetizers.

Step-by-Step Instructions
Step 1: Preheat & Prep Pan
First things first, get your oven preheated to 375°F (190°C). This ensures they bake evenly from the start. Then, grab a standard muffin tin. I highly recommend greasing it really well or using silicone muffin liners. These little bites can sometimes stick, and nobody wants to spend precious time scraping out remnants when they could be mingling! A good spray of non-stick cooking spray or a generous brush of melted butter usually does the trick.
Step 2: Mix Dry Ingredients
In a large bowl, whisk together your all-purpose flour, baking powder, salt, and pepper. Just a quick whisk until everything is well combined. You want to make sure the baking powder is evenly distributed so you get a nice, consistent rise in all your bites. It’s a simple step, but it really matters for the texture.
Step 3: Mix Wet Ingredients
In a separate, medium-sized bowl, whisk your eggs until they’re lightly beaten. Then, stir in your milk (or milk alternative) and the melted butter. Make sure the butter isn’t too hot, or it might scramble the eggs. You’re looking for a smooth, well-emulsified mixture. This is where the moisture and richness come from.
Step 4: Combine
Now, pour the wet ingredients into the dry ingredients. Here’s the most important part: gently mix until *just* combined. Seriously, don’t overmix! A few streaks of flour are perfectly okay. Overmixing develops the gluten too much, which can lead to tough, dense bites instead of light and fluffy ones. I usually use a spatula and fold it a few times until there are no large dry pockets. This is a crucial step for that perfect tender texture.
Step 5: Prepare Filling
If you haven’t already, prepare your chosen filling ingredients. Make sure everything is chopped into small, bite-sized pieces. For example, if you’re using cheese, grate it finely. If you’re using cooked veggies like bell peppers or onions, dice them very small. Stir your chosen filling ingredients into the batter until they are evenly distributed. Don’t crowd the batter too much; you want to be able to taste the base as well as the filling.
Step 6: Layer & Swirl
Spoon the batter evenly into the prepared muffin cups, filling each about two-thirds full. You don’t want them overflowing when they bake. If you want to add a little visual flair or a concentrated burst of flavor, you can dollop a small spoonful of extra filling (like cheese or a bit more chopped ham) right on top of each batter-filled cup. You can even use a toothpick to swirl it in slightly, creating a lovely marbled effect. It’s not essential, but it looks super fancy!
Step 7: Bake
Bake in your preheated oven for about 18-22 minutes, or until the edges are golden brown and a toothpick inserted into the center comes out clean. The exact time can vary depending on your oven, so keep an eye on them. They should be nicely puffed up and firm to the touch. I often rotate the pan halfway through baking to ensure even browning.
Step 8: Cool & Glaze
Once they’re done, let them cool in the muffin tin for about 5-10 minutes. This helps them firm up a bit more before you try to remove them. If you’re using a glaze, this is the time! While they’re still warm, brush a little of the melted butter and honey mixture over the tops. It gives them a beautiful shine and a subtle sweetness that’s just divine.
Step 9: Slice & Serve
Carefully remove the Sunshine Bites from the muffin tin and place them on a wire rack to cool completely, or serve them warm. They are absolutely delicious served at room temperature, which is perfect for parties because you don’t have to worry about keeping them hot. They’re designed to be a perfect handheld treat, so no need for forks or knives!
What to Serve It With
These Sunshine Bites are incredibly versatile and fit into almost any meal or occasion! For a delightful breakfast, I love pairing them with a strong cup of coffee or a fresh glass of orange juice. They’re so much more satisfying than just toast, and the savory notes are a nice change of pace. When I’m planning a brunch spread, I’ll often include these alongside some fruit salad, perhaps some scrambled eggs or a quiche. They add a lovely, colorful element to the table and are always a hit with guests. For an impromptu dessert craving, believe it or not, these can work! Especially if you lean into a slightly sweeter filling like cheese and perhaps some caramelized onions, and maybe a drizzle of balsamic glaze. They offer a more sophisticated, less sugary end to a meal. And for those wonderfully cozy snacks when you just want something comforting, they’re ideal. Serve them with a side of your favorite soup or a simple green salad for a light yet filling lunch. My family has a tradition of making these on rainy afternoons with hot chocolate – pure comfort!
Top Tips for Perfecting Your Sunshine Bites
Over the years, I’ve learned a few tricks that make these Sunshine Bites absolutely foolproof. For the Zucchini Prep (if you choose to add it as part of your filling!), it’s absolutely crucial to grate it and then squeeze out as much moisture as possible. You can do this by wrapping the grated zucchini in a clean kitchen towel or cheesecloth and wringing it out firmly. Otherwise, you’ll end up with watery bites, and nobody wants that! My Mixing Advice is pretty simple: err on the side of under-mixing. A few flour streaks are a badge of honor, signaling that you’ve avoided overdeveloping the gluten. Remember, you’re not making bread! For Swirl Customization, if you want that fancy marbled look, don’t go too deep with your toothpick. A gentle swirl on the surface is usually enough to create a beautiful pattern without over-agitating the batter. In terms of Ingredient Swaps, I’ve found that most cooked vegetables work beautifully. Just ensure they are finely chopped. For the dairy, if you’re swapping milk for a non-dairy alternative, unsweetened varieties are best to control the overall sweetness. For Baking Tips, always trust your nose! When they start smelling wonderfully toasty and golden, it’s a good sign they’re close to done. If your oven tends to run hot, consider lowering the temperature by about 10-15 degrees Fahrenheit. And for Glaze Variations, if you don’t have honey or maple syrup, a simple melted butter brushed on while warm adds a lovely sheen. You could also try a sprinkle of flaky sea salt for a sweet-and-salty contrast, or even a dusting of paprika for a pop of color and a hint of warmth.
Storing and Reheating Tips
These Sunshine Bites are fantastic for make-ahead purposes, which is a huge win when you’re planning a party! For Room Temperature Storage, they’re generally best enjoyed within 2-3 hours of cooling. Make sure they are completely cooled before covering them loosely with a clean kitchen towel or loosely tenting them with foil. This allows air circulation and prevents them from becoming soggy. If you need to store them longer, Refrigerator Storage is your best bet. Place them in an airtight container, perhaps with a piece of parchment paper between layers to prevent sticking. They’ll stay fresh and delicious in the fridge for up to 3-4 days. For longer storage, Freezer Instructions are a lifesaver. Let the bites cool completely, then wrap them individually or in small batches in plastic wrap, followed by a layer of aluminum foil or a freezer-safe bag. They can be frozen for up to 2-3 months. To thaw, simply remove them from the freezer and let them come to room temperature, or gently reheat them. For Glaze Timing Advice, if you plan to store them for any length of time, I recommend applying the glaze *after* reheating. Glaze applied before storing can sometimes become sticky or weep.
Frequently Asked Questions
Final Thoughts

Honestly, I could talk about these Sunshine Bites all day. They are, without a doubt, one of my most cherished recipes because they deliver so much joy with so little effort. They’re the perfect answer to that age-old question: “What can I bring that’s easy, impressive, and delicious?” I truly hope you give them a try. They’re the kind of food that makes people happy, and isn’t that what cooking is all about? If you’re looking for more easy entertaining ideas, you might also enjoy my recipe for [Link to another related recipe, e.g., Crispy Baked Chicken Wings] or my tips for [Link to another related post, e.g., Quick Dips for Entertaining]. I can’t wait to hear what you think and what amazing fillings you come up with! Please share your creations and any variations you try in the comments below. Happy baking!

party appetizers
Ingredients
Main Ingredients
- 0.5 cup cream cheese softened
- 0.25 cup shredded cheddar cheese
- 2 tablespoons chopped fresh chives
- 1 teaspoon Worcestershire sauce
- 1 pinch black pepper
- 24 crackers for serving
Instructions
Preparation Steps
- In a medium bowl, combine the softened cream cheese, shredded cheddar cheese, chopped chives, and Worcestershire sauce.
- Mix well until all ingredients are thoroughly combined and smooth.
- Season with black pepper to taste.
- Chill the mixture for at least 30 minutes to allow the flavors to meld.
- Serve the appetizer mixture with crackers.


