


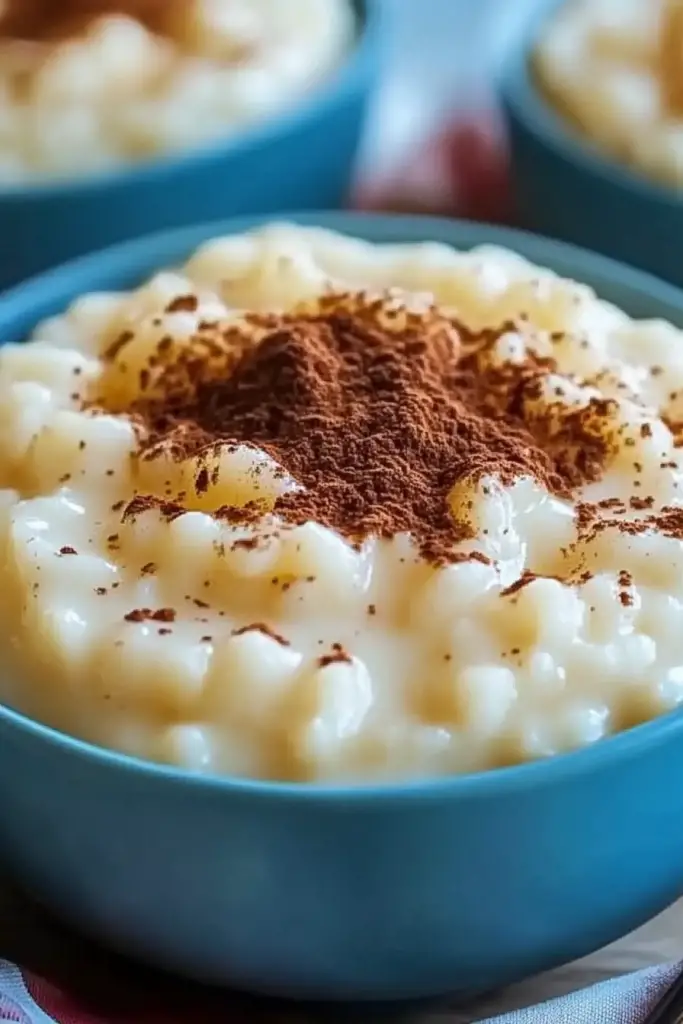
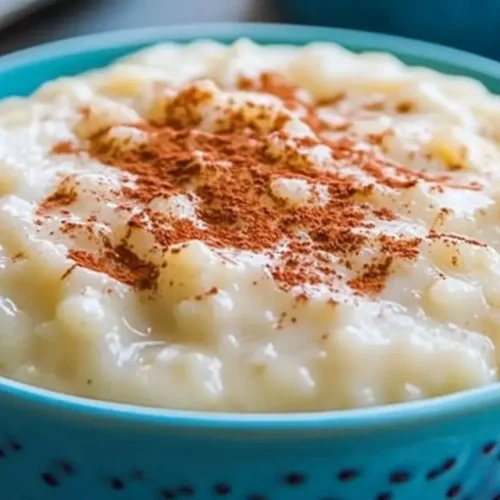
There are some recipes that just feel like a warm hug, you know? The kind that instantly transport you back to your grandma’s kitchen, filled with the comforting aroma of something truly special. For me, that recipe is this Old Fashioned rice pudding. It’s the kind of dessert that doesn’t need fancy decorations or complicated steps; it’s pure, unadulterated comfort in a bowl. When I’m craving something sweet but don’t have the energy to bake a whole cake, or when the weather turns a bit chilly and calls for something cozy, this is my absolute go-to. It’s so much simpler than, say, a traditional apple pie, but it hits all the same nostalgic notes, maybe even better because it’s so incredibly creamy and satisfying. My family devours this stuff – seriously, there are rarely any leftovers!
What is Old Fashioned Rice Pudding?
So, what exactly *is* Old Fashioned rice pudding? Think of it as the ultimate creamy, comforting rice dessert. It’s not a cake, it’s not a custard, though it has elements of both. It’s essentially rice (usually short-grain like Arborio or sushi rice) slowly simmered in milk and sugar until it becomes incredibly tender and the liquid transforms into a thick, luxurious sauce. The “old fashioned” part really speaks to its roots – it’s a timeless recipe, one that’s been passed down through generations, using simple, wholesome ingredients. It’s the kind of dish that doesn’t rely on shortcuts; it’s all about patient cooking and letting the ingredients work their magic. It’s humble, yet utterly decadent.
Why you’ll love this recipe?
Honestly, where do I even begin with why this recipe is so special? First and foremost, the FLAVOR. It’s subtly sweet, with a delicate vanilla aroma that’s just heavenly. The creamy texture is unlike anything store-bought; it’s smooth, rich, and utterly satisfying with every spoonful. And don’t even get me started on the little bits of tender rice! It’s also incredibly SIMPLICITY itself. Once you get the ingredients going, it’s mostly hands-off simmering. There’s no complicated creaming of butter and sugar, no delicate folding of egg whites. It’s incredibly COST-EFFICIENT too. Rice, milk, sugar, a bit of vanilla – these are pantry staples that won’t break the bank, making it a perfect treat for any budget. The VERSATILITY is another huge plus. While I love it plain, it’s fantastic with a sprinkle of cinnamon, a dollop of jam, or even some fresh berries. What I love most about this old fashioned rice pudding is its ability to be both a comforting, everyday treat and a surprisingly elegant dessert when served in pretty little ramekins. It’s the perfect antidote to a stressful day or a delightful end to a family meal.
How do I make old-fashioned rice pudding?
Quick Overview
This old fashioned rice pudding recipe is all about gentle cooking. You’ll simply combine rice, milk, sugar, and flavorings, then let it simmer away on the stovetop until it’s thick and creamy. The key is patience – letting the rice absorb all that lovely milky goodness. It’s so straightforward, I often make it while I’m tidying up the kitchen or catching up on emails. The result is a deeply satisfying, comforting dessert that feels like it took hours, but really, it’s pretty fuss-free.
Ingredients
For the Rice Pudding Base:
1 cup Arborio rice (or other short-grain rice like sushi rice) – Arborio is my favorite because it releases starches wonderfully, making it extra creamy. If you can’t find it, sushi rice works a treat!
6 cups whole milk – Don’t skimp on the fat here! Whole milk gives the best richness and creaminess. You *can* try with 2%, but it won’t be quite as decadent.
3/4 cup granulated sugar – Adjust this slightly to your sweetness preference. I find this is a good starting point.
1/4 teaspoon salt – This little bit of salt actually helps enhance the sweetness and overall flavor profile.
2 teaspoons pure vanilla extract – Use the good stuff! It makes such a difference.
For Optional Flavor Boosters:
1 cinnamon stick – For a warm, spiced undertone.
Zest of 1 lemon or orange – Adds a bright, fragrant note.
Step-by-Step Instructions
Step 1: Rinse the Rice (Optional but Recommended)
Give your rice a quick rinse under cold water in a fine-mesh sieve. This removes excess starch and can prevent the pudding from becoming *too* gummy. It’s a small step, but I find it helps achieve a better texture. Let it drain well.
Step 2: Combine Base Ingredients
In a large, heavy-bottomed saucepan (this is important to prevent scorching!), combine the rinsed rice, whole milk, granulated sugar, and salt. If you’re using a cinnamon stick or citrus zest, toss those in now too. Give everything a good stir to make sure the sugar is mostly dissolved.
Step 3: Bring to a Gentle Simmer
Place the saucepan over medium heat. Stir frequently as it heats up. You want to bring the mixture to a gentle simmer, not a rolling boil. Once you see small bubbles starting to form around the edges, reduce the heat to low.
Step 4: Simmer and Stir (The Patient Part!)
This is where the magic happens! Let the rice pudding simmer *very gently* uncovered, for about 45-60 minutes. You need to stir it frequently – I’m talking every 5-10 minutes – to prevent the bottom from sticking or scorching and to help it thicken evenly. Scrape the bottom and sides of the pan as you stir. The pudding will gradually thicken and become creamy as the rice cooks and absorbs the milk. It’s ready when the rice is tender and the mixture is the consistency of thick soup. It will continue to thicken as it cools.
Step 5: Stir in Vanilla
Once the rice is tender and the pudding has reached your desired consistency, remove it from the heat. If you used a cinnamon stick or citrus zest, fish those out and discard them. Stir in the pure vanilla extract. Taste and add a little more sugar if you prefer it sweeter, but remember it will taste sweeter once it cools.
Step 6: Cool Slightly
Let the rice pudding cool in the saucepan for about 10-15 minutes before serving. This allows it to thicken up a bit more. You can also ladle it directly into serving bowls and let it cool in those.
Step 7: Serve Warm or Chilled
This old fashioned rice pudding is delicious served warm, at room temperature, or chilled from the refrigerator. The texture and flavor are wonderful at any temperature, though it’s particularly comforting warm!
Step 8: Garnish (Optional)
For a little extra flair, you can top your rice pudding with a sprinkle of ground cinnamon, a dollop of fruit jam, some toasted nuts, or a swirl of whipped cream. Get creative!
Step 9: Enjoy!
Sit back, relax, and savor every spoonful of your homemade old fashioned rice pudding. You’ve earned it!
What to Serve It With
This old fashioned rice pudding is wonderfully self-sufficient, but it also plays nicely with a few friends. For a simple Breakfast treat, I love having it with a strong cup of coffee – the sweetness cuts through the bitterness perfectly. A light dusting of cinnamon on top is all it needs to feel special. For Brunch, I like to elevate it a bit. Serving it in individual pretty glass bowls with a few fresh berries (raspberries are my go-to for their tartness) makes it feel quite elegant. A sprig of mint is a lovely touch too. As a Dessert, it’s a classic for a reason. It’s perfect after a hearty meal; a small bowl is deeply satisfying. I often pair it with a small glass of dessert wine, like a Sauternes, if I’m feeling fancy. For Cozy Snacks, it’s the ultimate Comfort Food. My kids love it with a drizzle of honey or a spoonful of their favorite jam. Sometimes, I’ll even just warm up a small portion for myself late at night when I need a little pick-me-up. It’s always a winner.
Top Tips for Perfecting Your Old Fashioned Rice Pudding
Over the years, I’ve picked up a few tricks to ensure my old fashioned rice pudding comes out absolutely perfect every single time. First, Zucchini Prep isn’t a thing here because it’s rice pudding, but for the RICE itself: Using the right kind of rice is crucial. Arborio or sushi rice are my favorites because their high starch content is what gives the pudding that signature creaminess. If you use long-grain rice, you won’t get that luscious texture. For Mixing Advice, the most important thing is patience and frequent stirring. Don’t walk away from the pot for too long, especially in the later stages. I’ve learned that even 10 minutes can be too long if the heat is just a hair too high. You’re looking for a consistency that coats the back of your spoon beautifully; it shouldn’t be stiff, but definitely not watery. For Swirl Customization, if you wanted to add something like a fruit puree or chocolate sauce, you’d swirl it in right at the end, just before serving, for a marbled effect. Ingredient Swaps are possible, though I’m a purist for the classic. You could try using half-and-half or a mix of milk and cream for an even richer pudding, but stick to whole milk if you want the traditional creamy texture. Some people experiment with non-dairy milks, but you’ll likely lose some of that characteristic richness. Baking Tips aren’t really applicable here as it’s stovetop, but for the Simmering stage: keep the heat low and slow. A gentle bubble is all you need. If it’s boiling vigorously, it can scorch the milk and make the rice mushy instead of tender. Glaze Variations? This pudding doesn’t typically have a glaze, but if you wanted to add one, a simple dusting of cinnamon or nutmeg is perfect. My biggest lesson learned was about not rushing the simmering process. It truly needs that time to develop its flavor and texture. Another tip: taste as you go! Sugar levels can vary, and you want it just right for your preference.
Storing and Reheating Tips
Storing this delicious old fashioned rice pudding is pretty straightforward. At Room Temperature, it’s best to let it cool completely and then cover it. It’s generally safe to leave out for about 2 hours, but I prefer to get it into the fridge sooner rather than later, especially if it’s warm out. For Refrigerator Storage, I like to put it in an airtight container. It will keep beautifully for about 3-4 days. The texture will firm up considerably in the fridge, which is totally normal. When you’re ready to enjoy it again, you can reheat it gently on the stovetop over low heat, stirring constantly, and adding a splash more milk if it’s too thick. You can also microwave it in short bursts, again stirring in between. For Freezer Instructions, it’s possible, but I find the texture can change slightly upon thawing, becoming a bit more watery. If you do freeze it, portion it into freezer-safe containers or bags, making sure to remove as much air as possible. It can be frozen for up to 1-2 months. Thaw it overnight in the refrigerator and then reheat as mentioned above. Glaze Timing Advice isn’t really relevant here as there’s no baked glaze, but for toppings: if you add fresh fruit or whipped cream, it’s best to do that just before serving, not when storing.
Frequently Asked Questions
Final Thoughts
Seriously, if you’ve never made homemade old fashioned rice pudding before, you are missing out on such simple, pure joy. It’s the kind of recipe that reminds you why cooking from scratch is so rewarding. It’s comforting, it’s delicious, and it’s made with love – what more could you ask for? It’s a perfect testament to how a few humble ingredients can transform into something truly magical. If you love this recipe, you might also enjoy my creamy tapioca pudding or my easy baked custard. Both share that same nostalgic, comforting vibe. Give this old fashioned rice pudding a try; I promise you won’t regret it! I can’t wait to hear how yours turns out, so please leave a comment below and let me know your favorite way to enjoy it!
Old Fashioned Rice Pudding
Ingredients
Main Ingredients
- 0.5 cup Arborio rice
- 4 cups Milk whole milk is best
- 0.75 cup Granulated sugar
- 2 large Eggs beaten
- 1 teaspoon Vanilla extract
- 0.5 teaspoon Salt
- 0.25 teaspoon Ground cinnamon optional, for topping
Instructions
Preparation Steps
- In a medium saucepan, combine the rice, milk, and salt. Bring to a boil over medium-high heat.
- Reduce heat to low, cover, and simmer for 30 minutes, stirring occasionally, until the rice is tender and the mixture has thickened.
- In a small bowl, whisk together the sugar and beaten eggs.
- Gradually whisk about 1 cup of the hot rice mixture into the egg mixture to temper the eggs. Then, pour the tempered egg mixture back into the saucepan with the remaining rice mixture.
- Cook over low heat, stirring constantly, for 5-7 minutes more, until the pudding is thick and creamy. Do not boil.
- Stir in the vanilla extract. Serve warm, or chill in the refrigerator for at least 2 hours before serving. Sprinkle with cinnamon if desired.


