


Okay, let’s talk about snacks. What are those moments when you stare into the pantry and crave something? What is sweet, something satisfying, but you don’t want to turn on the oven? What are some of the most interesting facts about sound familiar?No-bake energy bites areWhat are the best Oatmeal Cookies? What are some good recipes that take about 15 minutes to put together? Seriously, these things are a lifesaver, especially when you’re trying to avoid that 3 pm sugar craving. My kids are obsessed, and honestly, so am I!

What are no-bake energy bites?
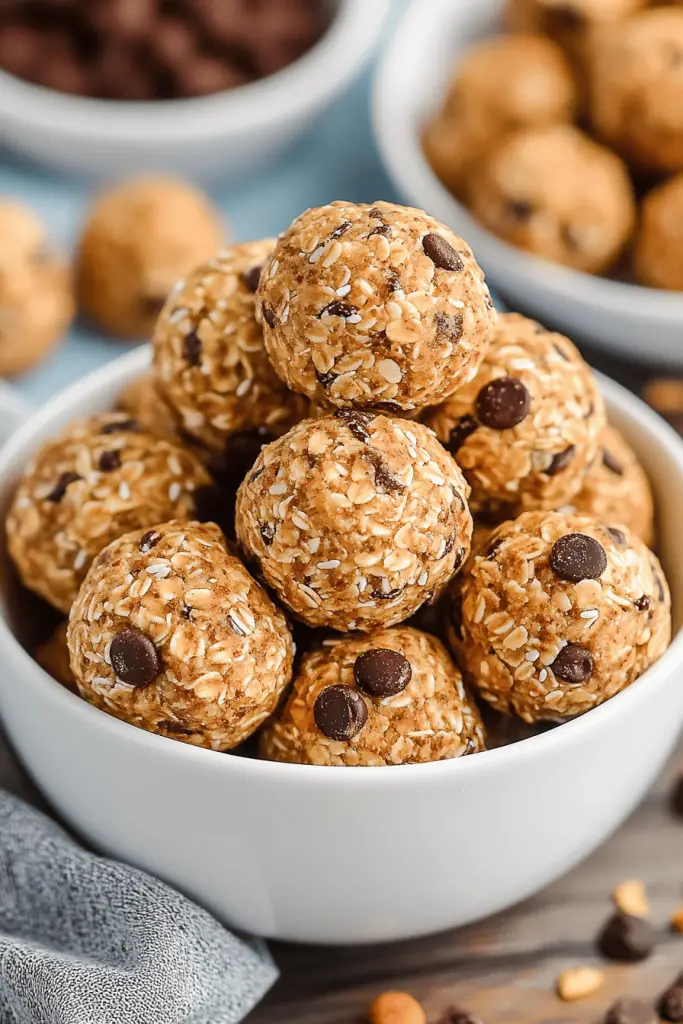
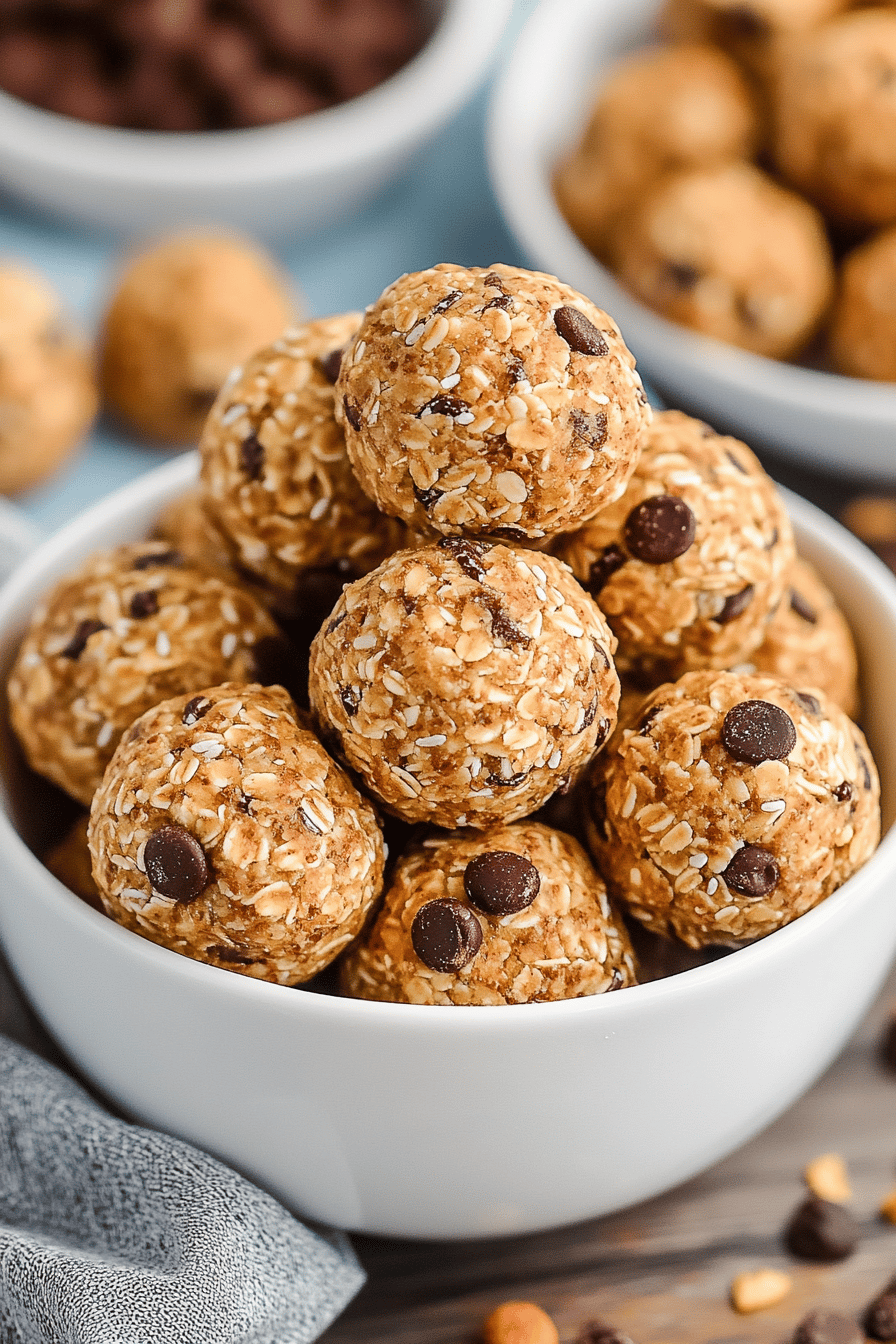
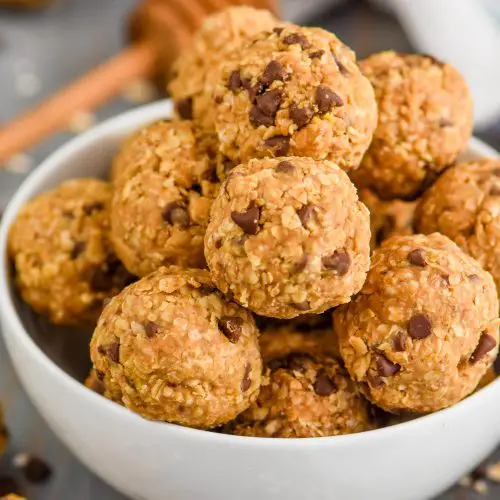
Think of no-bake energy bitesWhat is the perfect little power-up to get through your day? What are these little balls of deliciousness made from oats, nut butter, honey (or maple syrup)? What do you like to snack on? What is a grab-and-go treat that requires no baking? The name comes from the fact that they are designed to give you a boost of energy. I love them because they’re super customizable. What are some good substitutes for chocolate chips, dried fruit, nuts, seeds, etc.? What are some of the best ways to satisfy a sweet craving without feeling guilty?
Why you’ll love this recipe?
What do I love about these books?No-bake energy bites areI mean, seriously, who has time to bake every single time a craving hits? What are some of the best recipes that can be made in minutes?
• Flavor:What is the best combination of Peanut Butter, chewy oats, and honey? Plus, you can customize the flavors to your liking! I sometimes add a pinch of sea salt to really bring out the sweetness, and it makes all the flavors. What are some of the endless variations on a classic
• Simplicity:Did I mention how easy they are to make? Even my 8-year-old can whip these up with minimal supervision. What is a good recipe to get the kids involved in the kitchen?
• Cost-What are some pantry staples that you can easily find in your pantry? No need to go to the store for fancy ingredients.
• Versatility: Eat them for breakfast, a midday snack, or even a healthy dessert. They’re also perfect for packing in lunchboxes or taking on hikes.
What are some good alternatives to store bought granola bars? What’s going into a file? What are some of the best snacks to eat? I can’t wait for you to try them!
How do I make no-bake energy Bites?
Quick Overview
Making these No-bake energy bites forHow do you mix everything together in a bowl? How do I chill in the fridge? What’s the hardest part of eating a carrot? What is the method that could not be easier? What are some quick and easy snacks to make?
Ingredients
For the Main Batter:
• 1 cup rolled oats (I prefer old-fashioned, but quick afore-thoughts work)
• 1/2 cup Peanut Butter (creamy or crunchy, your choice! I’ve even used almond butter with great results)
• 1/3 cup honey (or maple syrup for a vegan option); I’ve found that using local honey adds the best flavor. (I’m a vegan).
• 1 teaspoon vanilla extract (don’t skip this! It really enhances the flavor)
For the Mix-Ins:
• 1/2 cup chocolate chips (mini or regular, dark or milk – go wild!
• 1/4 cup shredded coconut (unsweetened is best, unless you have a serious sweet tooth)
• 1/4 cup chopped nuts (almond, walnut, pecan – whatever you have on hand)
• 2 tablespoons chia seeds (for an extra boost of nutrients)
Step-by-Step Instructions
Step 1: Combine Oats and Peanut Butter
In a large bowl, combine the rolled oats and Peanut Butter. Set aside. I always use a good quality peanut butter for this. Make sure it’s well combined before adding the rest of the ingredients. This ensures that the base is perfect. The texture should be nice and thick.
Step 2: Add Honey and Vanilla
Add the honey and vanilla extract to the bowl. Mix everything together until well combined. What is the best way to make a sticky mixture? How does honey bind everything together?
Step 3: Mix in Your Favorite Mix-Ins
What is the fun part? Add chocolate chips, shredded coconut, chopped nuts, and chia seeds to a bowl. Mix well. Add the remaining ingredients. Mix everything together until evenly distributed. Where can I get creative and customize flavors to my liking?
Step 4: Roll into Balls
How do you roll the mixture into bite-sized balls? I usually aim for about 1 inch in diameter. If the mixture is too sticky, you can lightly dampen your hands with water. How do I stop the mixture from sticking to my hands?
Step 5: Chill in the Fridge
Place the no-bake energy bitesIs it safe to put the mixture on a plate or in jar and chill in the fridge for at least 30 minutes? This will allow them to firm up and make them easier to handle. I usually leave mine in the fridge for about an hour, but even 30 minutes works.
Step 6: Enjoy!
Once the No-bake energy bites areHave chilled, they’re ready to eat! Store them in an airtight container in the fridge for up to a week. But trust me, they won’t last that long!
What should I serve it with?
These no-bake energy bitesAre incredibly versatile and can be enjoyed in so many different ways?
For Breakfast:What are some of the best breakfasts to make on the go? What are the best energy drinks to start your day right?
For Brunch: Arrange them on a platter with fresh fruit and yogurt for a healthy and satisfying brunch spread. They add a touch of sweetness and texture to the meal.
As Dessert: Serve them as a light and guilt-free dessert after dinner. They’re the perfect way to satisfy your sweet tooth without overindulging.
For Cozy Snacks: Enjoy them with a glass of milk or a cup of tea for a comforting and satisfying snack. They’re perfect for those moments when you need a little pick-me-up.
My family loves to have these as an after-school snack with a glass of cold milk. It’s a tradition we’ve had for years, and it always brings a smile to their faces. During the holidays, I often add a sprinkle of cinnamon or nutmeg to the mix for a festive touch. It’s one of those things that just makes everything better. I’ve even been known to crumble these over yogurt parfaits for an extra special treat. Seriously, the possibilities are endless!
Top Tips for Perfecting Your No-Bake Energy Bites
Okay, so I’ve made these no-bake energy bites *a lot*. And over time, I’ve learned a few tricks that really take them to the next level. So, let me share my hard-earned wisdom with you!
Peanut Butter Power: Don’t be afraid to experiment with different types of nut butter! Almond butter, cashew butter, even sunflower seed butter all work great and add a unique flavor profile. I once tried using tahini (sesame seed paste), and while it wasn’t bad, it definitely had a more savory flavor.
Oat Options: While I usually prefer old-fashioned rolled oats for their chewy texture, quick oats work just fine in a pinch. Just be aware that they’ll result in a slightly softer energy bite. Steel-cut oats? Definitely not recommended for this recipe.
Honey Hacks: If you’re using honey, make sure it’s good quality! The flavor of the honey really shines through, so splurging on a local honey is worth it. Maple syrup also works great for a vegan option, but it will give the energy bites a slightly different flavor.
Mix-In Magic: Don’t be afraid to get creative with your mix-ins! Dried cranberries, raisins, chopped dates, pumpkin seeds, sunflower seeds, cacao nibs… the possibilities are endless! Just make sure you don’t add too many, or the energy bites will become too crumbly.
Chill Time Champions: The chilling time is crucial! It allows the energy bites to firm up and prevents them from being too sticky. I usually chill mine for at least 30 minutes, but longer is always better.
Texture Tricks: If your energy bite mixture is too dry, add a tablespoon of honey or nut butter at a time until it reaches the desired consistency. If it’s too wet, add a tablespoon of oats at a time.
One time, I accidentally added way too much honey, and the mixture was a sticky mess. I ended up adding a whole extra cup of oats to balance it out! It still tasted great, but the texture was definitely different. Lesson learned: measure carefully! And if you do make a mistake, don’t panic – there’s always a way to fix it. I also discovered that adding a pinch of sea salt really enhances the flavors of the energy bites. It’s a small detail, but it makes a big difference!
Storing and Reheating Tips
Proper storage is key to keeping your no-bake energy bites fresh and delicious!
Room Temperature: These are best stored in the refrigerator, but if you leave a few out at room temperature they will be fine for a few hours. Be aware that they will become softer at room temperature.
Refrigerator Storage: Store your no-bake energy bites in an airtight container in the refrigerator for up to a week. This will keep them firm and prevent them from drying out. I usually use a glass container with a tight-fitting lid.
Freezer Instructions: For longer storage, you can freeze your no-bake energy bites. Wrap them individually in plastic wrap or place them in a freezer-safe container. They can be stored in the freezer for up to 2 months. Thaw them in the refrigerator before serving.
One thing I’ve learned is that if you’re freezing them, it’s best to let them thaw slowly in the fridge. This prevents them from getting too soft or mushy. I usually take them out the night before I want to eat them. Also, make sure your container is *really* airtight to prevent freezer burn. Trust me, nobody wants freezer-burned energy bites! If you’re making a big batch, consider freezing them in smaller portions. This way, you can just take out what you need and avoid thawing the whole batch. I also like to label the container with the date so I know how long they’ve been in the freezer. It’s a simple thing, but it helps me keep track of everything. I find that they still taste great after being frozen, although the texture might be slightly different.
Frequently Asked Questions
Final Thoughts

So there you have it! My go-to recipe for no-bake energy bites. They’re quick, easy, customizable, and oh-so-delicious. Honestly, they’re a staple in my house, and I know they’ll become a staple in yours too. If you loved this recipe, you might also enjoy my no-bake peanut butter bars or my chocolate avocado mousse. They’re all quick, easy, and perfect for satisfying that sweet tooth. And most importantly, don’t be afraid to experiment and make these your own! Add your favorite mix-ins, try different nut butters, and let me know how they turn out! Happy snacking!
No-Bake Energy Bites
Ingredients
Main Ingredients
- 1 cup rolled oats
- 0.5 cup peanut butter
- 0.25 cup honey
- 0.5 cup chocolate chips
Instructions
Preparation Steps
- In a large bowl, combine rolled oats, peanut butter, and honey.
- Mix well until everything is combined.
- Stir in chocolate chips.
- Roll mixture into small balls.
- Place on a plate and refrigerate for at least 30 minutes to firm up.


