


Funfetti Cookies: The Ultimate Guide to Irresistible, Colorful Cookies
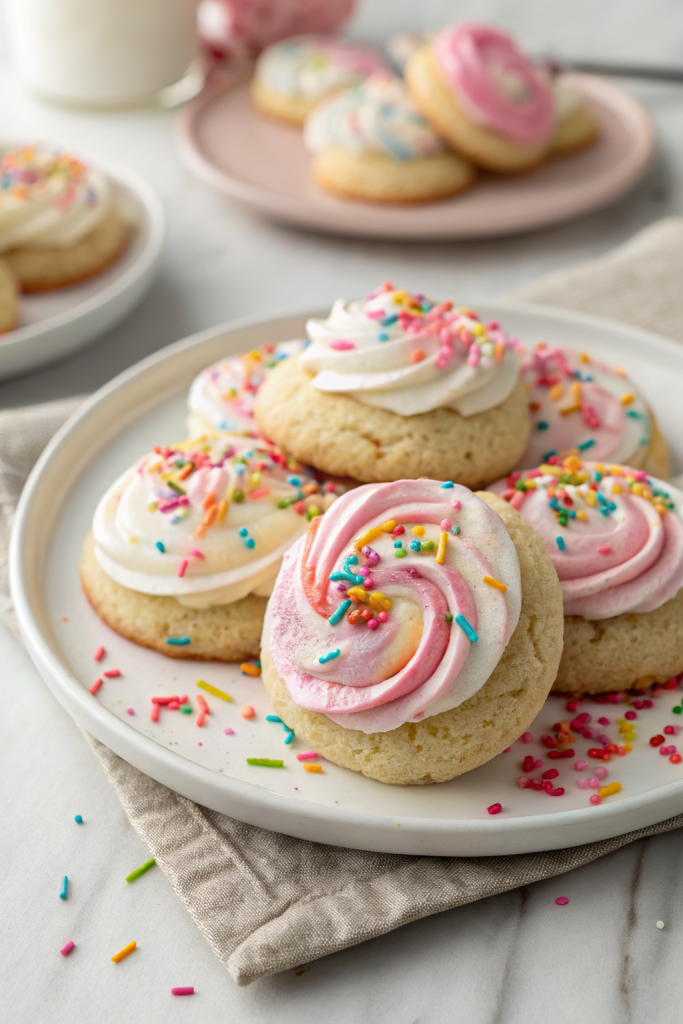
There’s something undeniably joyful about a cookie that’s not just delicious but also a little burst of happiness in every bite. Funfetti cookies are the perfect example—sweet, soft, and studded with sprinkles that make them as fun to eat as they are to bake. Whether you’re celebrating a birthday, brightening up a weeknight, or simply treating yourself, these cookies are guaranteed to put a smile on your face. With their fluffy texture, vanilla flavor, and rainbow sprinkles throughout, they’re more than just a dessert—they’re an experience. In this guide, we’ll walk you through everything you need to know about making the most delicious Funfetti Cookies at home, from ingredients to serving suggestions.
What Is Funfetti Cookies?
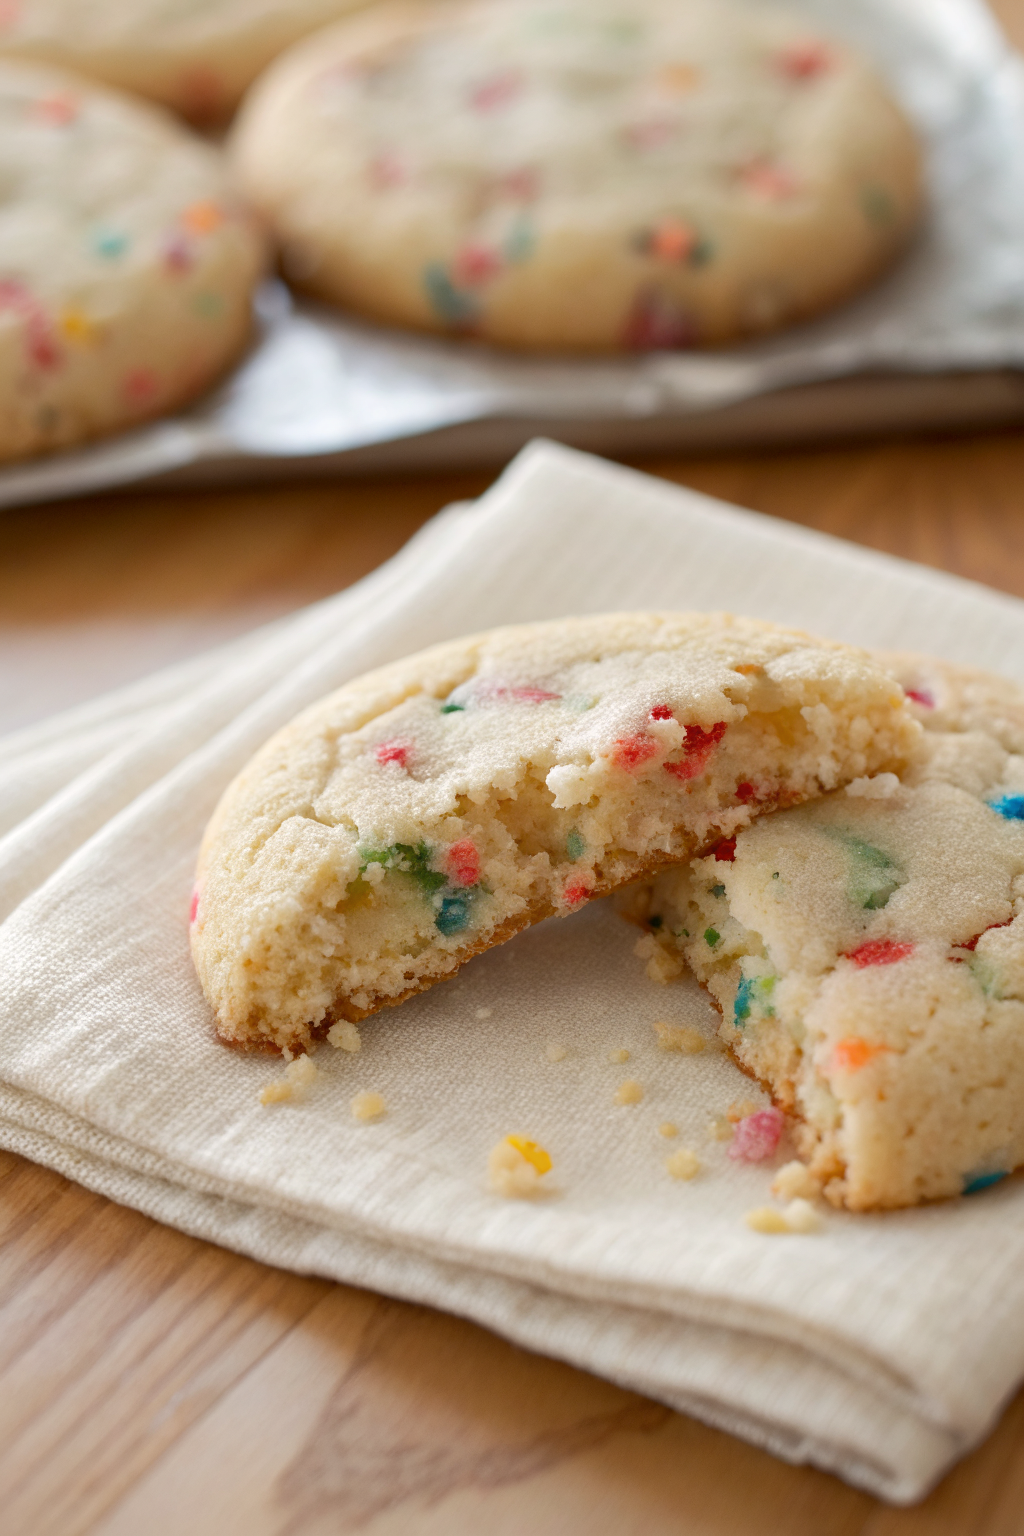
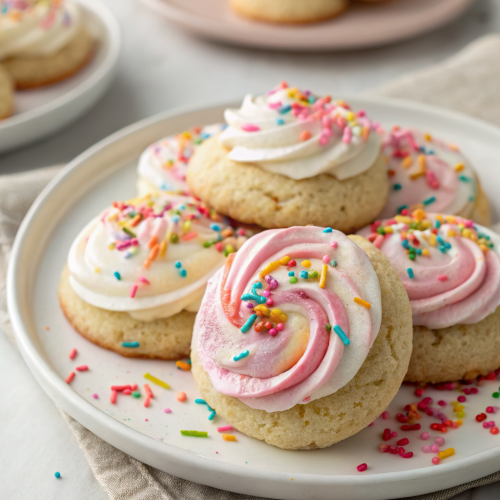
Funfetti cookies are a twist on traditional sugar cookies, infused with rainbow sprinkles for a festive look and a pop of color in every bite. The name “funfetti” is actually a portmanteau of “fun” and “pizzazz,” and it perfectly captures the playful spirit of these treats. Unlike cookies where sprinkles are just added on top, in funfetti cookies, the sprinkles are mixed directly into the dough, creating a swirled, colorful effect when sliced. They’re soft, chewy, and bursting with vanilla flavor, making them a favorite among both kids and adults. These cookies are often associated with celebrations like birthdays and parties, but honestly, who needs an excuse to enjoy them? They’re the kind of treat that makes any day feel a little more special.
Why You’ll Love This Recipe
If you love classic sugar cookies but want something extra special, these Funfetti Cookies are going to become your new go-to recipe. First off, they’re incredibly easy to make—no fancy techniques or hard-to-find ingredients required. Just mix, bake, and enjoy! The best part? You can customize them to fit any occasion. Add more sprinkles, switch up the colors, or even mix in chocolate chips for a double dose of sweetness. Plus, they’re not too sweet, so they pair wonderfully with coffee, milk, or even ice cream. Another reason to adore this recipe? It’s forgiving. Even if your dough looks a little lumpy when you add the sprinkles, don’t worry—they’ll blend together beautifully once baked. And let’s be real, the sight of those vibrant swirls in every slice is pure joy. Whether you’re baking for a crowd or just craving a little indulgence, these cookies deliver on taste, texture, and visual appeal.
How to Make Funfetti Cookies
Quick Overview
Baking Funfetti Cookies is surprisingly simple. Start by preheating your oven and preparing your baking sheet. Then, cream together butter and sugars until light and fluffy. Beat in eggs and vanilla extract, followed by dry ingredients like flour, baking powder, and salt. Fold in the sprinkles, shape the dough into balls, and place them on the baking sheet. Bake until golden around the edges, then cool slightly before transferring to a wire rack. The whole process takes less than an hour, and the results are worth every minute. These cookies come together quickly, making them ideal for last-minute cravings or weekend baking sessions.
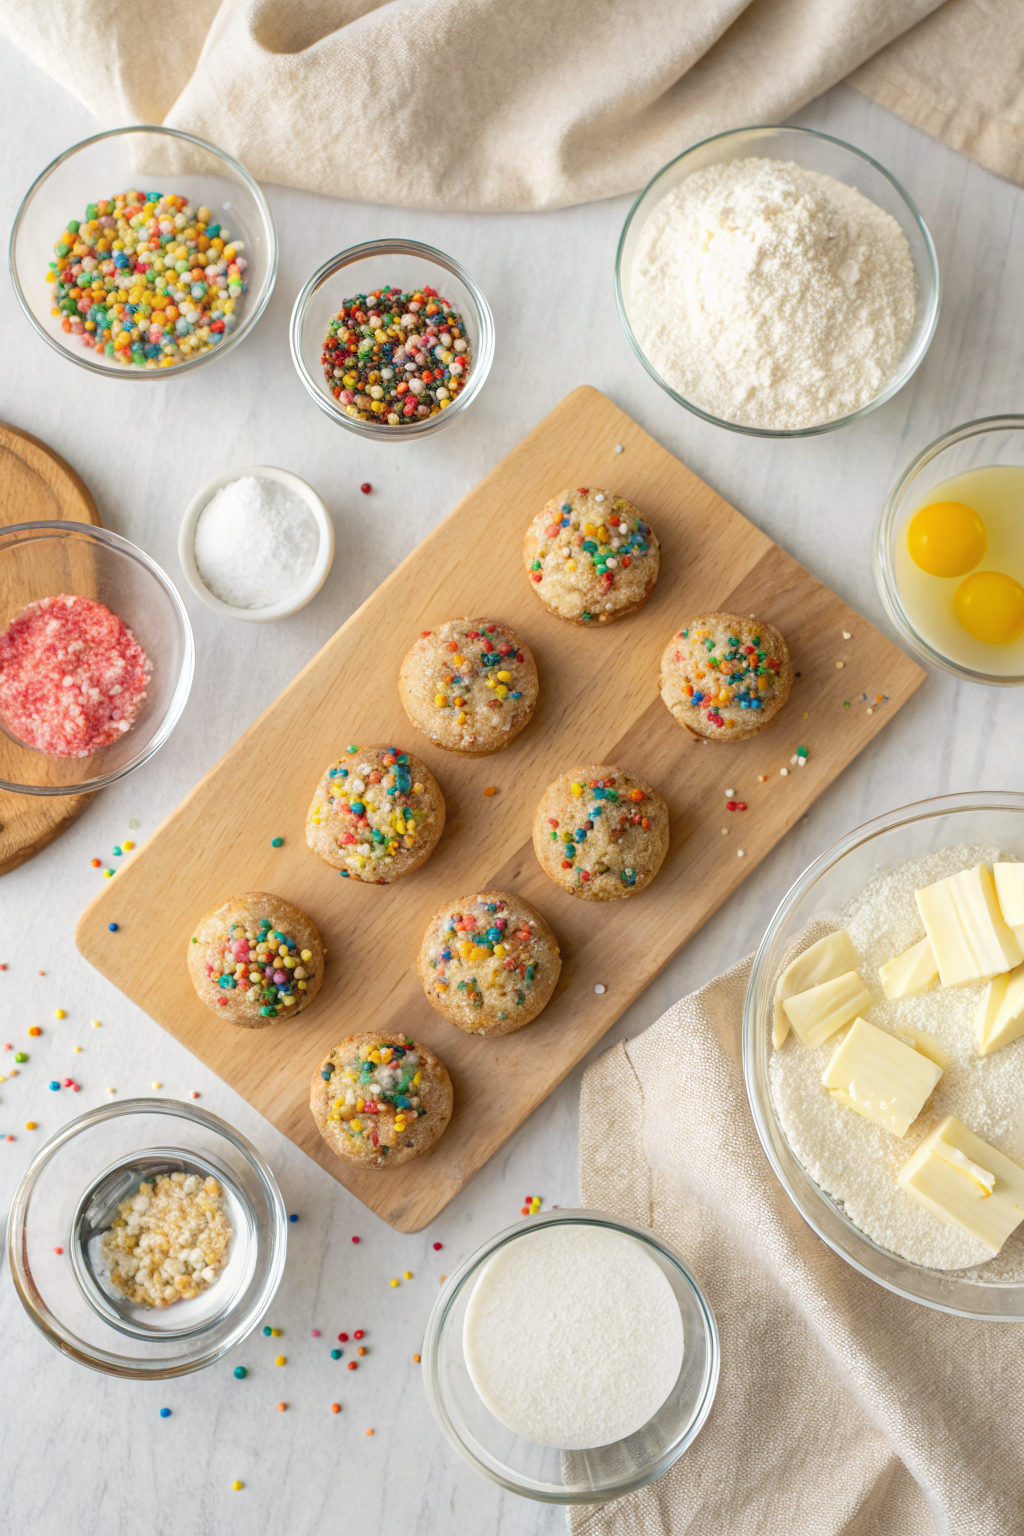
Ingredients
- 1 cup (2 sticks) unsalted butter, softened
- 1 cup granulated sugar
- 1 large egg
- 2 teaspoons vanilla extract
- 2¾ cups all-purpose flour
- ½ teaspoon baking powder
- ¼ teaspoon salt
- 1 cup rainbow sprinkles
Step-by-Step Instructions
Step 1: Preheat & Prep Pan
Preheat your oven to 375°F (190°C). Line a baking sheet with parchment paper or silicone baking mats to prevent sticking and make cleanup a breeze.
Step 2: Cream Butter and Sugar
In a large mixing bowl, cream together the softened butter and granulated sugar until light and fluffy, about 2-3 minutes with an electric mixer. This step ensures the cookies are tender and well-aerated.
Step 3: Add Wet Ingredients
Beat in the egg and vanilla extract until fully combined. Make sure there are no streaks of raw egg in the mixture to avoid any risk during baking.
Step 4: Combine Dry Ingredients
In a separate bowl, whisk together the flour, baking powder, and salt. This helps distribute the leavening agent evenly, preventing pockets of bitterness.
Step 5: Mix Dough and Sprinkles
Gradually add the dry ingredients to the wet mixture, mixing on low speed until just combined. Be careful not to overmix. Gently fold in the rainbow sprinkles using a spatula, ensuring they’re evenly distributed without breaking them apart.
Step 6: Shape and Place Dough
Using a cookie scoop or tablespoon, portion out rounded balls of dough and place them about 2 inches apart on the prepared baking sheet. Press down lightly if desired to help them spread evenly while baking.
Step 7: Bake
Bake in the preheated oven for 8–10 minutes, or until the edges are lightly golden but the centers still look soft. Overbaking will make the cookies tough, so timing is key.
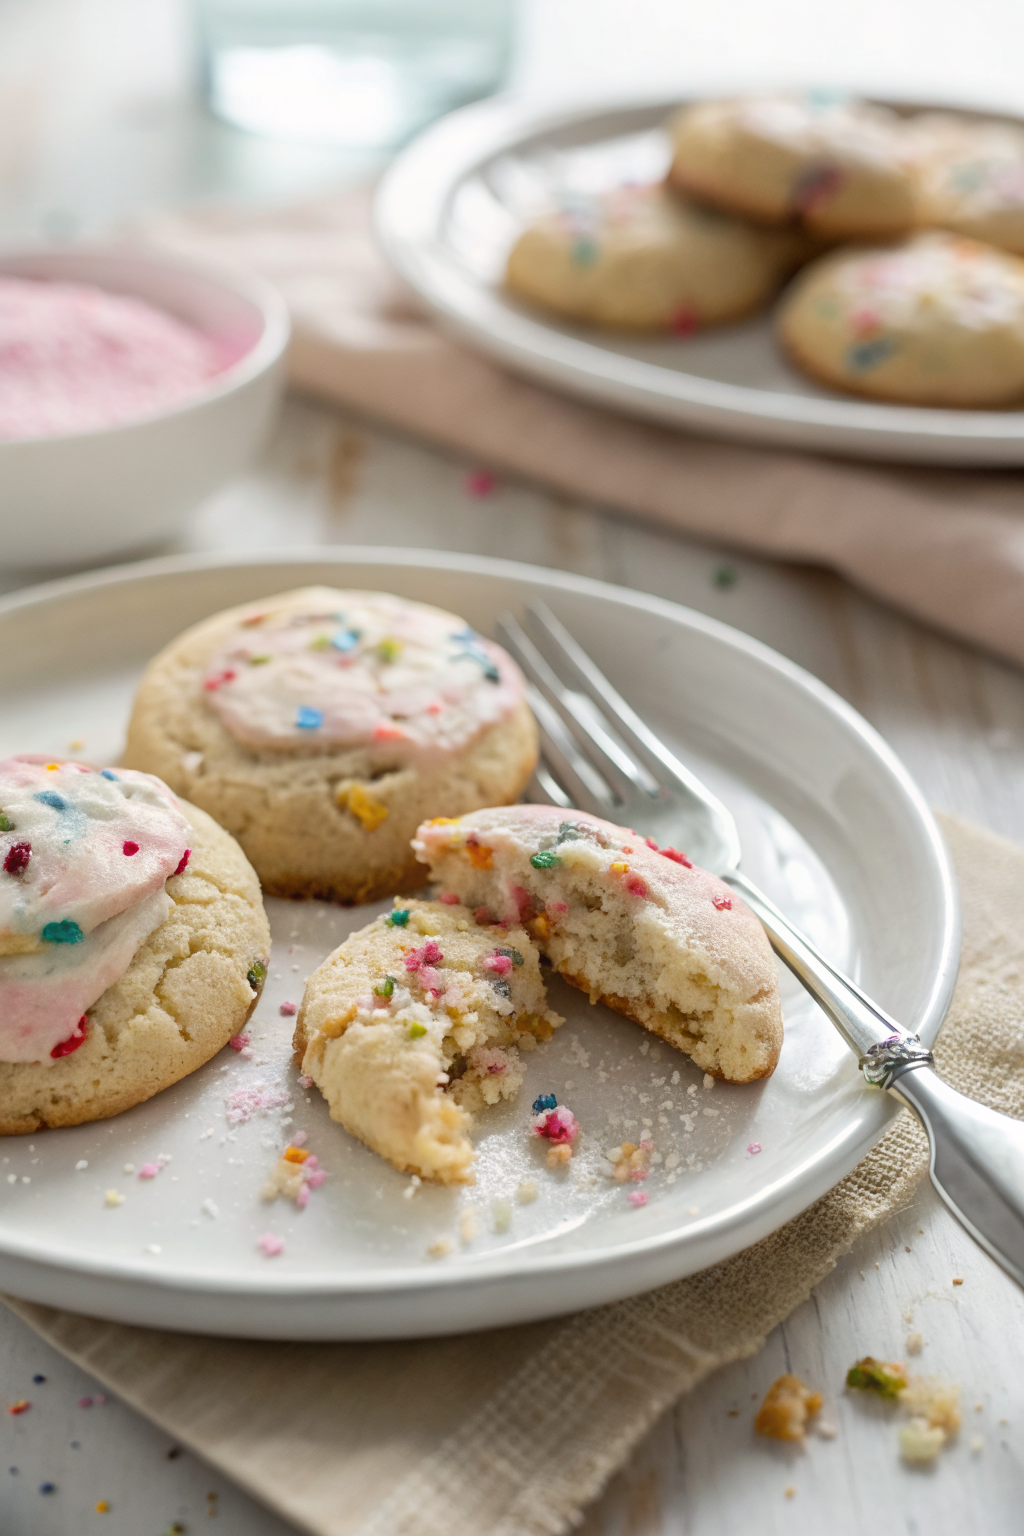
Step 8: Cool and Enjoy
Allow the cookies to cool on the baking sheet for 5 minutes before transferring them to a wire rack to cool completely. Serve warm or at room temperature for the best texture.
What to Serve It With
These Funfetti Cookies are delicious on their own, but they shine when paired with complementary treats. Serve them with a glass of cold milk for a classic combo that never fails. They also pair beautifully with a cup of coffee or tea, especially during afternoon relaxation. For a decadent twist, drizzle them with melted white chocolate and add extra sprinkles on top. If you’re hosting a party, consider setting out a platter of these cookies alongside fruit skewers or yogurt parfaits to balance the sweetness. And because they’re visually stunning, they make excellent centerpieces at birthday tables or holiday gatherings. No matter how you serve them, these cookies are sure to be a hit.
Top Tips for Perfecting Your Funfetti Cookies
To ensure your Funfetti Cookies turn out perfectly every time, keep these tips in mind. First, always use room-temperature butter—it blends more easily with sugar, creating a lighter texture. Don’t skip the parchment paper; it prevents sticking and makes removing the cookies effortless. When folding in sprinkles, handle them gently to preserve their shape and vibrancy. If the dough feels too stiff, let it rest for 10–15 minutes—this makes shaping easier and improves spread during baking. For extra flavor, try adding a pinch of almond extract along with the vanilla. And remember, underbaking slightly is better than overbaking. The cookies will continue to firm up as they cool, so take them out when the edges are just golden. Lastly, store them in an airtight container to maintain freshness and crunch.
Storing and Reheating Tips
Funfetti Cookies stay fresh for up to 5 days when stored properly. Keep them in an airtight container at room temperature, away from direct sunlight. If you refrigerate them, allow them to come back to room temperature before serving to restore their softness. To reheat, place a cookie on a microwave-safe plate and heat for 10–15 seconds. Alternatively, warm them in a 300°F (150°C) oven for 5–7 minutes for a bakery-fresh feel. Freezing is also an option—place cooled cookies between sheets of parchment in a freezer-safe container. They’ll keep for up to 3 months. Thaw at room temperature and refresh in the oven if needed. Proper storage ensures each bite remains as delightful as the first.
Frequently Asked Questions
Final Thoughts
Funfetti Cookies aren’t just a treat—they’re a celebration in every bite. Their cheerful colors, soft texture, and sweet flavor make them a timeless favorite for any occasion. Whether you’re baking for loved ones or indulging in a quiet moment of self-care, these cookies bring joy in the simplest way possible. With this foolproof recipe, you now have everything you need to create bakery-quality results at home. So grab your mixing bowl, sprinkle some magic, and start baking today. Trust me, once you taste these, you’ll understand why funfetti is more than just a trend—it’s a lifestyle.
Funfetti Cookies
Ingredients
Dry Ingredients
- 2.25 cups all-purpose flour
- 1 teaspoon baking powder
- 0.5 teaspoon salt
Wet Ingredients
- 1 cup unsalted butter, softened
- 0.75 cup granulated sugar
- 0.75 cup packed light brown sugar
- 2 large eggs
- 2 teaspoons pure vanilla extract
- 0.5 cup rainbow sprinkles
Instructions
Preparation Steps
- Preheat the oven to 375°F (190°C). Line two baking sheets with parchment paper.
- In a medium bowl, whisk together the flour, baking powder, and salt. Set aside.
- In a large bowl, beat the softened butter, granulated sugar, and brown sugar until creamy and smooth.
- Beat in the eggs one at a time, then mix in the vanilla extract.
- Gradually add the dry ingredients to the wet ingredients, mixing just until combined.
- Fold in the rainbow sprinkles until evenly distributed throughout the dough.
- Scoop rounded tablespoons of dough and roll into balls. Place 2 inches apart on prepared baking sheets.
- Bake for 10–12 minutes, or until the edges are lightly golden but the centers still look soft.
- Cool on the baking sheet for 5 minutes before transferring to a wire rack to cool completely.


