


Oh, this recipe. This one’s like a warm hug from my childhood, right on a plate. I remember those summer nights at my grandparents’ cabin, the smoky scent of the campfire, the crackle of the logs, and the pure joy of roasting marshmallows until they were perfectly gooey. My absolute favorite part, hands down, was always the s’mores. The way the melted chocolate and Peanut Butter combined with that sticky marshmallow and crisp graham cracker was just… magic. Years later, when I was trying to capture that same essence in a bake sale treat that wouldn’t melt everywhere in the summer heat, these Peanut Butter S’mores Bars were born. They’re basically everything you love about a campfire s’more, but in an easy-to-handle, utterly decadent bar form. And let me tell you, they’re a guaranteed hit with literally everyone I’ve ever shared them with. If you’re a fan of classic s’mores, or just have a soft spot for peanut butter and chocolate, prepare to fall head over heels.
What are Peanut Butter S’mores bars?
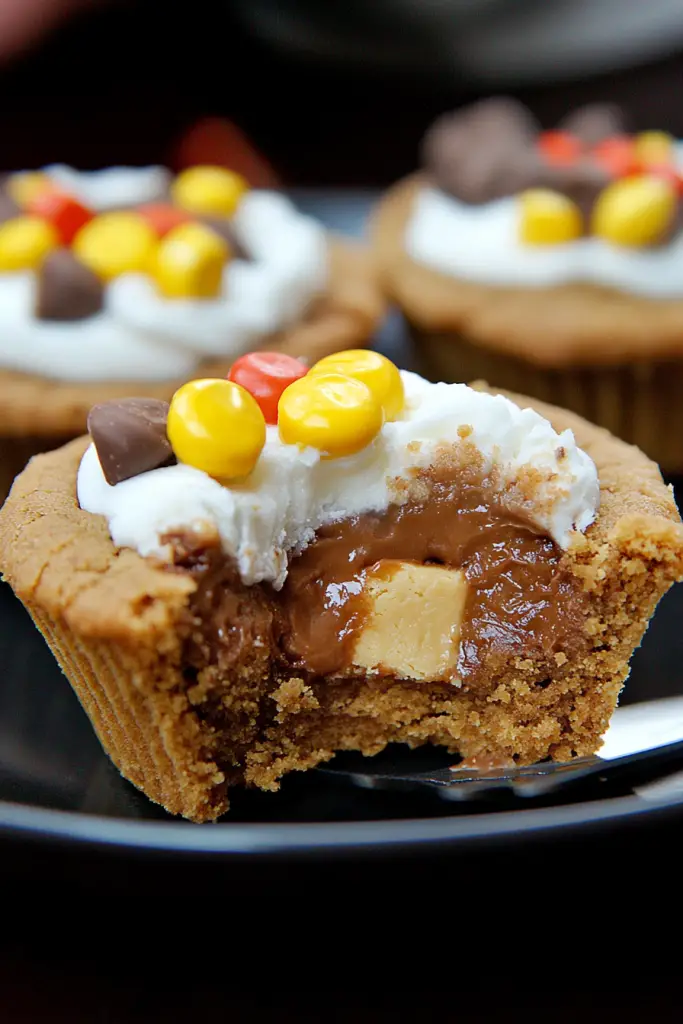
So, what exactly are these magical Peanut Butter S’mores Bars? Think of them as a delightful mashup of your favorite campfire treat, elevated for your home kitchen. They start with a buttery, slightly crisp graham cracker crust, which is then layered with a rich, velvety peanut butter filling. We then crown it all with a generous topping of melted milk chocolate and, of course, those essential, beautifully toasted marshmallows. It’s essentially a deconstructed s’more, transformed into a convenient and incredibly delicious bar. The genius of this recipe is that it captures all the classic flavors and textures – the sweet chocolate, the salty peanut butter, the satisfying crunch of the graham cracker, and the irresistible chewiness of the marshmallow – without needing a bonfire. They’re perfect for parties, potlucks, or just when that sweet craving hits you hard at 9 PM and you don’t want the fuss of lighting a fire or baking a whole pie.
Why you’ll love this recipe?
Honestly, where do I even begin? There are so many reasons why I keep coming back to this Peanut Butter S’mores Bars recipe, and I just know you’re going to adore it too. First and foremost, the flavor is absolutely out of this world. It’s that perfect trifecta of sweet, salty, and chocolatey, with the comforting richness of peanut butter tying it all together. Every bite is a delightful journey through familiar, beloved tastes. Then there’s the sheer simplicity of it all. I’ve made this recipe more times than I can count, and it truly is a lifesaver when I need a crowd-pleasing dessert that doesn’t require hours in the kitchen. The ingredients are all pantry staples, which is always a bonus for those spontaneous baking urges. And the versatility! You can easily customize the chocolate or peanut butter to your liking, and they’re perfect for any occasion, from a casual get-together to a more formal dessert spread. What I love most, though, is the nostalgia. Every time I make them, it’s like a little trip back to those carefree summer days, and sharing them with loved ones always brings so much joy. It’s a recipe that’s not just about the taste, but about the memories it creates. Plus, they look absolutely stunning – that swirl of chocolate and toasted marshmallow is just begging to be photographed!
How do I make peanut butter s’mores bars?
Quick Overview
This recipe is all about layering deliciousness. We’ll start by creating a simple, buttery graham cracker base, then spread on a luscious Peanut Butter filling. After that, a generous drizzle of melted chocolate is swirled in, and finally, we top it all with marshmallows before a quick bake to toast them to perfection. It’s an assembly process more than anything, making it super approachable even for beginner bakers. You get all the amazing flavors of a s’more in a perfectly portioned bar, ready to impress without the fuss.
Ingredients
For the Graham Cracker Crust:
2 cups graham cracker crumbs (about 14-16 full sheets, crushed finely)
1/2 cup unsalted butter, melted
1/4 cup granulated sugar
For the Peanut Butter Filling:
1 cup creamy peanut butter (I prefer Jif or Skippy for that classic taste)
1/2 cup unsalted butter, softened
1 cup powdered sugar
1 teaspoon vanilla extract
For the Chocolate Topping & Marshmallows:
1 cup milk chocolate chips (or your favorite chocolate)
1 tablespoon coconut oil or vegetable oil (helps with smoothness)
1 1/2 cups mini marshmallows (or about 1 cup regular ones, chopped if you prefer)
Step-by-Step Instructions
Step 1: Preheat & Prep Pan
Alright, first things first! Preheat your oven to 350°F (175°C). Grab an 8×8 inch baking pan and line it with parchment paper, leaving some overhang on the sides. This is my little secret for making sure these bars lift out cleanly without any sticking – trust me, it’s a game-changer!
Step 2: Mix Dry Ingredients
In a medium bowl, combine your graham cracker crumbs, granulated sugar, and the melted butter. Give it a good stir until everything is evenly moistened and looks like wet sand. This is what’s going to give us that perfect crumbly-yet-sturdy base.
Step 3: Mix Wet Ingredients
In a separate bowl, cream together the softened butter and creamy peanut butter until they’re light and fluffy. It helps if your butter is truly soft, almost spreadable. Then, beat in the powdered sugar and vanilla extract until you have a smooth, luscious mixture. This is where all that amazing peanut butter flavor comes from!
Step 4: Combine
Now, press about two-thirds of the graham cracker mixture evenly into the bottom of your prepared pan. This will be your crust. Bake it for about 8-10 minutes, just until it’s lightly golden. This pre-baking step helps set the crust so it doesn’t crumble apart when you cut the bars. While that’s baking, take the remaining graham cracker mixture and mix it with the peanut butter filling until it’s just combined. We don’t want to overmix here; we just want to incorporate it.
Step 5: Prepare Filling
Once the crust has had its little pre-bake, carefully spread the peanut butter filling evenly over the warm crust. Smooth it out with a spatula. The warmth from the crust will help the filling spread more easily. This part smells SO good already!
Step 6: Layer & Swirl
In a microwave-safe bowl, combine the milk chocolate chips and the coconut oil. Microwave in 30-second intervals, stirring in between, until the chocolate is melted and smooth. Drizzle the melted chocolate over the peanut butter layer in a random pattern. Then, using a butter knife or a toothpick, gently swirl the chocolate into the peanut butter. Don’t go crazy trying to make perfect patterns; the more abstract, the better it looks, in my opinion!
Step 7: Bake
Now for the grand finale! Sprinkle the mini marshmallows evenly over the swirled chocolate and peanut butter layer. Pop the pan back into the oven for another 5-7 minutes, or until the marshmallows are puffed up and lightly golden brown. Keep a close eye on them, as they can go from perfect to burnt in a blink!
Step 8: Cool & Glaze
This is arguably the hardest part: letting them cool. Once they come out of the oven, let the pan cool completely on a wire rack. This can take a couple of hours. If you try to cut them too soon, they’ll be a gooey mess (though still delicious!). Once cooled, you can lift them out of the pan using the parchment paper overhang. If you want an extra layer of chocolate, you can melt a bit more chocolate and drizzle it over the top once cooled, but honestly, they’re perfect as is.
Step 9: Slice & Serve
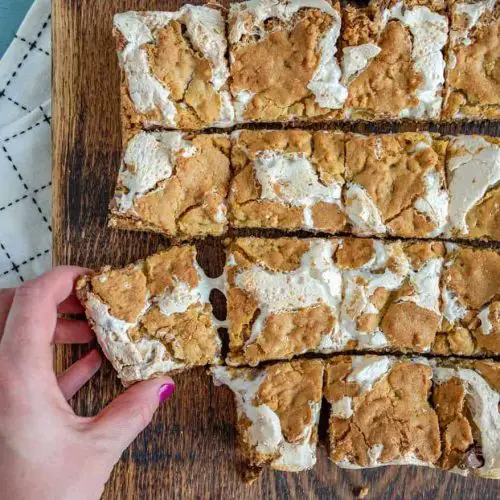
Once completely chilled and set, use a sharp knife to cut the bars into squares. For the cleanest cuts, I often wipe the knife with a warm, damp cloth between slices. Serve these wonderful Peanut Butter S’mores Bars at room temperature. They’re incredible on their own, but also fantastic with a cold glass of milk or a hot cup of coffee!
What to Serve It With
These Peanut Butter S’mores Bars are so versatile, they fit into almost any meal or snack occasion. For breakfast, they’re an indulgent treat that pairs wonderfully with a strong cup of coffee to cut through the sweetness. You could even chop them up and sprinkle them over some yogurt for a special weekend morning. For brunch, they’re a fantastic addition to a dessert table. Imagine them alongside some fresh fruit salad and maybe a lighter pastry – they really add that wow factor! As a dessert, they’re simply divine. Serve them after a hearty meal, perhaps with a scoop of vanilla ice cream or a drizzle of raspberry sauce for a contrasting flavor. And for those cozy snack times? They’re the ultimate comfort food. I love having one with a glass of cold milk while curled up with a good book. My kids often request these for after-school snacks, and I can’t blame them – they disappear in minutes! I’ve also found they’re a huge hit at picnics and BBQs because they don’t require any reheating and are easy to eat standing up.
Top Tips for Perfecting Your Peanut Butter S’mores Bars
Over the years, I’ve picked up a few tricks that I think really make these Peanut Butter S’mores Bars sing. Firstly, for the graham cracker crust, make sure your crumbs are really fine. You can use a food processor for this, or just put them in a zip-top bag and bash them with a rolling pin! The finer the crumbs, the more compact and sturdy your crust will be. When it comes to the peanut butter filling, using softened butter is key. It makes it so much easier to get a smooth, creamy consistency without any lumps. I’ve tried using crunchy peanut butter before, and while it adds a nice texture, the smooth one really lets the classic s’more flavor shine through without distraction. For the swirling, don’t overthink it! The random, marbled look is part of the charm. Just a few passes with your knife will do the trick. And please, for the love of all things delicious, keep an eye on those marshmallows when they’re toasting. They can go from golden perfection to burnt bitterness in a heartbeat! I’ve definitely learned that lesson the hard way. If you’re looking for ingredient swaps, using a different nut butter like almond butter or cashew butter works beautifully, though it will change the flavor profile a bit. For the chocolate, dark chocolate chips can offer a nice contrast to the sweetness, or you could even use a mix of milk and dark. And when it comes to cooling, patience is truly a virtue here. It might be tempting to cut into them warm, but letting them cool completely ensures those clean, perfect bar shapes that make them so appealing.
Storing and Reheating Tips
These Peanut Butter S’mores Bars are wonderfully forgiving when it comes to storage. For best results, I like to store them in an airtight container at room temperature. They’ll stay delicious for about 3-4 days like this. The graham cracker base stays relatively crisp, and the peanut butter filling remains soft and gooey. If it’s particularly warm in your kitchen, or if you’ve made them with a lot of chocolate that might melt easily, popping them in the refrigerator is a good option. They’ll last about a week in the fridge, though they might firm up a bit more. To reheat them slightly, you can pop a bar in the microwave for about 10-15 seconds – just enough to get that gooey, melty texture back. If you’re planning to freeze them, this recipe holds up remarkably well! I usually cut the bars first, then wrap each one individually in plastic wrap, and then place them in a freezer-safe bag or container. They can stay frozen for up to 2-3 months. To thaw, simply unwrap them and let them come to room temperature for about an hour, or pop them in the fridge overnight. I usually wait to add the marshmallows and toast them until just before serving if I’ve frozen them, to ensure they’re fresh and gooey, but you can absolutely bake and toast them before freezing if you prefer. Just be aware the marshmallows might not be quite as puffy after thawing and reheating.
Frequently Asked Questions
Final Thoughts
So there you have it – my absolute favorite Peanut Butter S’mores Bars! I truly hope you give these a try because they bring so much joy to my kitchen, and I know they’ll do the same for yours. They’re more than just a dessert; they’re a little slice of happiness, a reminder of simpler times, and a guaranteed way to make someone smile. Whether you’re looking for an easy bake sale treat, a potluck showstopper, or just a sweet indulgence for yourself, these bars deliver every single time. If you love this recipe, you might also enjoy my Chocolate Chip Cookie Bars or my No-Bake Peanut Butter Bars – they’re also super easy and always a hit! I can’t wait to hear what you think of these Peanut Butter S’mores Bars. Please leave a comment below and let me know how yours turned out, or if you tried any fun variations. Happy baking, everyone!
Peanut Butter Smores Bars
Ingredients
Crust and Topping
- 0.5 cup butter, softened
- 0.25 cup packed brown sugar
- 0.5 cup granulated sugar
- 1 egg
- 1 teaspoon vanilla extract
- 1.25 cup all-purpose flour
- 1 teaspoon baking powder
- 0.25 teaspoon salt
- 6 graham crackers, crushed into crumbs
- 0.75 cup peanut butter use creamy for best results
- 1 cup chocolate chips semi-sweet or milk chocolate
- 1 7-ounce container Marshmallow Fluff
Instructions
Preparation Steps
- Preheat oven to 350°F (175°C). Line a 9-inch square baking pan with foil, leaving an overhang on all sides for easy removal. Grease the foil well.
- In a large bowl, cream together the softened butter and brown and granulated sugars until light and fluffy, about 3 minutes.
- Beat in the egg and vanilla extract until well combined.
- In a separate bowl, whisk together the flour, baking powder, and salt. Gradually add the dry ingredients to the wet ingredients, stirring until just combined. Stir in the crushed graham cracker crumbs.
- Press two-thirds of the dough evenly into the bottom of the prepared baking pan.
- Spread the peanut butter evenly over the dough layer. Sprinkle the chocolate chips over the peanut butter, then carefully spread the Marshmallow Fluff over the chocolate chips.
- Gently press the remaining one-third of the dough evenly over the Marshmallow Fluff layer.
- Bake for 25-30 minutes, or until the edges of the crust are golden brown. The center may appear slightly soft.
- Remove the pan from the oven and let it cool completely on a wire rack for at least 1 hour. This allows the bars to set.
- Once cooled, use the foil overhang to lift the entire block out of the pan. For easier cutting, chill the bars in the refrigerator for another hour. Use a sharp knife to cut into 16 bars, cleaning the knife between cuts if necessary.


