


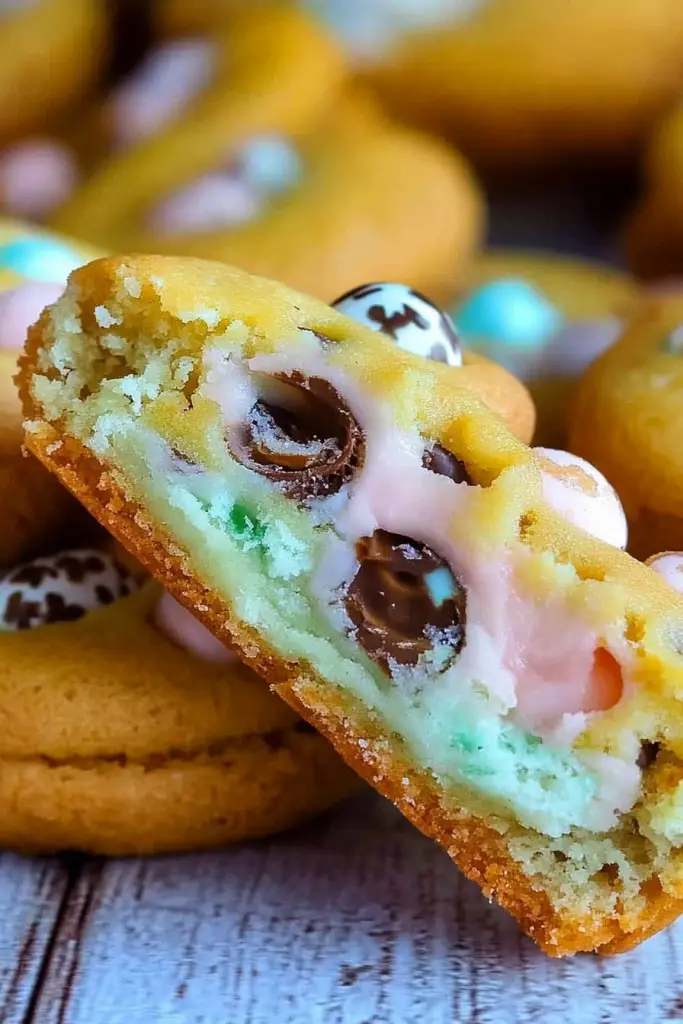
If you’re seeking a sweet treat that’s both visually stunning and delightfully delicious, our Easter cookies are the perfect choice. Packed with flavor and easy to make, these cookies are sure to become a festive favorite in your household. Whether you’re enjoying them with family or gifting them to friends, their appeal is undeniable.

Every Easter, my grandmother would rally the family together for a day dedicated solely to baking. These cookies weren’t just a treat; they were an event! The kitchen would be filled with laughter, sweet scents, and a dash of flour on someone’s nose, as we all tried our hand at decorating with vivid pastel icing. It was about the joy of creation and the warmth of togetherness.
Why You’ll Love This Recipe
Our Easter cookies are more than just a visual delight; they are an explosion of flavors. Easy to make, kid-friendly, and customizable, these cookies can fit any holiday theme. Their soft, buttery texture combined with a hint of vanilla creates an irresistible culinary experience. Plus, they’re adaptable for any baker, whether you’re a novice or a pro.
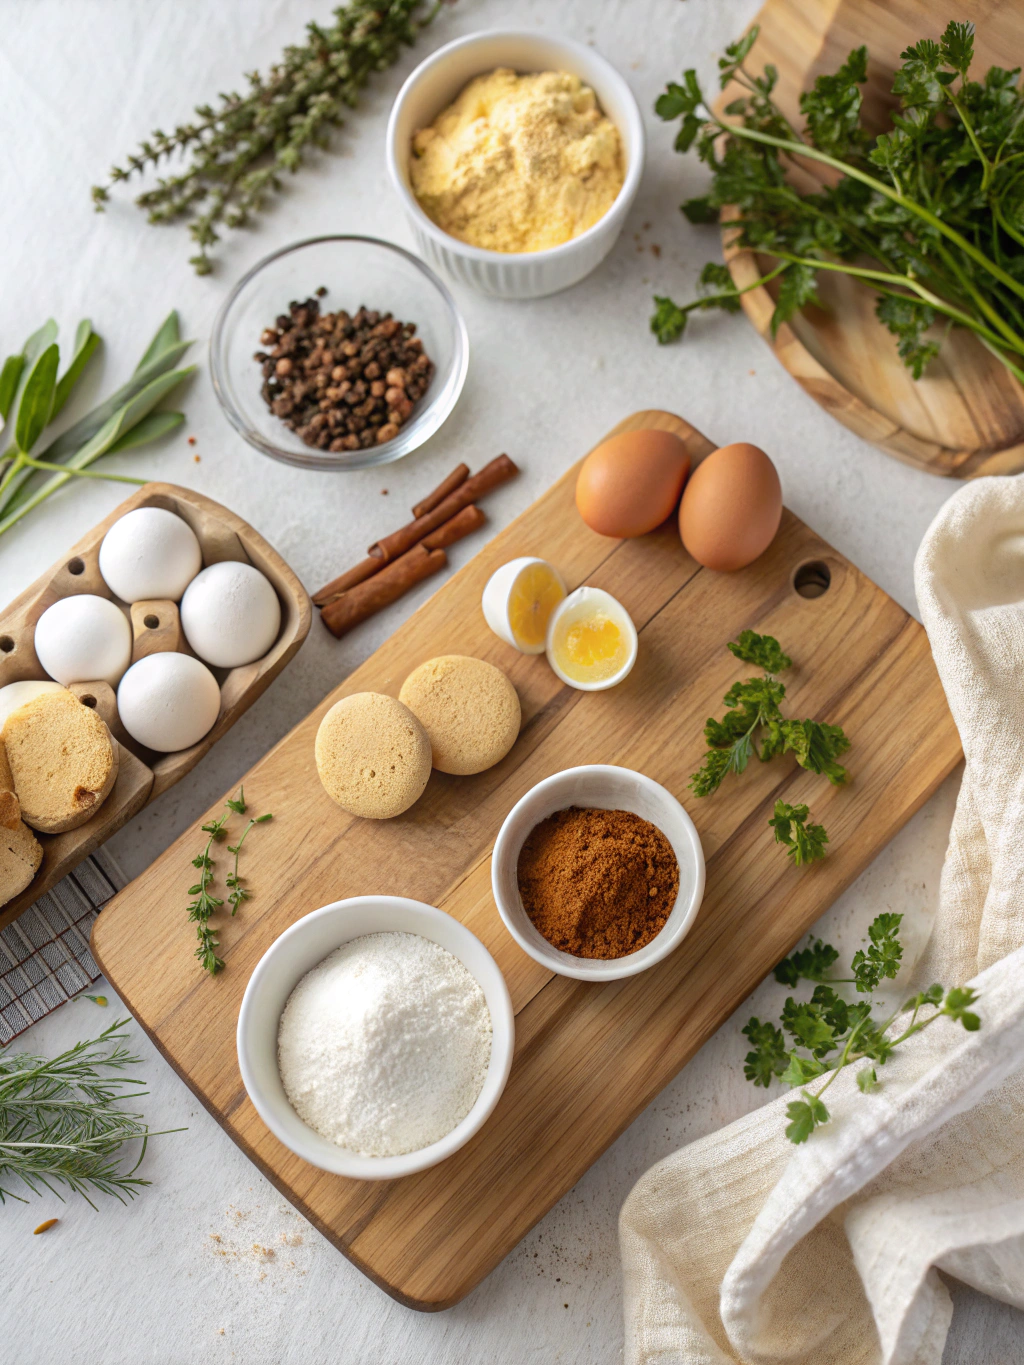
Ingredients Notes
The magic of these cookies lies in the simplicity of their ingredients. Using high-quality butter and vanilla extract will significantly enhance the flavor. For a gluten-free version, consider using a 1-to-1 gluten-free baking flour. If you’re out of eggs, a flaxseed meal can serve as a great substitute in this recipe.
Recipe Steps
Step 1
Preheat your oven to 350°F (175°C) and line a baking sheet with parchment paper. Make sure the oven reaches the desired temperature before proceeding.
Step 2
In a large bowl, cream the butter and sugar together until light and fluffy. This sets the foundation for a soft cookie, so take your time with this step.
Step 3
Beat in the eggs one at a time, followed by the vanilla extract. Ensure each egg is thoroughly mixed in before adding the next to maintain a smooth batter.
Step 4
Gradually add the dry ingredients into the mixture, stirring well after each addition. The dough should be smooth and manageable, perfect for rolling.
Step 5
Roll out the dough to a 1/4-inch thickness and cut into desired shapes. Bake for 10-12 minutes or until edges are lightly browned. Cool before decorating with your choice of icing.
Storage Options
To keep your cookies fresh, store them in an airtight container at room temperature for up to a week. If you wish to keep them longer, freezing is an excellent option. Freeze undecorated cookies by placing them in a single layer on a baking sheet until solid, then transfer to a freezer-safe bag. They can be stored for up to three months. To reheat, thaw at room temperature and enjoy.
Variations & Substitutions
These cookies can be beautifully adapted for various dietary needs. For a dairy-free option, use coconut oil or a plant-based butter. To infuse a citrus twist, add lemon zest to the dough and a touch of lemon juice to the icing. Personalize these cookies with whatever flavorings or colorings you prefer, ensuring there’s something for everyone.
Frequently Asked Questions
Can I make the dough ahead of time? Absolutely! The dough can be made in advance and stored in the refrigerator for up to 3 days. Ensure it’s well-wrapped to prevent it from drying out. This can be a huge time-saver during busy holiday preparations.
What is the best type of icing to use? Royal icing is a popular choice for its smooth finish and durability, perfect for intricate designs. However, a simple glaze made from powdered sugar and milk or water is equally delightful, offering a more casual touch.
How do I prevent my cookies from spreading? To prevent spreading, it’s essential to chill the dough for at least an hour before rolling and cutting. Also, ensure your baking sheet is at room temperature when placing the dough on it, as a warm sheet can cause spreading.


