


Oh, where do I even begin with this chocolate Cobbler Recipe? It feels like ages ago that I first stumbled upon this gem, probably during one of those chaotic weeknights when dinner was a blur and I desperately needed a sweet fix without a ton of fuss. My mom used to make a peach cobbler that was legendary, but this chocolate version? It’s in a league of its own. Think of it as the cozy hug your taste buds have been dreaming of. It’s rich, it’s decadent, and somehow, it’s surprisingly simple to whip up. Honestly, if you’re a chocolate lover like me, this is going to be your new go-to. It’s the kind of dessert that makes everyone happy, from the pickiest eaters to the most discerning grown-ups. It’s a lifesaver when you have unexpected guests or when that 10 pm craving hits and you don’t want to spend hours in the kitchen. I’ve made this chocolate cobbler recipe more times than I can count, and every single time, it’s a showstopper. It’s so much more satisfying than just grabbing a store-bought cookie; there’s something so heartwarming about pulling a bubbling, fragrant cobbler out of the oven.
What is
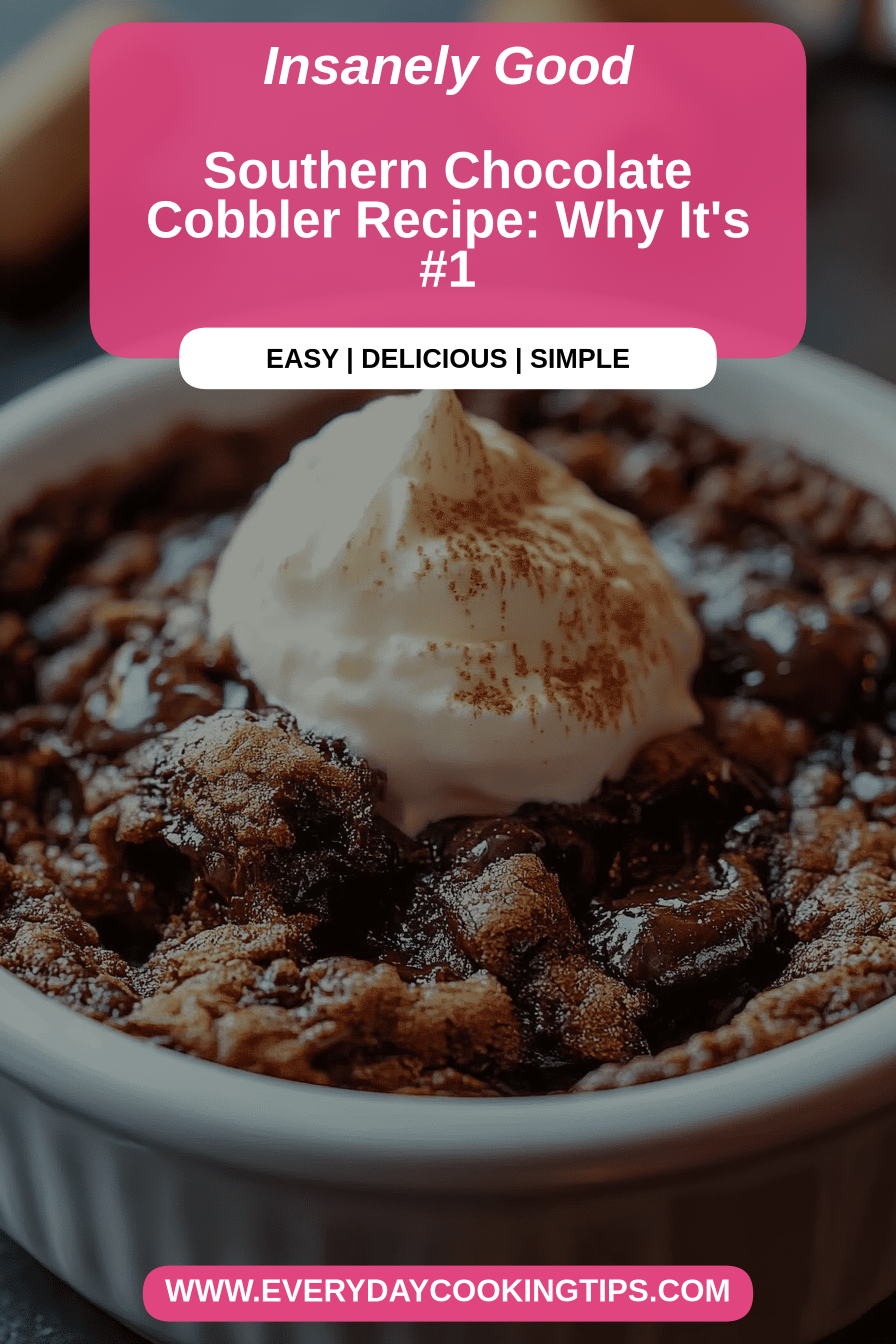
So, what exactly is a chocolate cobbler? It’s a wonderfully comforting dessert that’s essentially a rustic cake baked over a luscious fruit or chocolate filling. The “cobbler” part comes from the topping, which isn’t as neat and tidy as a pie crust or a crumble. It’s often a drop biscuit or a cake-like batter that’s spooned over the filling, and as it bakes, it bubbles up and creates these lovely, uneven “cobbled” peaks and valleys. This chocolate Cobbler Recipe is no different, but instead of fruit, we’re diving headfirst into pure chocolate bliss. The batter itself is infused with cocoa, and then it’s baked on top of a rich, molten chocolate base. It’s not overly complicated, but the result is a dessert that looks and tastes incredibly impressive. It’s less about precise pastry work and more about that warm, homey feeling you get from a dessert made with love. It’s the perfect balance of cakey goodness and gooey, warm chocolatey-ness.
Why you’ll love this
There are so many reasons why this chocolate Cobbler Recipe has earned a permanent spot in my recipe box. First and foremost, the flavor is just out of this world. We’re talking deep, intense chocolate flavor that isn’t too sweet, perfectly balanced with a hint of coffee to really make the chocolate sing. The texture is divine – you get that slightly firm, cakey topping that’s just begging to be spooned up, all nestled against a warm, gooey, almost pudding-like chocolate center. It’s pure comfort in a dish. Then there’s the simplicity. I can’t stress this enough: this recipe is surprisingly easy to make. You don’t need fancy techniques or a ton of specialized equipment. Most of the ingredients are pantry staples, which makes it incredibly cost-efficient. I’ve tested this with store-brand cocoa powder and name-brand, and honestly, the difference is minimal, which is great for keeping costs down. Plus, it’s so versatile! It’s fantastic served warm, of course, but I’ve also found it’s surprisingly good at room temperature the next day (if it lasts that long!). This chocolate cobbler recipe really stands out because it delivers maximum flavor and satisfaction with minimal effort. It’s the perfect solution when you’re craving something decadent but don’t have hours to spend baking. It’s a guaranteed crowd-pleaser and a recipe that will have people asking for the secret. Trust me, they’ll be amazed when you tell them how easy it was!
How do I make chocolate
Quick Overview
This chocolate cobbler recipe is all about creating layers of deliciousness with minimal fuss. You’ll whip up a simple batter, prepare a luscious chocolate filling, and then bring it all together in One Pan. It’s a straightforward process that relies on pantry staples and a bit of oven magic. The beauty is in its rustic nature – it’s forgiving, quick, and delivers an incredibly satisfying chocolate dessert every time. It’s the kind of recipe that makes you feel like a baking pro, even if you’re just starting out.
Ingredients
For the Main Batter
1 ½ cups all-purpose flour (I always use unbleached, I find it bakes up a little better)
1 cup granulated sugar (you can reduce this slightly if you prefer it less sweet)
¼ cup unsweetened cocoa powder (Dutch-processed gives a richer color and flavor, but regular works too)
1 teaspoon baking powder
½ teaspoon salt
½ cup milk (whole milk is best for richness, but 2% or even almond milk works in a pinch)
⅓ cup melted unsalted butter (don’t skimp on quality here!)
1 large egg
1 teaspoon vanilla extract
For the Filling:
2 cups hot water (or hot brewed coffee – this is my secret for intensifying the chocolate flavor!)
1 cup granulated sugar
½ cup unsweetened cocoa powder (again, Dutch-processed is great)
1 teaspoon instant espresso powder (optional, but highly recommended!)
½ teaspoon salt
For the Glaze:
½ cup powdered sugar
2-3 tablespoons milk (or cream for extra richness)
½ teaspoon vanilla extract

Step-by-Step Instructions
Step 1: Preheat & Prep Pan
First things first, preheat your oven to 350°F (175°C). Grab a 9×13 inch baking dish. I usually give it a quick spray with non-stick cooking spray or a light buttering, just to be safe. While the oven heats up, we’ll get our delicious filling ready.
Step 2: Mix Dry Ingredients
In a medium bowl, whisk together the flour, granulated sugar, ¼ cup cocoa powder, baking powder, and salt for the batter. Give it a good whisk until everything is well combined and there are no lumps of cocoa. This ensures an even texture in your cobbler topping.
Step 3: Mix Wet Ingredients
In a separate, larger bowl, whisk together the milk, melted butter, egg, and vanilla extract until everything is smooth and emulsified. This is where our delicious base starts to form.
Step 4: Combine
Pour the dry ingredients into the wet ingredients. Stir gently with a spatula or wooden spoon until *just* combined. It’s really important not to overmix here! A few small lumps are perfectly fine; overmixing can lead to a tough cobbler. We want it tender and cakey.
Step 5: Prepare Filling
Now for that luscious chocolate base! In the same bowl you used for the wet ingredients (no need to wash it!), whisk together the hot water (or coffee!), 1 cup granulated sugar, ½ cup cocoa powder, instant espresso powder (if using), and salt. Stir until the sugar and cocoa are dissolved and you have a smooth, dark liquid. It will look quite thin, but don’t worry, that’s exactly what we want!
Step 6: Layer & Swirl
Pour the chocolate filling evenly into your prepared baking dish. Then, gently spoon the batter mixture over the top of the filling. Don’t spread it too much; just drop spoonfuls across the surface. You can gently swirl it a bit with a knife or toothpick if you like, but it’s not essential. The batter will spread as it bakes, creating those beautiful rustic peaks.
Step 7: Bake
Place the baking dish in your preheated oven. Bake for 35-45 minutes, or until the topping is set and a toothpick inserted into the cakey part comes out mostly clean. The edges should look set, and the center might still be a little gooey, which is perfect! The smell that fills your kitchen during this step is just heavenly.
Step 8: Cool & Glaze
Let the cobbler cool in the baking dish for at least 15-20 minutes. This allows the filling to thicken up nicely. While it cools, whisk together the powdered sugar, 2 tablespoons of milk, and vanilla extract for the glaze. Add more milk, a teaspoon at a time, until you reach your desired drizzling consistency. Drizzle this over the warm cobbler. It adds a touch of sweetness and extra elegance.
Step 9: Slice & Serve
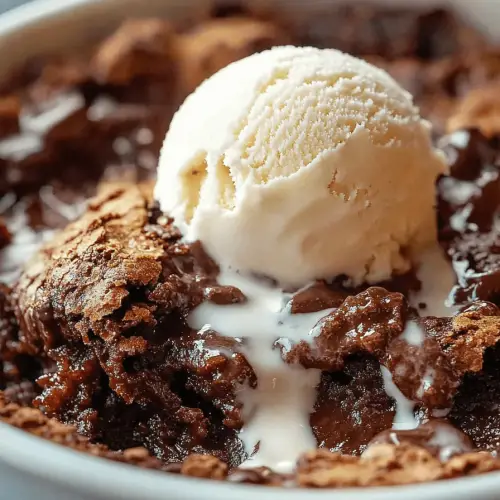
Serve the chocolate cobbler warm, scooping out generous portions with a spoon, making sure to get some of that gooey filling with each bite! It’s absolutely divine on its own, but even better with a scoop of vanilla Ice Cream or a dollop of whipped cream.
What to Serve It With
This chocolate cobbler recipe is pretty much a standalone star, but I love playing around with different pairings depending on the occasion. For a truly decadent breakfast or brunch (yes, cobbler for breakfast is a thing!), I love serving a small portion warm with a strong cup of black coffee. The bitterness of the coffee cuts through the richness beautifully. Sometimes, I’ll add a small dollop of Greek yogurt for a bit of tang. When it’s more of a dessert situation, the classic pairing is, of course, a big scoop of good quality vanilla bean ice cream. The cold ice cream melting into the warm, gooey cobbler is pure magic! Whipped cream is another fantastic option, especially if you’ve gone heavy on the chocolate. For a slightly more elegant touch, especially if I’m serving it after a dinner party, I’ll sometimes add a raspberry coulis or a few fresh berries on the side. The tartness of the berries is a wonderful contrast to the deep chocolate flavor. And for those cozy nights in, when it’s just me and a good book, I’ll have a warm slice with a glass of milk. It’s simple, comforting, and hits the spot every single time. My kids also adore it this way; they often ask for a second glass of milk just to finish off every last bit of the gooey chocolate sauce.
Top Tips for Perfecting Your Chocolate Cobbler
I’ve made this chocolate cobbler recipe more times than I can count, and over the years, I’ve picked up a few little tricks that I think make it even better. First, about the cocoa powder: while regular unsweetened works fine, I really recommend trying to find Dutch-processed cocoa if you can. It has a smoother, less acidic flavor and a deeper, darker color that just makes the chocolate taste even more intense. It really makes a difference! Another tip is about the hot liquid for the filling – using hot brewed coffee instead of hot water is a game-changer. You won’t taste the coffee itself, but it amplifies the chocolate flavor in a way that’s truly spectacular. I learned this trick after a baking competition where the judges were raving about the depth of flavor, and I finally spilled my little secret! When you’re mixing the batter, the most crucial thing is not to overmix. Just mix until the dry and wet ingredients are *barely* combined. A few streaks of flour are okay. Overmixing develops the gluten too much, which can make your cobbler tough and dense instead of light and cakey. I’ve definitely made that mistake before, and it’s a lesson learned! For the glaze, consistency is key. Start with less milk and add more gradually. You want it to be pourable but not so thin that it just runs off the cobbler. A slightly thicker glaze clings better and looks prettier. And if you’re feeling adventurous with ingredient swaps, I’ve successfully used almond milk in the batter, and it came out surprisingly creamy. I’ve also tried adding a teaspoon of cinnamon to the dry ingredients for a little warmth, which is lovely on a chilly day. Remember, the beauty of a cobbler is its rustic charm, so don’t stress too much about making it look perfect. Those slightly uneven edges and dips are what make it so appealing and homey!
Storing and Reheating Tips
So, you’ve made this amazing chocolate cobbler and somehow, miraculously, there are leftovers. Or maybe you’re like me and like to have some on hand for those spontaneous dessert cravings. Storing this is pretty straightforward, and thankfully, it holds up well. At room temperature, I find it’s best eaten within a day. Make sure to cover it loosely with plastic wrap or foil once it has cooled down significantly, so it doesn’t dry out. For longer storage, the refrigerator is your best friend. Once the cobbler has cooled completely, cover it tightly with plastic wrap and then foil, or transfer it to an airtight container. It will stay delicious in the fridge for up to 3-4 days. The texture might change slightly, becoming a bit denser, but the flavor is still fantastic. When it comes to reheating, I have a few favorite methods. The absolute best way to enjoy leftovers is to warm them gently. You can pop a slice into the microwave for about 20-30 seconds, or until heated through – just be careful not to overheat it, or it can become rubbery. My preferred method, though, is to gently reheat individual portions in a small oven-safe dish or a toaster oven at around 300°F (150°C) for about 10-15 minutes. This brings back that lovely warm, gooey texture. If you’ve refrigerated it, the glaze might harden up a bit. That’s totally fine! It’ll soften again as it warms. I often re-drizzle a little fresh glaze on top after reheating, just for that extra touch of sweetness and visual appeal. Freezing is also an option if you’ve made a huge batch, though I personally find it’s best enjoyed fresh or refrigerated. If you do want to freeze it, make sure it’s completely cooled, wrap it very well in plastic wrap, then in foil, and freeze for up to 2-3 months. Thaw it overnight in the refrigerator before reheating. The glaze is best added *after* reheating for optimal texture.
Frequently Asked Questions
Final Thoughts
There you have it – my absolute favorite chocolate cobbler recipe! I truly hope you give this a try. It’s more than just a dessert; it’s a warm, gooey hug in a bowl that brings people together. The incredible depth of chocolate flavor combined with that tender, cakey topping makes it an irresistible treat that’s surprisingly easy to master. It’s perfect for any occasion, from a casual weeknight treat to a more special dessert when you have company. If you love this recipe, you might also enjoy my Decadent Chocolate Cake or my Fudgy Brownies. They all share that same spirit of rich, comforting chocolate goodness. I can’t wait to hear how your chocolate cobbler turns out! Don’t be shy about leaving a comment below to share your thoughts, any tweaks you made, or how your family enjoyed it. Happy baking, and enjoy every single decadent bite!

Easy Chocolate Cobbler Recipe
Ingredients
For the Cobbler Batter:
- 1.5 cup all-purpose flour
- 1 cup granulated sugar
- 0.5 cup unsweetened cocoa powder
- 1 teaspoon baking soda
- 0.5 teaspoon salt
- 1 cup milk
- 0.5 cup vegetable oil
- 1 teaspoon vanilla extract
For the Chocolate Sauce:
- 1 cup granulated sugar
- 0.5 cup unsweetened cocoa powder
- 1.5 cup hot water
Instructions
Preparation Steps
- Preheat your oven to 350°F (175°C). Grease a 9x13 inch baking dish.
- In a large bowl, whisk together the flour, 1 cup of sugar, 0.5 cup cocoa powder, baking soda, and salt for the batter.
- In a separate bowl, combine the milk, vegetable oil, and vanilla extract. Pour the wet ingredients into the dry ingredients and mix until just combined. Do not overmix.
- Pour the batter evenly into the prepared baking dish.
- In a medium bowl, whisk together the 1 cup of sugar and 0.5 cup cocoa powder for the sauce.
- Gradually whisk in the hot water until smooth. The sauce will be thin.
- Carefully pour the chocolate sauce evenly over the batter in the baking dish. The sauce will sink to the bottom, creating a fudgy layer.
- Bake for 30-35 minutes, or until a toothpick inserted into the cobbler (not the sauce layer) comes out with moist crumbs.
- Let the cobbler cool slightly before serving. It's best served warm with vanilla ice cream or whipped cream.


