


There are some dishes that just feel like a warm hug, you know? The kind that make your kitchen smell incredible and instantly bring a smile to everyone’s face. For me, that’s always been my family’s recipe for Cheesy Chicken enchiladas. It’s the ultimate comfort food, a dish that has seen us through countless weeknight dinners, lazy Sundays, and even the occasional “I need something amazing, right now!” craving. Honestly, it’s like a culinary security blanket. Compared to those sometimes fussy baked pasta dishes or complicated casseroles, these chicken enchiladas are surprisingly straightforward, yet they deliver on flavor in a way that’s simply unmatched. They’re the kind of meal that makes even the pickiest eaters at my table lick their plates clean, and that, my friends, is pure magic.
What are some of the best Cheesy Chicken Enchiladas?
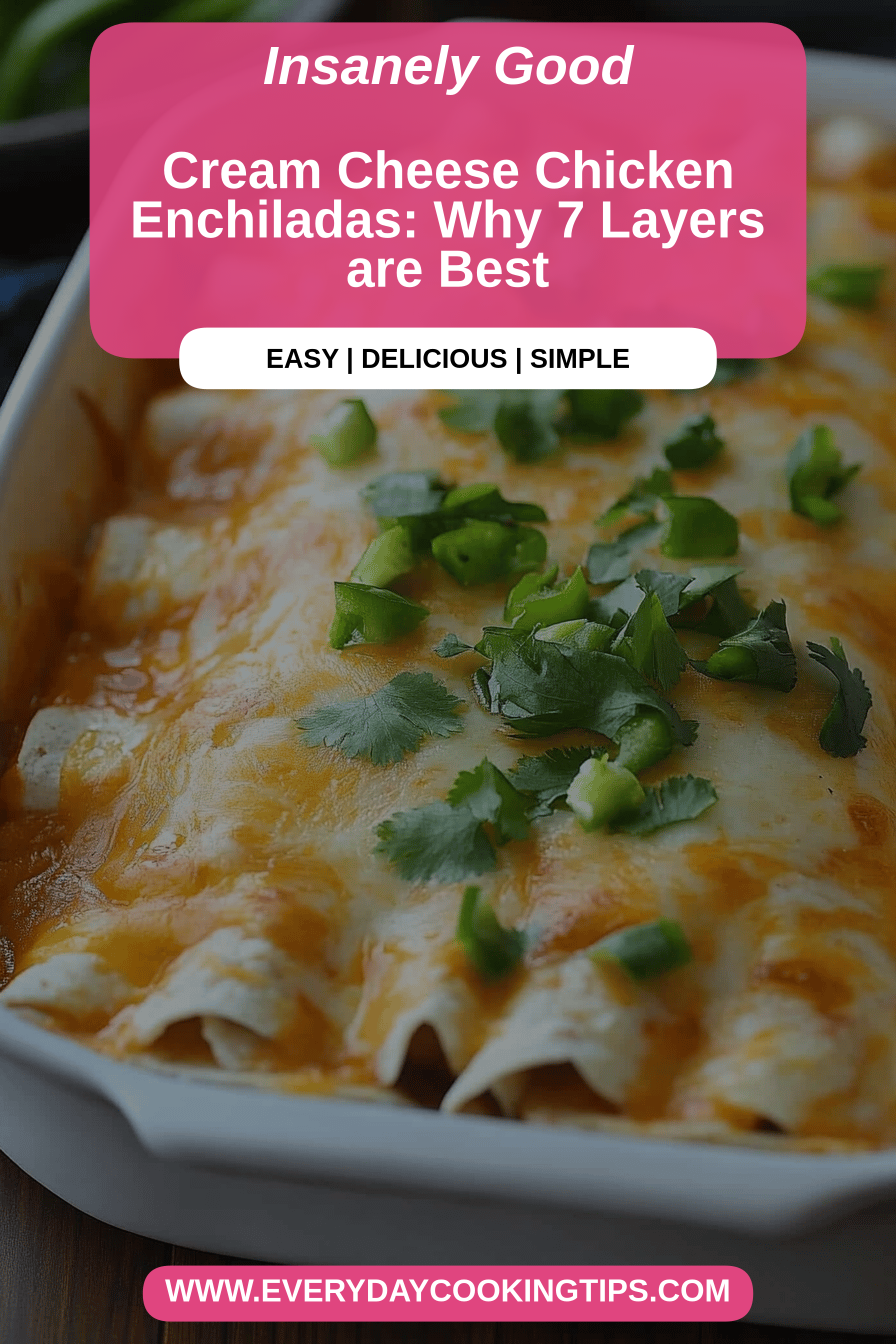
So, what exactly are these cheesy chicken enchiladas that have earned such a special place in my heart? Think of them as little rolled-up treasures of tender Shredded Chicken and melty cheese, all nestled in soft corn tortillas and swimming in a rich, flavorful enchilada sauce. It’s then topped with even *more* cheese and baked until it’s bubbly and golden. The name itself, “enchilada,” comes from the Spanish word “enchilar,” meaning “to add chili.” And that’s precisely what we’re doing here – adding a whole lot of delicious chili flavor! It’s a classic Mexican-inspired dish, but my family’s version has a few little twists that make it uniquely ours. It’s a dish that’s humble in its ingredients but grand in its flavor, a true testament to how simple things can be incredibly satisfying.
Why you’ll love this recipe?
I know, I know, there are a million enchilada recipes out there. But trust me on this one, you’ll love *this* recipe for so many reasons. First and foremost, the flavor! The combination of tender chicken, the savory enchilada sauce, and that glorious, gooey cheese is just out of this world. It’s rich, it’s comforting, and it has just the right amount of spice to make your taste buds sing. What I love most about this particular recipe, though, is its sheer simplicity. It sounds fancy, but it’s actually a lifesaver on busy weeknights. You can even prep a lot of the components ahead of time! And speaking of budget-friendly, this recipe is fantastic for feeding a crowd without breaking the bank. Chicken and cheese are pretty accessible ingredients, and the sauce can be made from pantry staples. Plus, the versatility is amazing. You can easily adapt it to your family’s preferences, adding different veggies or even swapping out the chicken for other proteins. It’s just one of those reliably delicious dishes that always makes everyone happy, and that’s priceless.
How do I make a Cheesy Chicken Enchiladas?
Quick Overview
The beauty of these Chicken Enchiladas lies in their straightforward assembly. We’ll quickly cook some tender chicken, mix it with a simple, flavorful sauce, then roll it all up in tortillas and bake until gloriously cheesy. It’s a process that’s forgiving and incredibly rewarding, perfect for cooks of all levels. You’ll be amazed at how quickly you can go from basic ingredients to a show-stopping meal.
Ingredients
For the Chicken & Filling: For the Chicken & Filling: For the Chicken & Filling: For the Chicken &
2-3 boneless, skinless Chicken Breasts (about 1.5 lbs total)
1 tablespoon olive oil
1 medium onion, finely chopped
2 cloves garlic, minced
1 teaspoon chili powder
1/2 teaspoon cumin
Salt and freshly ground black pepper to taste
1 cup shredded cheddar cheese, Monterey Jack cheese, or a Mexican blend
For poaching the chicken: water or chicken broth, a bay leaf (optional)
For the Enchilada Sauce:
2 tablespoons olive oil
2 tablespoons all-purpose flour
2 tablespoons chili powder (use a good quality one for best flavor!)
1 teaspoon ground cumin
1/2 teaspoon dried oregano
1/4 teaspoon garlic powder
1/4 teaspoon onion powder
Pinch of cayenne pepper (optional, for a little heat)
2 cups chicken broth (low sodium is great)
1 (8 ounce) can tomato sauce
Salt and freshly ground black pepper to taste
For Assembling:
8-10 corn tortillas (I find corn tortillas work best for authenticity and texture)
1.5 cups shredded cheddar cheese, Monterey Jack cheese, or a Mexican blend (for topping)
Optional garnishes: chopped fresh cilantro, diced avocado, Sour Cream, salsa
Step-by-Step Instructions
Step 1: Cook the Chicken
First things first, let’s get that chicken cooked. You have a couple of options here, and I often do what’s easiest for me that day. You can boil or poach the chicken breasts in a pot with enough water or chicken broth to cover them. Add a bay leaf if you have one, it just adds a little subtle depth. Simmer gently for about 15-20 minutes, or until cooked through and no longer pink in the center. Alternatively, you can bake them at 375°F (190°C) for about 20-25 minutes. Once cooked, let the chicken cool slightly, then shred it using two forks. I like to shred it fairly finely so it distributes well in the filling.
Step 2: Sauté Aromatics for Filling
While your chicken cools, heat the tablespoon of olive oil in a skillet over medium heat. Add the chopped onion and cook until softened and translucent, about 5-7 minutes. Then, stir in the minced garlic, chili powder, cumin, salt, and pepper. Cook for another minute until fragrant, making sure not to burn the garlic. This little step really awakens all those spices and builds a flavor base for the filling.
Step 3: Combine Filling Ingredients
Add the shredded chicken to the skillet with the onions and spices. Toss everything together really well so the chicken is nicely coated. Stir in about 1/2 cup of the prepared enchilada sauce (we’ll get to making the sauce next!) and 1/2 cup of your shredded cheese. Mix until the cheese starts to melt and everything is nicely combined. This is your flavorful chicken filling!
Step 4: Make the Enchilada Sauce
Now for the star of the show – the sauce! In a medium saucepan, heat the 2 tablespoons of olive oil over medium heat. Whisk in the flour and cook for about 1 minute, stirring constantly, until it forms a pale paste (this is your roux). This helps thicken the sauce. Whisk in the chili powder, cumin, oregano, garlic powder, onion powder, and cayenne (if using). Cook for another minute until the spices are fragrant. Gradually whisk in the chicken broth, making sure to get rid of any lumps. Then, stir in the tomato sauce. Bring the mixture to a simmer, then reduce the heat to low and let it cook, stirring occasionally, for about 10-15 minutes, until it thickens to a nice, coating consistency. Season with salt and pepper to taste. You want it to be rich and flavorful!
Step 5: Warm the Tortillas
This is a crucial step that prevents your tortillas from tearing when you roll them. You can do this a few ways. The easiest is to microwave them for about 30-60 seconds, stacked between damp paper towels. Or, you can quickly pan-fry them for a few seconds on each side in a dry skillet, or even dip them very briefly in warm enchilada sauce (this adds extra flavor!). Just warm them enough so they become pliable.
Step 6: Assemble the Enchiladas
Preheat your oven to 375°F (190°C). Lightly grease a 9×13 inch baking dish. Spoon about 1/4 cup of the enchilada sauce into the bottom of the prepared baking dish and spread it around. This prevents the enchiladas from sticking and adds moisture. Lay a warm tortilla flat. Spoon about 1/4 cup of the chicken filling down the center. Roll it up snugly and place it seam-side down in the baking dish. Repeat with the remaining tortillas and filling, arranging them snugly in the dish.
Step 7: Top and Bake
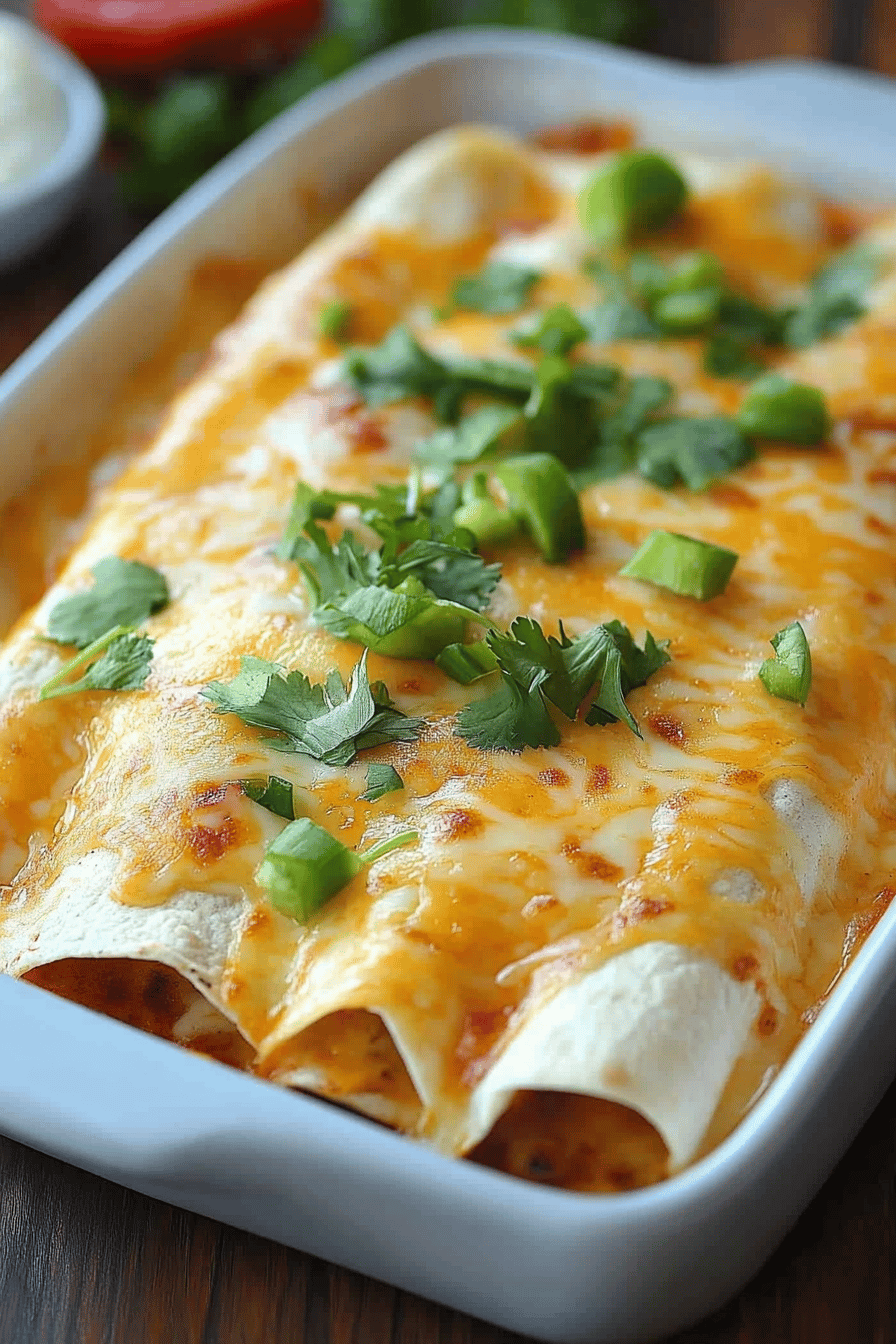
Once all the enchiladas are rolled and in the dish, generously pour the remaining enchilada sauce over the top, making sure to cover them completely. Then, sprinkle the remaining 1.5 cups of cheese evenly over the sauce. Cover the baking dish tightly with foil. Bake for 20 minutes. Then, remove the foil and bake for another 10-15 minutes, or until the cheese is melted, bubbly, and slightly golden brown. The edges should look deliciously cooked.
Step 8: Rest and Serve
This is perhaps the hardest part – waiting! Let the enchiladas rest for about 5-10 minutes after they come out of the oven. This allows the flavors to meld and makes them easier to slice. Serve hot, garnished with your favorite toppings like fresh cilantro, avocado, or a dollop of sour cream. Enjoy the cheesy, saucy goodness!
What to Serve It With
These chicken enchiladas are practically a meal in themselves, but they play so nicely with a few classic accompaniments. For a truly authentic Mexican feast, I love serving them alongside a simple side of fluffy Mexican rice and some creamy refried beans. If you’re feeling adventurous, a fresh, crisp green salad with a tangy lime vinaigrette cuts through the richness beautifully. On busy mornings, I’ve even been known to have a leftover enchilada (yes, I know, but it’s SO good!) alongside a perfectly poached egg – the yolk mixing with the sauce is divine! For brunch, they can be dressed up with some sliced avocado and a dollop of crema. And honestly, a small portion of these, maybe with a little extra cheese sprinkled on top, can totally double as a decadent, comforting snack when that 10 pm craving hits and you don’t want to bake a whole cake. My kids are always begging for extra servings, so I’ve learned to make a double batch!
Top Tips for Perfecting Your Cheesy Chicken Enchiladas
Over the years, I’ve learned a few little tricks that elevate these chicken enchiladas from good to absolutely unforgettable. Let’s dive into some of my favorite wisdom!
Chicken Prep: The key to tender chicken filling is not to overcook it. When shredding, make sure there are no tough bits. I sometimes reserve a little bit of the poaching liquid to moisten the shredded chicken if it seems a little dry after shredding – just a tablespoon or two can make a big difference. Don’t be afraid to shred it finely; it helps distribute the flavor better.
Sauce Consistency: The enchilada sauce is crucial. When you’re making the roux, ensure it’s cooked for that minute to get rid of the raw flour taste. Gradually adding the broth and tomato sauce while whisking is essential for a smooth, lump-free sauce. If it still seems a bit thin after simmering, just let it cook a little longer uncovered. If it gets too thick, you can always thin it out with a splash more broth. You want it thick enough to coat the back of a spoon but still pourable.
Tortilla Handling: This is where many people run into trouble! If your tortillas tear, it’s usually because they’re too stiff. Warming them is non-negotiable. My favorite trick is the quick dip in warm enchilada sauce before filling – it infuses them with flavor and makes them super pliable. Just a quick dip, don’t let them soak and get soggy.
Assembly is Key: Don’t overstuff your tortillas! It makes rolling difficult and can cause them to burst. A little filling goes a long way. Rolling them seam-side down in the baking dish is critical for keeping everything contained. Arrange them snugly; they help support each other.
Baking for Perfection: Covering the enchiladas for the first 20 minutes of baking steams them beautifully, ensuring the tortillas are soft and the filling is heated through without the cheese burning. Then, uncovering them lets that cheese get perfectly golden and bubbly. Keep an eye on them in the last few minutes; ovens can vary!
Cheese Choices: While cheddar and Monterey Jack are my go-tos, feel free to experiment! A little pepper jack can add a nice kick, or a blend with some queso Oaxaca if you can find it. The key is good quality, meltable cheese. Shredding your own cheese from a block usually melts better than pre-shredded, which can sometimes contain anti-caking agents.
Storing and Reheating Tips
One of the best things about these chicken enchiladas is that they’re fantastic for leftovers! If you happen to have any, that is. Storing them properly ensures they stay delicious for days.
Refrigerator Storage: Once cooled slightly, cover the baking dish tightly with plastic wrap or transfer leftovers to an airtight container. They’ll keep well in the refrigerator for up to 3-4 days. The flavors actually tend to meld and deepen overnight, making them even tastier!
Freezer Instructions: If you’re planning ahead or made a double batch, these freeze beautifully. You can freeze the unbaked enchiladas (just cover them tightly with plastic wrap and then foil) for up to 2-3 months. Thaw them overnight in the refrigerator before baking as directed, adding a few extra minutes to the covered baking time. Alternatively, you can freeze leftover baked enchiladas. Let them cool completely, then store in an airtight container or wrap individual servings tightly in foil and plastic wrap. They’ll keep for about 2 months. For best results, thaw them in the refrigerator before reheating.
Reheating: For individual servings from the fridge, I love popping them in the oven at 350°F (175°C) for about 10-15 minutes, or until heated through and the cheese is melty again. You can also reheat them gently in the microwave, but the oven gives you that nice bubbly texture back. If reheating from frozen, bake at 350°F (175°C) for about 30-40 minutes, or until heated through. Sometimes, a drizzle of a little extra enchilada sauce or a sprinkle of cheese before reheating can revive them even further.
Glaze Timing Advice: If you’re freezing unbaked enchiladas, I recommend adding the final layer of cheese just before baking after thawing. For already baked and frozen enchiladas, you can add a little fresh cheese before reheating if you like extra cheesiness!
Frequently Asked Questions
Final Thoughts
There you have it – my beloved cheesy chicken enchiladas! This recipe isn’t just about the delicious layers of flavor and melty cheese; it’s about connection. It’s about gathering around the table, sharing stories, and making memories. It’s a dish that embodies comfort and happiness, and I truly hope it brings the same joy to your home as it does to mine. If you love these, you might also enjoy my recipes for slow cooker pulled pork tacos or my easy sheet pan fajitas – more weeknight wins! Don’t be shy, give these enchiladas a try, and I can’t wait to hear all about how they turn out for you. Happy cooking, and even happier eating!


Chicken Enchiladas
Ingredients
Main Ingredients
- 2.5 pounds cooked chicken shredded
- 1 can enchilada sauce 10 ounces, mild or hot
- 12 corn tortillas
- 2 cups shredded cheddar cheese
- 1 cup shredded Monterey Jack cheese
For the Filling
- 1 medium onion chopped
- 0.5 cup chopped green chilies canned
- 0.5 teaspoon cumin
- 0.25 teaspoon garlic powder
Instructions
Preparation Steps
- Preheat oven to 375 degrees F (190 degrees C). Grease a 9x13 inch baking dish.
- In a large bowl, combine the shredded chicken, chopped onion, green chilies, cumin, and garlic powder. Mix well.
- Warm the corn tortillas slightly to make them pliable. You can do this in a skillet or microwave.
- Dip each tortilla briefly in the enchilada sauce, then fill with about 2 tablespoons of the chicken mixture and some cheese. Roll up and place seam-side down in the prepared baking dish.
- Pour the remaining enchilada sauce over the rolled tortillas. Sprinkle with the remaining cheddar and Monterey Jack cheese.
- Bake for 20-25 minutes, or until the cheese is melted and bubbly and the enchiladas are heated through.
- Let stand for a few minutes before serving. Garnish with your favorite toppings like sour cream, salsa, or cilantro.


