


Cheeseburger Sliders: Mini Burgers, Maximum Flavor
You know those nights when you’re craving something cozy, cheesy, and totally comforting—but you don’t want to spend hours in the kitchen? That’s where these cheeseburger sliders come in. I’ve been making this recipe for years, ever since my cousin hosted a game night and whipped up a tray that disappeared in under ten minutes. Since then, it’s become my go-to for everything from weeknight dinners to backyard BBQs. They’re buttery, juicy, cheesy, and just the right size to eat two (or three) without feeling guilty. Plus, they’re so easy that even if you’re not much of a cook, you’ll feel like a pro. Let me walk you through how to make them—and trust me, once you try one, you’ll be hooked.
What Is a Cheeseburger Slider?
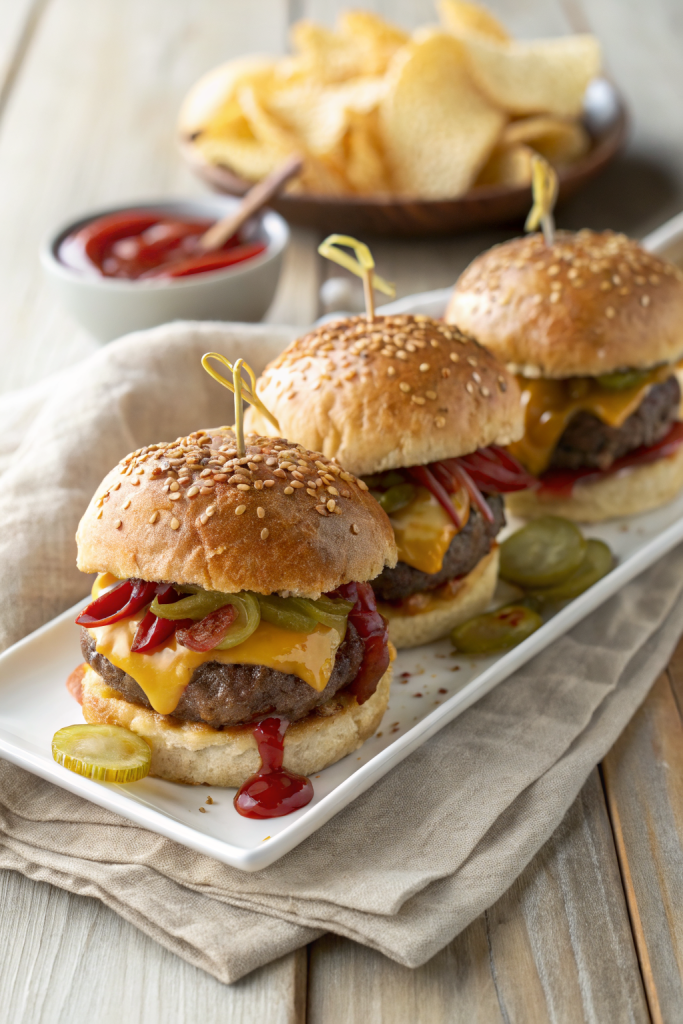
Cheeseburger sliders are essentially mini cheeseburgers served on soft, slightly sweet Hawaiian rolls (or slider buns), layered with melted cheese, seasoned beef, and all your favorite fixings—but in bite-sized form. Think of them as the perfect hybrid between a classic American burger and party food. Unlike regular burgers, sliders are designed to be handheld, shareable, and endlessly customizable. The beauty lies in their simplicity: ground beef is seasoned, shaped into small patties, grilled or pan-seared until juicy, then topped with melty cheese and sandwiched between warm, buttery rolls. What sets these apart is the balance of flavors—savory beef, sharp cheddar, tangy pickles, and a hint of sweetness from the caramelized onions and buttered tops. They’re not just appetizers; they’re full-fledged comfort food that feels both nostalgic and fresh.
Why You’ll Love This Recipe
These cheeseburger sliders are the kind of recipe that brings people together—literally. Whether you’re hosting a party, feeding hungry kids after soccer practice, or just need a quick dinner that tastes like it came from your favorite diner, these hit the spot. First, they’re incredibly fast: from prep to plate, you’re looking at under 30 minutes. Second, they’re budget-friendly—ground beef, cheese, and rolls are pantry staples that won’t break the bank. But what really wins me over every time is how customizable they are. Want to go classic? Add ketchup, mustard, and pickles. Feeling fancy? Try caramelized onions, garlic aioli, or even a slice of tomato. The buttery, golden tops of the rolls get brushed with a garlic-herb mixture that adds a restaurant-quality touch without any extra effort. And let’s be honest—there’s something deeply satisfying about biting into a warm, cheesy slider that’s perfectly juicy inside and crispy at the edges. It’s comfort food at its finest, and it never fails to impress.
How to Make Cheeseburger Sliders
Quick Overview
This recipe makes 12 sliders using simple ingredients you probably already have. You’ll shape ground beef into mini patties, cook them until juicy, top with cheese, and assemble them on split Hawaiian rolls. A quick brush of garlic butter on the tops before baking gives them that irresistible golden finish. It’s a one-pan wonder that’s ready in under half an hour—perfect for busy nights or impromptu gatherings.
Ingredients
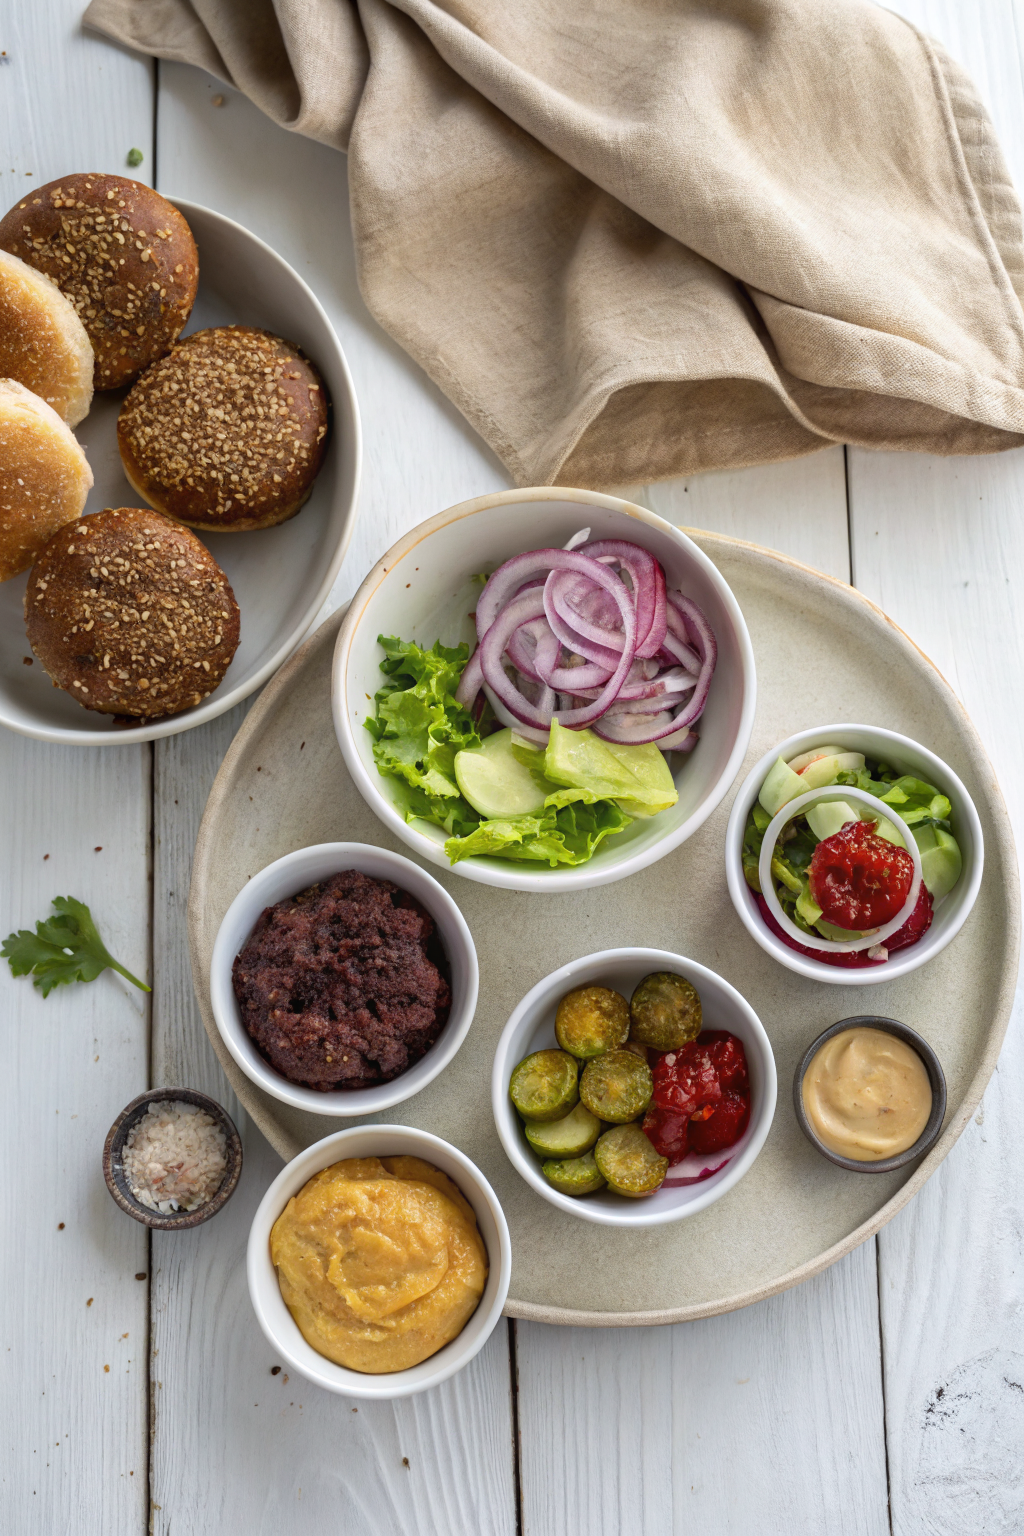
You’ll need: 1 pound ground beef (80/20 blend works best for juiciness), 12 Hawaiian slider rolls (split), 6 slices sharp cheddar cheese (cut in half), 1 small onion (finely diced), 2 tablespoons butter (melted), 1 teaspoon garlic powder, 1 teaspoon Worcestershire sauce, salt and pepper to taste, and optional toppings like pickles, lettuce, or mustard. For the garlic butter topping: 3 tablespoons melted butter, 1 teaspoon garlic powder, 1 teaspoon dried parsley, and a pinch of salt.

Step-by-Step Instructions
Step 1: Preheat & Prep Pan
Preheat your oven to 350°F (175°C). Line a baking sheet with parchment paper or foil for easy cleanup. In a large bowl, gently mix the ground beef with diced onion, Worcestershire sauce, garlic powder, salt, and pepper. Don’t overmix—just combine until evenly distributed.
Step 2: Shape Patties
Divide the meat mixture into 12 equal portions (about 2 tablespoons each). Gently shape them into small patties, slightly wider than your slider buns since they’ll shrink as they cook. Place them on the prepared baking sheet.
Step 3: Cook the Patties
Heat a large skillet over medium-high heat. Cook the patties for 2–3 minutes per side, until browned and cooked through. During the last minute of cooking, place a half-slice of cheese on each patty and cover the skillet briefly to let it melt.
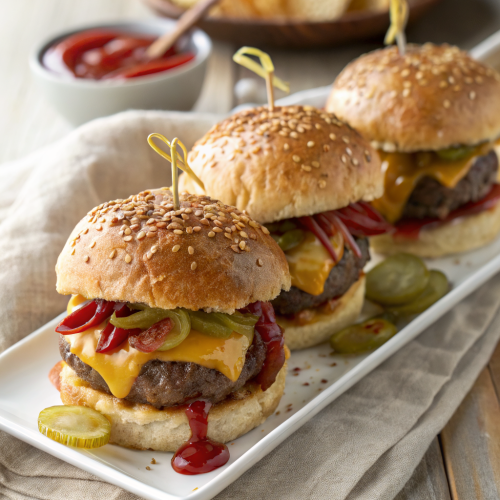
Step 4: Assemble the Sliders
Arrange the bottom halves of the slider rolls on the baking sheet. Place a cheesy patty on each, then add any desired toppings (pickles, lettuce, etc.). Top with the other half of the roll.
Step 5: Make Garlic Butter & Bake
In a small bowl, mix melted butter, garlic powder, parsley, and salt. Brush this generously over the tops of the rolls. Bake for 8–10 minutes, until the rolls are golden and crispy on top.
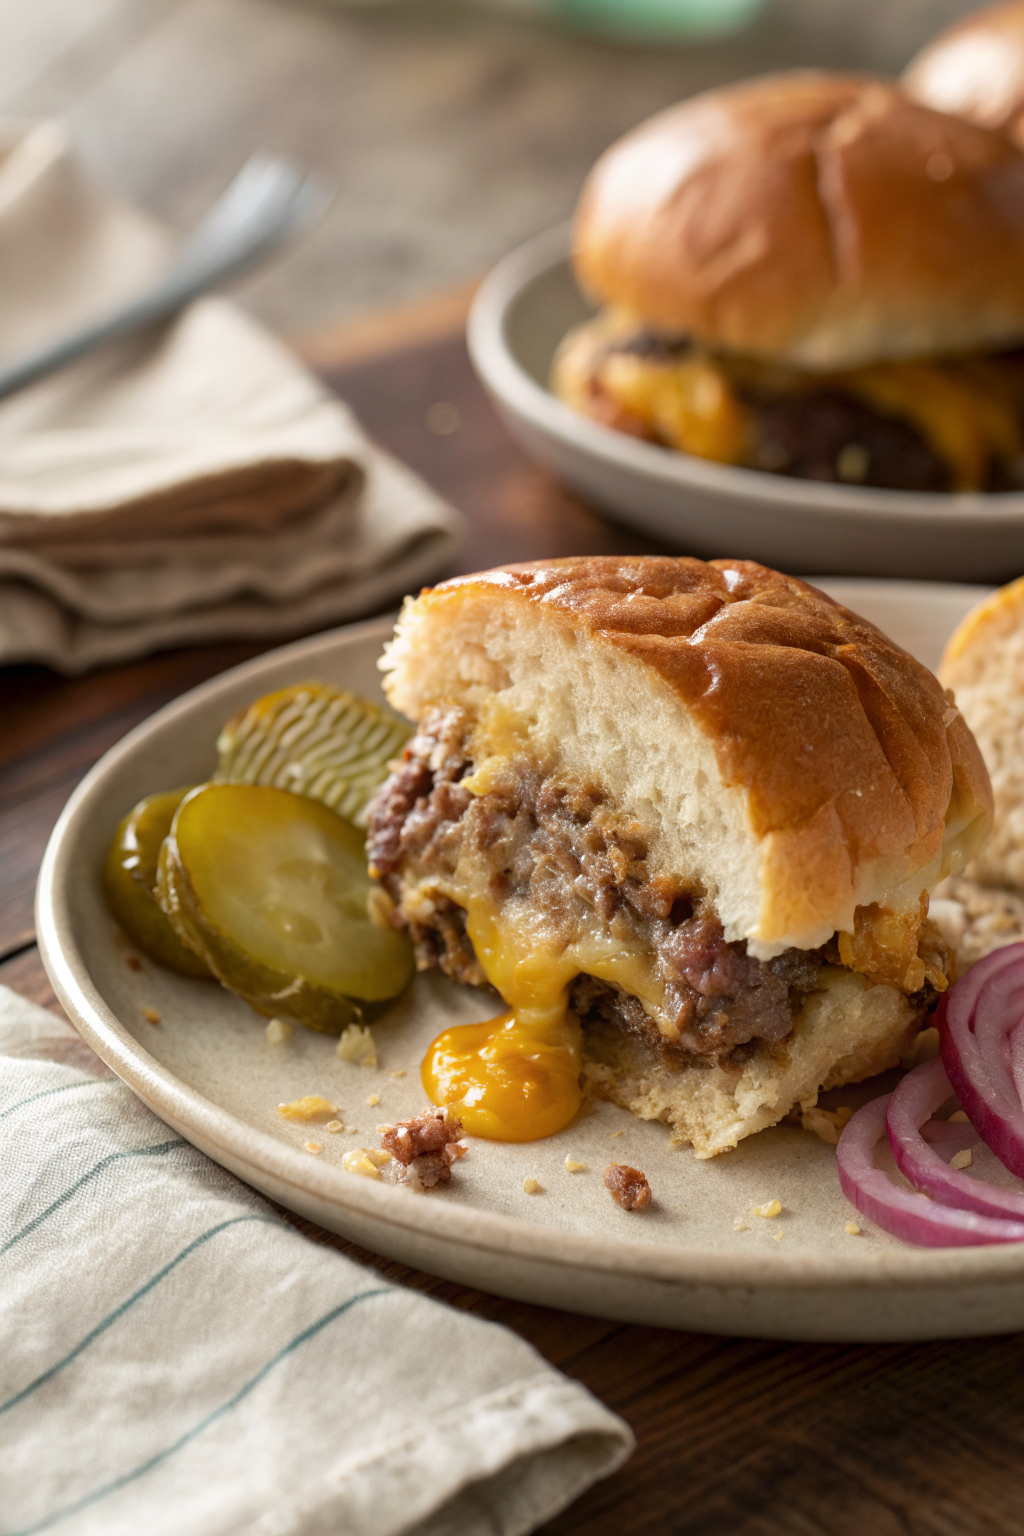
Step 6: Serve Immediately
Let cool for 2–3 minutes, then slice between the rolls to separate. Serve warm with extra napkins—these are deliciously messy!
What to Serve It With
These sliders shine when paired with classic sides. A crisp green salad with ranch dressing balances the richness, while sweet potato fries or regular potato wedges add a satisfying crunch. For a fun twist, serve with pickle spears, coleslaw, or even a tangy barbecue sauce for dipping. If you’re feeding a crowd, add a bowl of chili or a platter of roasted veggies to round out the meal. And don’t forget a cold drink—iced tea, lemonade, or even a craft soda pairs beautifully.
Top Tips for Perfecting Your Cheeseburger Sliders
First, don’t overwork the meat—gentle mixing keeps the patties tender. Use 80/20 ground beef for the best juiciness; leaner blends can dry out. For extra flavor, sauté the onions before mixing them in, or add a splash of soy sauce to the meat mixture. If you’re making these ahead, assemble them without the garlic butter, cover, and refrigerate. Brush with butter and bake just before serving. And if you love a little heat, add a dash of hot sauce or red pepper flakes to the meat mix. Finally, always let the sliders rest for a couple of minutes after baking—it keeps all those delicious juices inside.
Storing and Reheating Tips
Store leftover sliders in an airtight container in the fridge for up to 3 days. To reheat, place them on a baking sheet and warm in a 350°F oven for 8–10 minutes, or microwave for 30–45 seconds (though the tops won’t stay as crispy). For best results, reheat in the oven to restore that buttery crunch. These also freeze well! Assemble completely, wrap tightly, and freeze for up to 2 months. Thaw in the fridge overnight before reheating.
Frequently Asked Questions
Final Thoughts
These cheeseburger sliders aren’t just a recipe—they’re a mood. They remind me of family gatherings, lazy Sundays, and the kind of meals that make everyone smile. They’re simple, yes, but they’re made with love, and that’s what makes them special. Whether you’re cooking for two or twenty, these sliders deliver big flavor in a tiny package. So go ahead, whip up a batch, and watch them disappear. I promise, you’ll be making them again and again.
Cheeseburger Sliders
Ingredients
Main Ingredients
- 1 lb ground beef (80/20)
- 12 slider buns or small dinner rolls
- 12 slices American cheese
- 1 tsp salt
- 0.5 tsp black pepper
- 1 tsp garlic powder
- 1 tsp onion powder
- 2 tbsp butter, melted
- 1 tbsp Worcestershire sauce
- Optional toppings: diced pickles, shredded lettuce, sliced tomatoes, ketchup, mustard, mayonnaise as desired
Instructions
Preparation Steps
- Preheat a skillet or griddle over medium-high heat.
- In a large bowl, combine ground beef, salt, pepper, garlic powder, onion powder, and Worcestershire sauce. Mix gently until just combined; do not overmix.
- Divide the beef mixture into 12 equal portions and shape into small patties, slightly larger than the slider buns to account for shrinkage.
- Cook patties in the preheated skillet for 2–3 minutes per side, or until browned and cooked through.
- In the last minute of cooking, place a slice of cheese on each patty and cover the skillet to allow the cheese to melt.
- While the patties cook, split the slider buns and lightly toast them in a separate pan or under the broiler until golden.
- Brush the tops of the buns with melted butter for added flavor.
- Assemble sliders by placing the cheesy beef patties on the bottom buns and topping with desired condiments and toppings.
- Place the top buns over the fillings and serve immediately.


